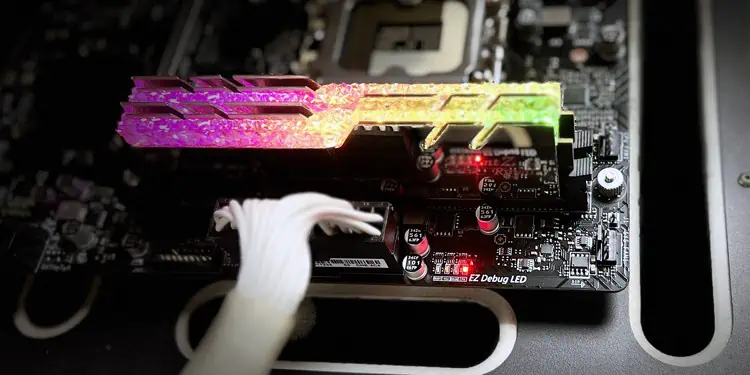
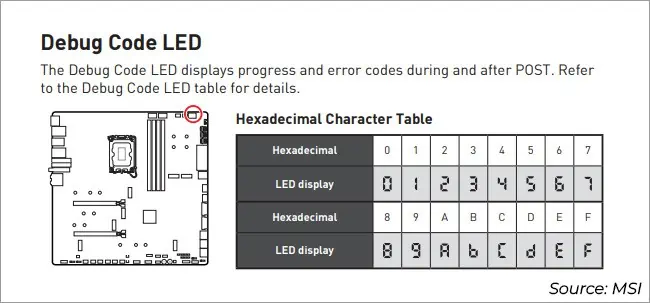
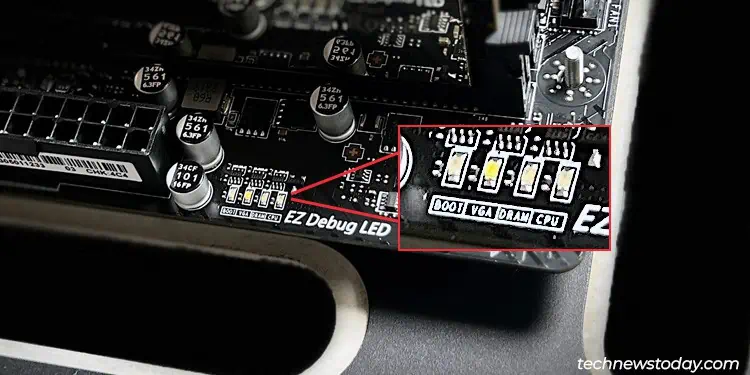
Most MSI boards come with the Boot, VGA, DRAM, and CPU indicators (collectively called EZ Debug LEDs). When your system can’t get past POST, one of these LEDs will remain lit. This is to give you a general idea of what component is preventing your system from booting.
Problems like the system not detecting any boot devices or incorrectly installed RAM modules are super common. Depending on which LED is lit, you can take the appropriate troubleshooting steps like reseating the RAM modules or verifying the boot device connection.
I myself use these LEDs almost weekly to diagnose such problems on our TechNewsToday systems. I’ll explain how you can use the EZ Debug LEDs to fix any POST issues on your own MSI system in this article.
Note: The MSI EZ Debug LEDs lighting up during POST is normal and intended. That’s the system checking that each component is detected. They will turn off after successfully completing POST. You should only be concerned if your system is stuck in POST and cannot boot.
Boot EZ Debug LED
The boot LED indicates that the system can’t find any bootable devices. This could be because your boot device is physically disconnected or because there’s no OS on the drive.
I recommend the following troubleshooting process in this case:
- Turn off your system and unplug the power cable from the PSU. Then, start by reseating your boot drive.

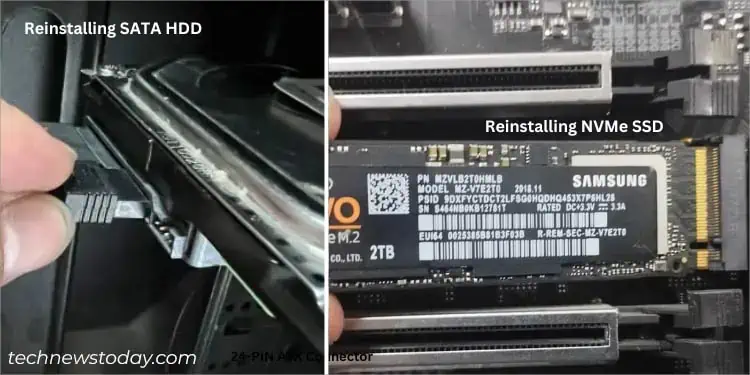
- For M.2 drives, unscrew the heatsink (if you’re using one) and then pull it off at a 30° angle. Remove the M.2 stick in the same manner, then properly reconnect it.
- For SATA drives, disconnect the data and power cables, then firmly reconnect them.
- When reseating the drive, keep a couple of things in mind.
- SATA ports 5 and 6 are usually disabled if you have an NVMe SSD installed. So, you’ll want to make sure you’re not trying to use the disabled ports in such cases.
- If you’re using a PCIe expansion card to hold multiple M.2 drives, make sure you’ve configured PCIe bifurcation (lane splitting) in the BIOS. One of our writers used a 4-drive expansion card in the past, and three of the drives were only detected after splitting the PCIe lanes from x16 to x4x4x4x4.
- If reseating didn’t help, use different slots/cables this time, or connect the boot drive to another system. This is to test whether the ports or the drive is dead.
- You should also connect a bootable USB to your system and open the OS install wizard. Here, you can try to install a new OS onto the drive. We recently had a case here at TNT where an NVMe drive that we expected to have an OS was actually empty. This was causing the Boot LED to light up as there was no OS to boot with.
- Tying into the previous point, a corrupt bootloader can also lead to the device not being detected as bootable. In such cases, you can try manually repairing the boot sector or reinstalling the OS.
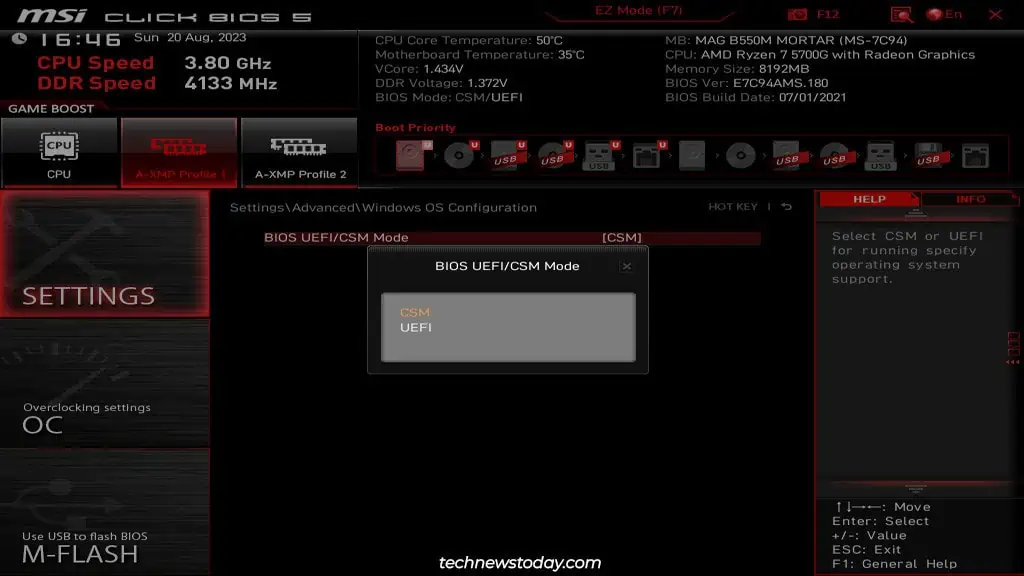
- Finally, you could also check your BIOS settings like the Boot Mode (UEFI/CSM/Legacy) and Secure Boot.

- You must use UEFI or CSM mode to boot with a GPT drive.
- You must use CSM or Legacy mode to boot with an MBR drive.
- Secure Boot only allows the system to boot from sources with a trusted digital signature. There are various common scenarios like using a Linux drive with an unsigned kernel or using an old GPU that’s not UEFI-compatible, where Secure Boot will prevent your system from booting. So, you can check if disabling it helps.
VGA EZ Debug LED
A lit VGA LED indicates problems with your graphics processor (integrated graphics or external GPU). The troubleshooting process for this LED is pretty simple:
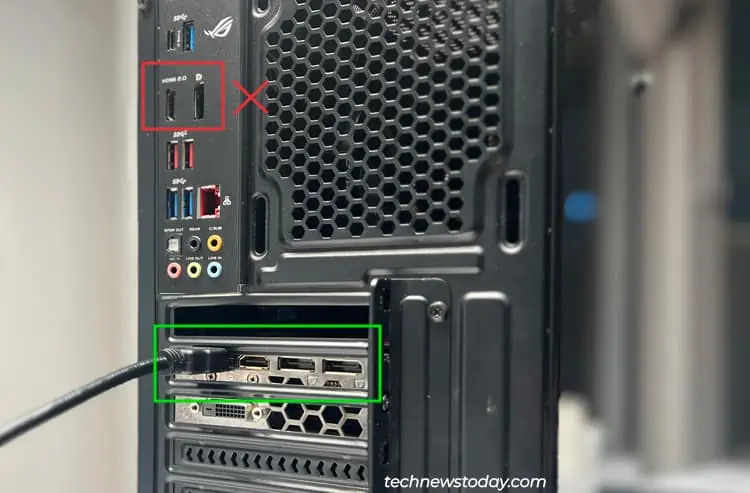
- If you’re using an external GPU, make sure you’re using the GPU’s output port instead of the motherboard’s. This is a very common error.

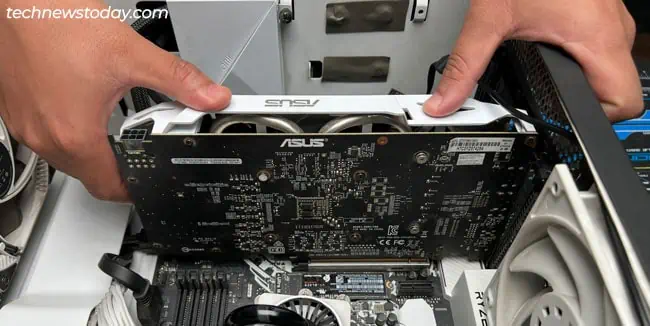
- Reseat the GPU, and try a different PCIex16 slot if required. Make sure to reseat the power connection on both the GPU and PSU ends as well.

- If you don’t have a dedicated GPU, make sure your CPU supports integrated graphics. I sometimes see people incorrectly assume that their processor supports integrated graphics. Later, their system doesn’t boot because there’s no graphics processor.
- Try changing the variables one by one to figure out if any components are faulty. This means trying the GPU on a different system, using another type of display cable (e.g., HDMI instead of DP), trying different ports on the monitor/GPU, and so on.
- If nothing helps, the GPU is likely faulty at this point. You could borrow a GPU and test whether your system boots with the new GPU to verify this.
DRAM EZ Debug LED
In my experience, the DRAM LED is the one that lights up most often. I’ve seen it happen when I used incorrect slots. One time it happened because one of my sticks had died. It also pops up randomly sometimes after an abrupt power cut.
While the causes vary a lot, reseating the modules fixes the problem in most cases.
- Turn off your system, unplug the power cable, and open the side cover of the case.
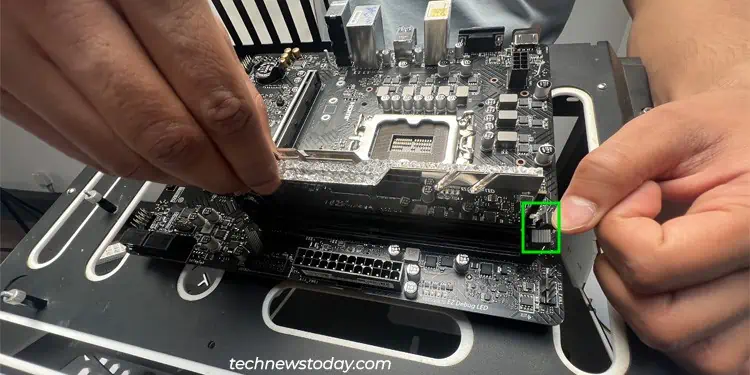
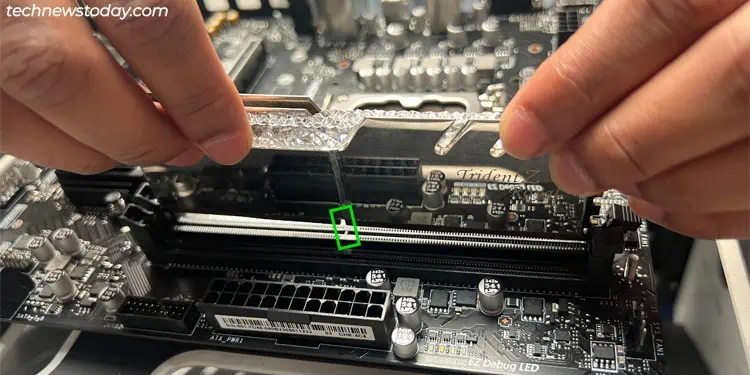
- Unlock the RAM latches. Some boards use one fixed latch, while others let you unlock both sides.

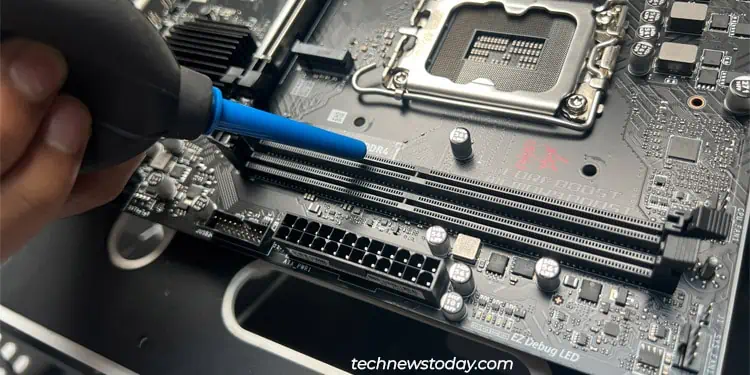
- Pull the RAM sticks out. If the RAM sticks or slots are particularly dirty, cleaning them can help. But this isn’t normally a problem.

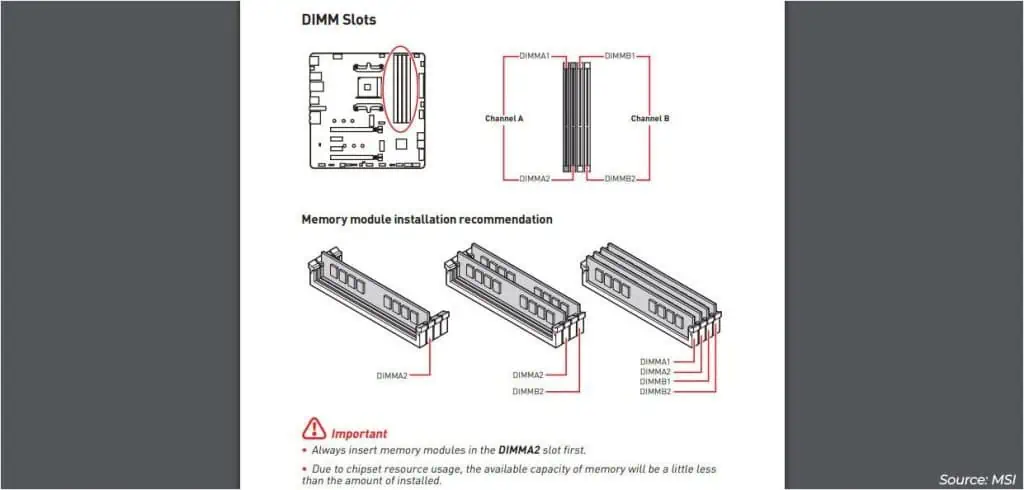
- Now, refer to your motherboard manual for the correct slots to use. While some systems will boot regardless of the slot used, others will only let you boot with the slot specified in the manual (usually A2 for single channel, and A2-B2 for dual channel).

- Finally, align the stick’s notch to the slot and install the RAM sticks. The latches on both sides should automatically lock when the sticks are fully inserted.

If reseating didn’t help, one of the slots or modules is probably faulty. To figure out which one,
- Grab one RAM stick, connect it to the first slot, then try to boot.
- Test each of the slots with the same stick. If it didn’t work on any of the slots, this RAM stick may be dead.
- If the previous stick worked on some slots, test any additional modules in the same manner. If some of the slots don’t work with any modules, you’ve got your culprit.
CPU EZ Debug LED
The CPU LED lights up the least, and it’s also the hardest one to fix for the average user. Sometimes, people install their Intel or AMD processors incorrectly. Or, they remove the cooler while the CPU is stuck. All of these lead to bent pins or a dead processor in the worst case.
Let’s not be so quick to assume the worst, though. Here’s the process I recommend for troubleshooting the CPU LED:
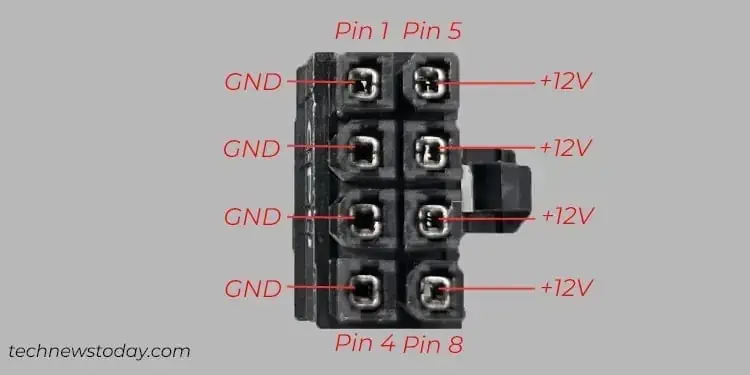
- Start by reseating the power connections from the PSU to the motherboard. If you have a multimeter, you can also directly test the CPU power connector to ensure there are no voltage issues.

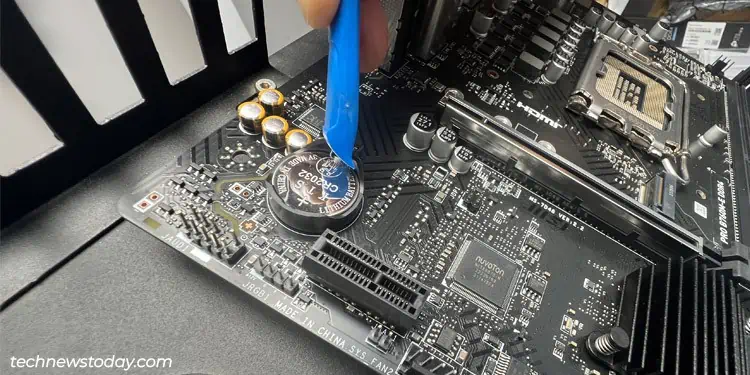
- Remove the CMOS battery or use the Clear CMOS button as you prefer to reset your BIOS settings. This will resolve any BIOS-related problems like excessive overclocks.

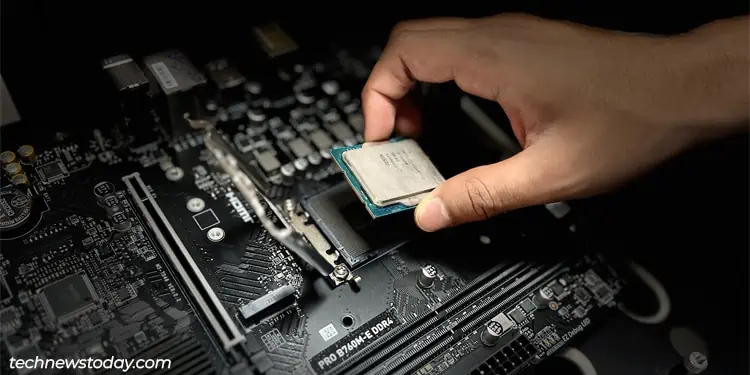
- Turn off your system and unplug the power cable. Remove the CPU cooler, and then the CPU.
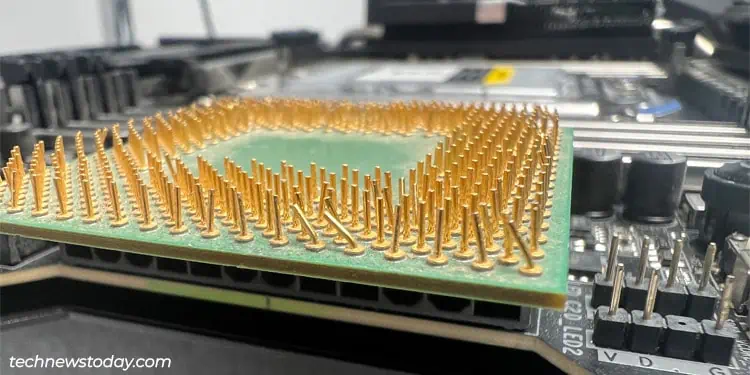
- Check for bent pins on the CPU/socket. A few bent pins are not a huge deal and you can repair them yourself. But if a lot of them are bent, you may need to replace the CPU or board.

- If the pins are fine, reinstall the CPU carefully. Reapply the thermal paste and make sure none gets into the socket. Then, attach the cooler and try booting. Reseating is often all that’s needed to get a system working again.

- Check for bent pins on the CPU/socket. A few bent pins are not a huge deal and you can repair them yourself. But if a lot of them are bent, you may need to replace the CPU or board.
- Since the socket or the board in general could also be at fault, it’s worth testing the CPU on another system.
Additional Troubleshooting Steps
Your components work in unison to form a system, which can cause the EZ Debug LEDs to be a bit misleading at times.
For instance, if your processor doesn’t support integrated graphics, your system could misinterpret this as the CPU’s fault. Even though this is a graphics-related error, the CPU LED may light up. Or bent CPU pins may cause the DRAM LED to light up.
Such situations are of course outliers, but it’s still helpful to look at your system from a wider perspective. So, I’ll provide some additional fixes here that’ll be helpful regardless of which LED is lit up.
- First of all, check the motherboard specs page online, the user manual, or the board itself. Check if your board provides other diagnostic indicators like POST LEDs or Beep Codes. These provide a more direct diagnosis compared to the vague EZ Debug LEDs, so you may be able to identify the exact problem with these.

- If you haven’t yet done so, remove the CMOS battery to reset the BIOS. Then, reseat the RAM modules.
- I’ve seen BIOS updates resolve hardware compatibility problems as well as firmware-related bugs. So, if you’re running an older BIOS version, now would be a good time to upgrade.
- Some of the other components like the motherboard or the PSU could also be failing. You could separately test the PSU first. Then, you could boot the system with the bare minimum only (no expansion cards or peripheral devices) to check if any of those components are the issue.
You’ve exhausted most of the potential solutions at this point. So, if the Debug LED is still on, I recommend contacting your system manufacturer for support or taking your system to a local repair center. They should be able to diagnose the faulty component and recommend further steps for you to take.

