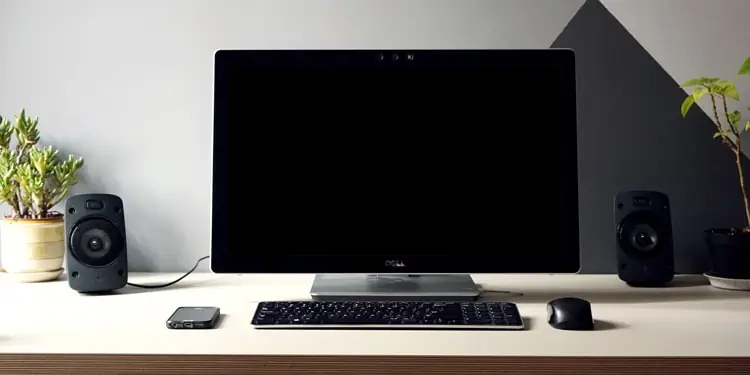
No display on boot is mainly caused by hardware issues such as damaged cables or loose connections. Fixing these is as simple as using different cables and re-seating your components.
But these aren’t the only reason why this happens. Our concise guide covers all the main culprits that cause No Display on Boot and detailed instructions to fix them as well.
What Causes No Display on Boot?
The most common reason why you have No Display on Boot is faulty cables and loose connections. Cable damage is hard to gauge externally as cables may not be working despite looking fine from the outside. Other reasons why this happens include:
- Incorrect display configuration
- Problems with GPU or RAM
- Problematic peripheral devices
- BIOS configuration problem
- Power Supply Unit (PSU) not working
How to Fix No Display on Boot
The first step to fixing No Display on Boot is to restart your PC properly. Hold the power button for at least 5 seconds to turn your PC off, then turn it back on. If your PC was set to sleep or hibernate before the problem started, this could solve the issue right away.
If you made any changes to your PC (both hardware and software) right before this problem started, reverting them may also be helpful.
Test Your Monitor and Connections
- Check the Power light on the monitor. If it’s on, start your system and press Windows+Ctrl+Shift+B to restart your graphics driver.
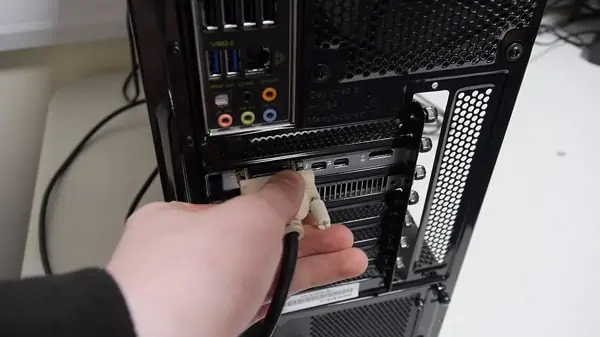
- If your monitor didn’t power up at all, Unplug your display and power cables and check for damage (tears, excessive bends).
- If you suspect any damage, try using a different set/type of cables.
- Check the ports for damage.
- Replug the cables and make sure you attached the cables to the correct ports.

- Confirm that you’re using the correct input source if your display has multiple ones.
- Check if the monitor is the issue by using a different monitor if possible.
Reseat CPU Components (RAM, GPU)
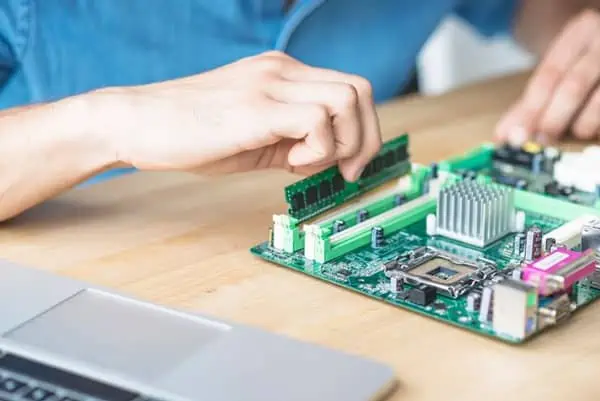
While your PC is powered on, check the lights on your motherboard. If no lights are visible, the problem could be because of dust or loose connections. To test for this, reseat your RAM and GPU with the following steps.
- Power off and unplug your PC.
- Check the cables and components for any visible damage.
- Remove your RAM and reattach it in place. When reattaching, you can also use a different slot, clean the RAM gently or use a spare RAM. See if any of these fixes the issue.

- Plug-in everything, boot your PC and check if the display works now.
- If it doesn’t, turn off and unplug the PC again.
- Remove your Graphics Card (GPU), plug everything else back in, and try booting without the GPU.
- If that didn’t help, turn off and unplug the PC, reattach the GPU, replug-in everything and try turning it on one last time.
Reset BIOS
The reason to reset BIOS after reseating RAM is to eliminate the RAM as being at fault here.
Your PC runs POST (Power-On Self-Test) as soon as it’s powered on to verify that all the hardware is recognized before initializing BIOS. The POST display screen is an indication that RAM is in working condition and the actual problem could be misconfigured hardware.
As long as your monitor is receiving power, you can access the BIOS Setup Utility and reset it. For other methods like Reseating the CMOS Battery, read our article on how to Reset BIOS.
Reset BIOS via BIOS Setup Utility
- Power up your PC and press F2/F8/F10/F11/F12/Del key to access BIOS settings. Check your motherboard’s brand and look it up online, or refer to the manual to find the exact key, as this will differ according to the chipset manufacturer.
- Look for Restore Defaults, Reset, Load Optimized Defaults or a similar option.

- Choose the option and press Yes to the prompt.
- Select any option similar to Save and Exit.
Physical Reset Switch
This is quite rare, but some of the latest motherboards have physical switches or buttons on the motherboard or CPU case for resetting your CMOS battery/BIOS settings. If your PC has this, simply press the button for around 10 seconds, and you’re good.
Check Monitor and Resolution Settings
Use the control buttons on your monitor (usually located at the side, front, or bottom of the edge of your monitor) to check the monitor settings.
- Check the brightness level and make sure it’s not turned all the way down or anything like that.
- Make sure your resolution isn’t set higher than what the monitor can actually support.
- If those didn’t help, use the Reset option to reset all the settings to default.
Refer to your monitor’s manual or visit the manufacturer’s support website for more help on this.
Disconnect Peripheral Devices
Peripheral devices like speakers, webcams, external storage drivers, and even your keyboard and mouse can sometimes malfunction and cause problems for the rest of your system. You should try booting with only the bare-minimum devices and check if the monitor works then.
- Unplug all unnecessary peripheral devices and boot your PC. If that helps, one of the devices is causing the issue.
- Figure out the faulty device by plugging in the devices one by one and restarting after plugging each one.
- Once you find it, replace it with a new one, and the issue is solved.
Check Power Supply Unit (PSU)
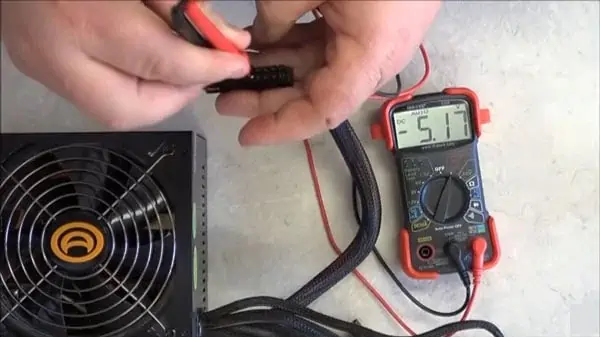
You can test whether your PSU is functioning properly or not by using a Multimeter or a Power Supply Tester. If the PSU isn’t working properly, it’s best to just replace it with a new one.


