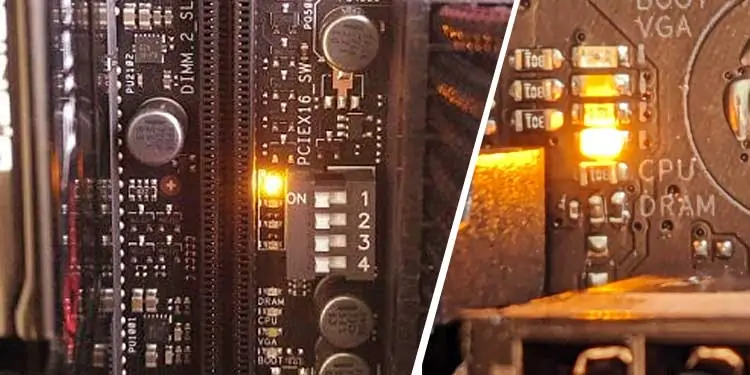
The first thing you want to check when you see the orange light on your motherboard is to see if the light is lit constantly or if it is blinking.
If the orange light is blinking, it’s likely indicating an issue with the power supply. A static orange light, however, possibly indicates a problem with your RAM, or that one of your components isn’t properly connected to the motherboard.
Lights on the Motherboard: What are They for?
Due to differences between manufacturers and models, not all motherboards have lights. Some have several indicator lights, like MSI with its EZ Debug LED feature, and others even have full displays for quick diagnostics.
These lights are generally there to show the status of key PC components like the CPU, GPU, hard drives, and RAM during the boot process.
Seeing a blinking or static light on your motherboard isn’t necessarily indicative of any issues. If you’re having issues with your PC however, it can help you narrow down the problem.
These lights can be especially helpful in diagnosing an issue if your computer isn’t turning on at all.
Why Is the Orange Light on My Motherboard Lit?
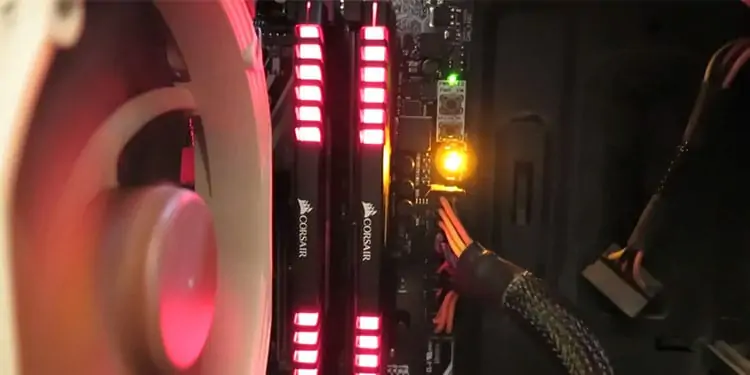
There are a couple of reasons the orange light is lit. The orange light means that the problem is with some hardware device or the motherboard itself. A software bug or an OS (Operating System) malfunction doesn’t cause this problem. Below, I have listed a few reasons the orange light is lit.
- Low Power Supply
Your PSU powers the motherboard along with some hardware. If you have a 650W PSU and a system that needs 700W, the motherboard orange light may indicate it. - Unstable Power Supply
If you buy a cheap PSU that is not 80 plus bronze or higher, your motherboard and its components may not get stable power to function properly. - RAM Not Cooperating With the Motherboard
Sometimes, the RAM you are using may not be compatible with your motherboard. This may cause the orange light on the bottom right part of the motherboard. - Wrong Placement of the RAM Stick
The RAM stick may not be inserted properly. It can only go one way in the slot. You can check this from the small gap you have on the stick that aligns with the RAM slot. - Loose Hardware/Wire Connection
The connection between motherboard and hardware may not be secure. A loose connection with your hardware and motherboard may also cause the orange light - CPU Heatsink Too Tight
A tightly screwed heat sink may also cause the DRAM light to turn on. - Damaged Parts
The PSU or even the motherboard may have been damaged before you bought them. You can also get the orange light if the power cable that goes from the wall socket to your PSU, which powers the motherboard, is defective. - Short Circuit While Building a PC
If you haven’t grounded yourself when building a PC, the charge stored in your body may damage certain parts of your motherboard. - Issue With CPU
Your CPU controls everything that is in your motherboard, including memory, which is managed by a memory controller inside the CPU. A damaged CPU may cause your memory from working, which may turn on the orange light.
Finally, Look inside your CPU case, check all the fans connected to your motherboard. If you see any fans not working, that can cause the motherboard orange light. If your PC has collected dust, it may stop your fan from spinning. Make sure you clean all PC components every once in a while.
How to fix Orange Light on the Motherboard?
Before we start, please read the user manual carefully. If your computer runs smoothly, even if the orange light is lit, there may be nothing wrong with it. If that is the case, your user manual will have the information you need on why the orange light is lit.
Locate Your Problem
To find where your problem lies, you can remove everything connected to the motherboard. Add-in devices such as GPU, RAM, storage devices can be removed. Remove any case accessories that are attached to your motherboard. Since your PC cannot start without RAM, you can put one RAM stick in your motherboard to run your PC.
Now, turn on your desktop. If you don’t see the orange light, you know that there might be some problem with the GPU, RAM, or the storage device (the problem with the storage device is usually not the case). If you see the orange light is constant (not blinking), the problem is most likely with the motherboard.
Remove and Re-insert the RAM Stick
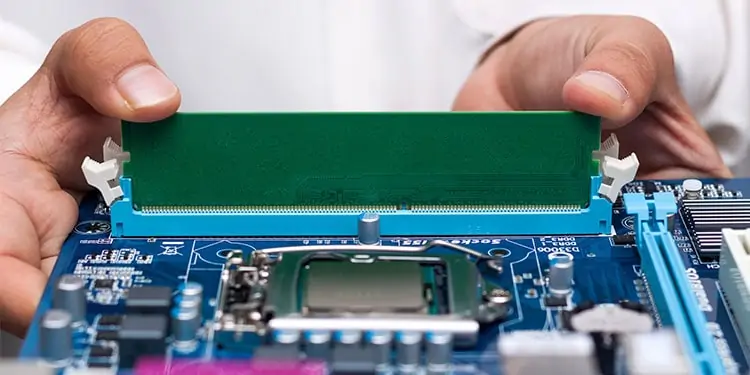
If you get the orange light indication on your motherboard, removing and resetting the RAM may work for you. If you have not inserted your RAM properly, your system may not detect them at all.
You can clean the slot with a blower or you can clean your RAM with some rubbing alcohol. Make sure the RAM stick is completely dry before installing them on the RAM slot.
When you install your RAM, make sure that you align the gap on your stick with the gap on the motherboard slot. Also, you need to hear the click sound to make sure that the RAM is fully inserted.
If you still have the issue, you can insert the RAM into a different slot. If you are running on two RAM sticks with the same speed and memory, make sure that you insert them alternately.
Reconfigure Your RAM
Check if there is any button near the orange light on your motherboard. Press the button for a few seconds, your computer may fix itself. Sometimes, your RAM may not adjust to the setting of your motherboard. Pressing that button will reconfigure your RAM according to the setting of your motherboard.
Change GPU Slot
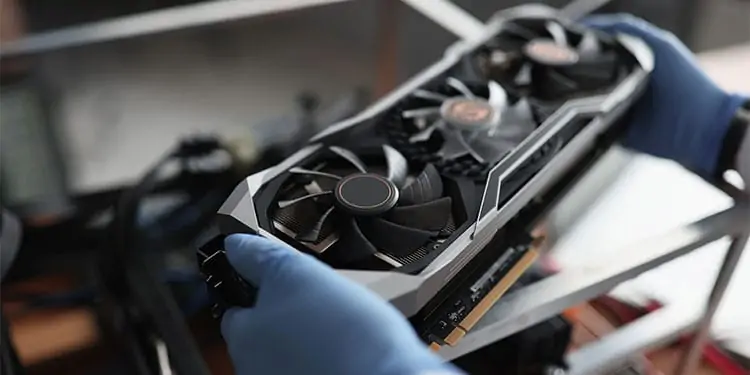
You can try to remove and re-insert the GPU just like the RAM to fix the issue. If that doesn’t work, you can also try using another PCIe slot on your motherboard. Depending on the manufacturer, there will be over one PCIe slot on your motherboard.
Change PSU
If the orange light is lit, you can check if the cooling fan and your GPU (Graphics Processing Unit) fan are working. If not, your power supply may not be providing enough power to your motherboard. To fix this, you need a PSU that can provide enough power for the entire motherboard.
You can easily calculate the power you need for your desktop computer. Websites such as coolermaster and newegg contain a certain section on their page that helps you to calculate the required power for your desktop PC.
Update Your BIOS (Basic Input/Output System)
Basically, a BIOS is a computer program stored in your ROM. BIOS helps your computer to start the operating system and communicate with various devices linked to your motherboard.
Most of the latest motherboards will have a feature to update your BIOS with a button called the flash BIOS button on the I/O panel. It allows you to update your BIOS without a CPU or RAM. All you need is a flash drive. You can follow these steps to update your bios using a flash drive.
- Format your USB drive (should be FAT 32).
- Download the latest version of your BIOS for your motherboard.
- Copy the BIOS file you downloaded to your USB drive.
- Read the user manual of your motherboard to rename it.
- Power your motherboard with a 24-pin power cable. Although you do not need a processor, you have to insert the 8-pin power cable into your motherboard.
- Insert the flash drive in the bottom USB slot on the I/O panel.
- Press the flash BIOS button. This is also on the same side as the I/O panel.
- Wait for the flashing light to stop. This may take a few minutes to complete.
Once the BIOS update is complete. You can reconnect your parts to see if the problem is fixed.
Reset Your CMOS (Complementary Metal Oxide Semiconductor)
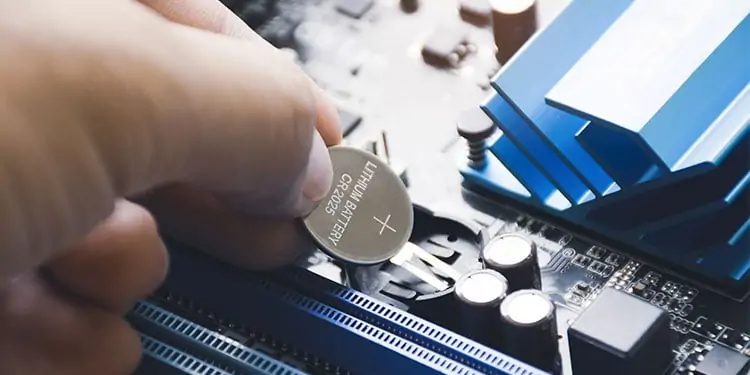
Your BIOS needs to be operational even when your computer is plugged out. CMOS is a small battery that powers the BIOS. You can reset your CMOS following these steps:
- Unplug all power sources that are connected to the PSU
- You may still have some charge left in your capacitors. Press the power button five to six times to discharge all the capacitors.
- You can find the CMOS battery on the motherboard. It is a small circular battery (looks like a coin).
- Remove the battery. Make sure you know which side should face up before removing them.
- After a few minutes, replace the CMOS battery.
Start your computer to see if the orange light is off.
Change Your Processor
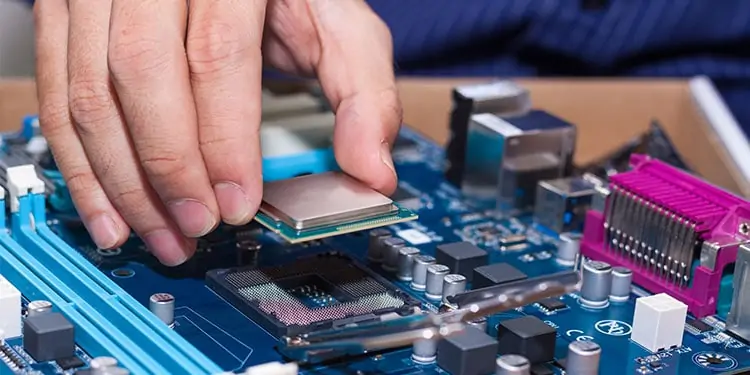
This may be the costliest solution to your problem. You can try to replace your processor to see if the orange light goes off.
Unplug All Cables
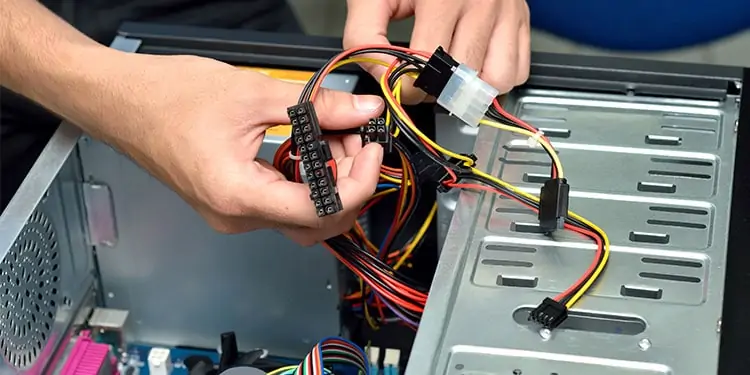
Unplug all cables that connect your motherboard or any internal hardware with the PSU. You can remove all cables such as the 24-pin cable that gives power to the motherboard; 8-pin PCIe power connector from GPU, and all power cables from HDD and SSD. Set it aside for 20-30 minutes and reconnect all the cables again. This may stop the orange light on your motherboard from turning on.
Related Questions
What Does the DRAM Light Mean on My Motherboard?
DRAM light turned on means that you have some problem with the memory. The issues may be faulty RAM, RAM not compatible with the motherboard, or a damaged processor(this is rarely the case).
Can I Turn the Orange Light on My Motherboard Off?
On some motherboards, the orange light is just for the aesthetics and we can turn it off from BIOS. The orange light does not always mean that there is something wrong with your desktop.

