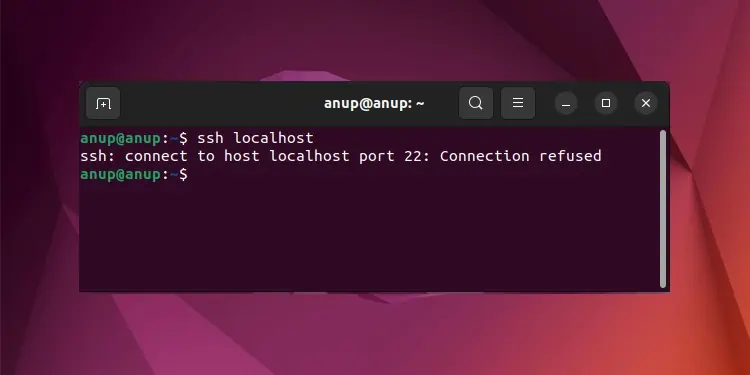
Port 22: Connection Refused is a common SSH error that generally happens because users try to connect to the wrong port.
The default SSH port is 22, but it’s generally changed to something else due to security concerns. As such, when users try to connect to port 22 (by default), they inevitably encounter this error.
In addition to this, reasons like the firewall blocking the SSH port or the SSH service being down also usually lead to this error. We’ve detailed more reasons, as well as steps to deal with each one in the sections below.
How to Fix Port 22: Connection Refused Error
Before you start troubleshooting, we recommend rebooting your router, as that could be all that’s needed to resolve the issue. Additionally, you should perform a ping test to confirm that this is actually an SSH issue rather than a general internet issue. If there’s packet loss, you’d better off fixing that first.
Also, this error is, for the most part, a server-end issue. As such, the first two fixes are applicable on the client end, but there’s not much you can do from the client system. Your best bet will be to try out the server-end fixes.
Verify Login Credentials
It’s easy to miss, but users sometimes enter incorrect credentials on the client end when attempting to connect to the SSH server. Try reconnecting with the correct credentials if this is the case before moving on to the other fixes.
Resolve DNS Issues
The second possible issue on the client end is that the system isn’t resolving the hostname, leading to this error. You can use the Public IP of the SSH server instead of the domain name to confirm this.
If there does indeed seem to be a DNS issue, you could try flushing the DNS cache with the following commands:sudo systemd-resolve --flush-caches
sudo resolvectl flush-caches
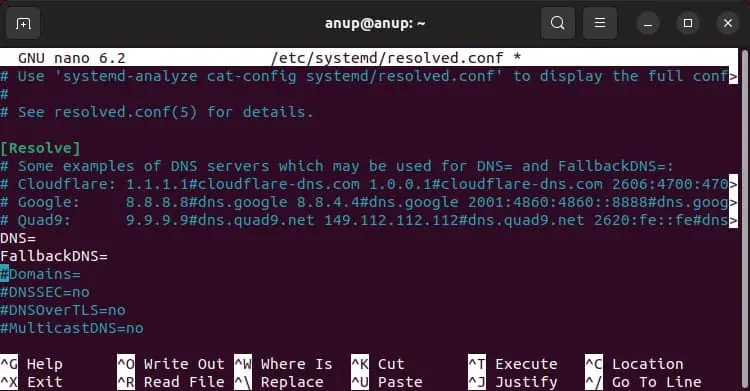
If that doesn’t help, you should change your DNS servers. Here are the steps to do so:
- Execute the following command:
sudo nano /etc/systemd/resolved.conf - Change the DNS and FallbackDNS values to that of a different DNS Server.

- Save the changes and exit, and check if the issue is resolved.
If on a private network, you could also contact your system admin to make sure that the SSH server’s DNS entry is correct.
Ensure SSH is Installed
This might seem like a no-brainer, but users often encounter SSH issues on fresh installations as they forget that SSH doesn’t come preinstalled.
To install the OpenSSH server application and related files on Debian-based distros, use the following command:sudo apt install openssh-server
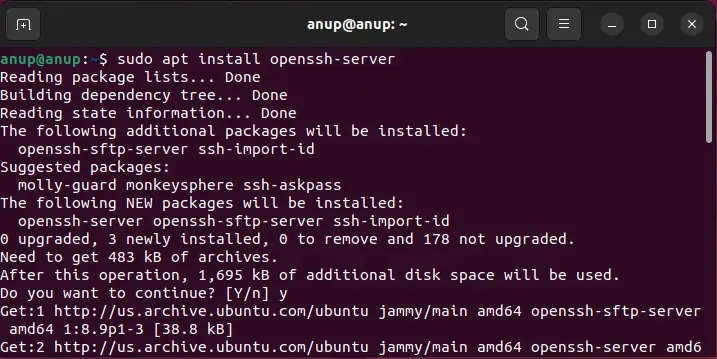
It’s also worth mentioning that some users were able to resolve the issue by purging the currently installed package with sudo apt purge openssh-server and reinstalling it.
Check SSH Daemon Status
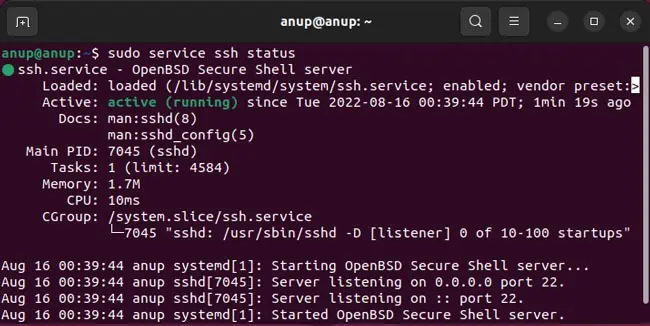
The SSH Daemon must be running for your connection to be successful. If you’ve made any changes to the SSH configurations, such as Port, for instance, you’ll also need to restart the service to apply the changes. Here’s how you can do so on Debian-based distros:
- To check the service status:
sudo service ssh status
- To start the service:
sudo service ssh start - To restart the service:
sudo service ssh restart
Check SSH Listening Port
The default SSH port is 22, but for security reasons, it’s generally changed to something else. Use the grep Port /etc/ssh/sshd_config command to find out which port the server is listening to.

Since you’re encountering this error, it’s likely not port 22. In such cases, you can connect to that specific port with the following command:ssh -p <port_no> <username>@<ip>

Allow SSH in Firewall
Another common reason for this error is that the firewall is blocking the SSH port. In such cases, you can allow the SSH port with the following steps:
- First, enable the firewall with the following command:
sudo ufw enable - Next, replace port with the port no. and execute the following to allow the connection through the port:
sudo ufw allow port
- Afterward, reload the firewall using the
sudo ufw reloadcommand to ensure the changes are applied.
Ensure IP Is Whitelisted
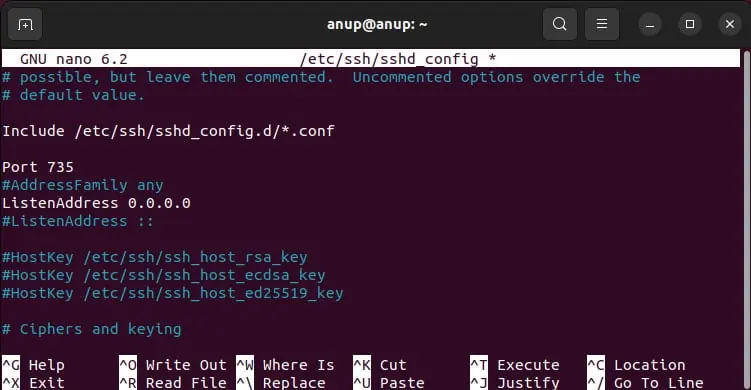
There have also been cases where the connection failed because SSH was only configured to listen to certain addresses. In such cases, you can ensure the IP address you’re trying to access is whitelisted with the following steps:
- Execute the
sudo nano /etc/ssh/sshd_configcommand. - If the ListenAddress directive is uncommented, make sure the IP you’re trying to access is included here.

- If you added the IP just now, press CTRL+O > Enter to save the changes and CTRL+X to exit the editor.
- Restart the SSH service with
sudo service ssh restartand try connecting now.

