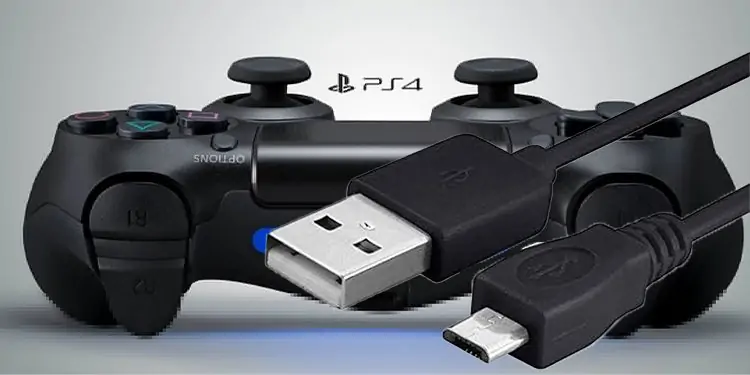
You can use your DualShock 4 controller either wirelessly or with a USB plug. Sometimes, though, your PS4 controller won’t charge, so using the peripheral without cables is not possible.
There’re various reasons why your PS4 controller isn’t charging. These could be minor physical issues, like dust and cable damage. Or it could be software problems, which may force you to reset and update the console.
It’s a common problem, though, which means there’re common solutions.
Possible Reasons Why Your PS4 Controller Won’t Charge
If your PS4 controller is not charging, there’re various potential causes you can consider.
In essence, you’re dealing with either physical or software problems. Here’s a quick look at the issues:
- PS4 Issues: Random bugs in your console may prevent you from charging the controller. You may fix this by power cycling the console, resetting the controller, and updating the console.
- Damaged USB Port: If you find your USB port is not working, simply try another one.
- Cable Issues: The micro USB cable could be worn out or broken. Similarly, the cable may be bad, as wires do deteriorate over time. Also, some third-party cables are not made for charging.
- Hardware Issues: Lastly, either the battery or the charging port may malfunction. Luckily, replacing either part is easy.
How to Fix PS4 Controller Won’t Charge?
When you connect your PS4 controller to the console with a charging cable, it should charge. However, you may see that the lights on the controller’s front are not turning on. This means the PS4 controller is not charging.
If this is the case, try our solutions, one by one, until you find the one that works for you.
Reset the Controller
Generally, a random bug damages the connection between the PS4 and the controller. So, the first solution is resetting your peripherals.
- Turn off your PlayStation 4
- Unplug your controller
- Unplug your PlayStation 4
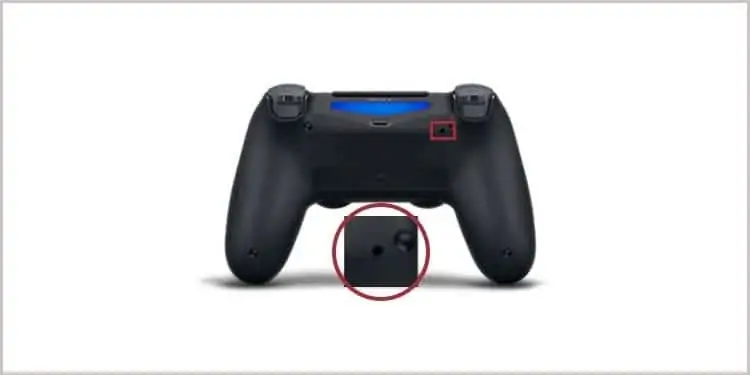
- Find the reset button on the back. It’s a small button beneath the L2.

- Use a small tool to push the button inside, like a pin. Hold the reset button for 5 seconds at least.
- Connect the controller to the PS4 via the USB cable
- Plug the PS4
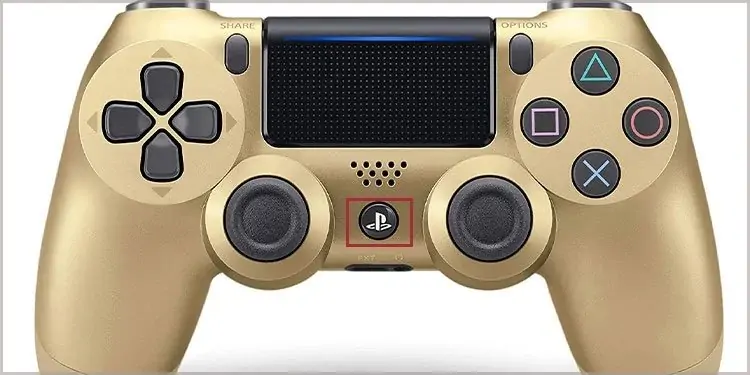
- Press the PS button.
If the light bar at the front turns blue at this point, the solution works.
Re-pair the Controller
The next solution is re-pairing the controller.
- Turn on the PS4
- Go to Settings
- Go to Devices
- Select “Remove all devices from the list.”
- Turn off the console
- Reset the controller by pushing its reset button with a bobby pin for five seconds
- Turn on the console, and connect the controller with the USB cable
- Press the PS button on the controller

- When the controller light turns on, you may remove the cable and use it wirelessly again
After this point, check if the controller can charge.
Power Cycle the Console
The third option is doing a full power cycle to your PS4. It often helps erase random bugs.
- Turn off the PS4 and the controller
- Unplug the PS4’s power cord
- Wait for 30 minutes
- While the console is off and unplugged, hold down the power button for 30 seconds to drain off the energy it has left
- Plug the PS4 back
- Turn it on
By now, you should see if this fixes the problem.
Reset and Update
Let’s combine the solutions above for a more comprehensive approach:
- Turn on the PS4
- Go to Settings, and then Devices
- Select “Turn off device.” It will take you to a screen where you can choose to shut down “All” devices, or select a particular one.
- Select All
- Turn off the console manually (with the power button)
- Unplug the console for 30 minutes, and press its power button by 30 seconds
- Reset the controller
- Plug the controller via USB plug
- Turn on the PS4
- Go to Settings
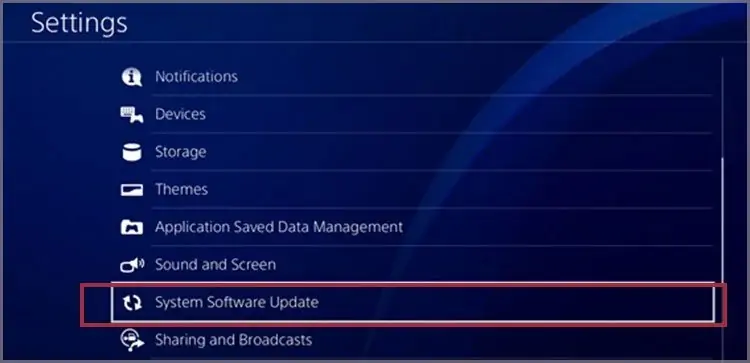
- Select System Software Update

- If you see the option “Update Now,” select it

- Press Accept when the update downloads
- Let the program finish.
After you update the console, try to charge the controller again.
Bear in mind that you don’t have to update the PS4’s controller firmware, unlike the Xbox controller.
Change the USB Port
Sometimes, your PS4’s USB port may not be working. To ensure this is the problem, you can try to charge the PS4 on other devices, like your computer.
If it’s not charging on any source, the problem is on the controller itself, so continue towards the next solutions.
Change the Cable
Before changing the battery, you may want to change your PS4 cord. Try a different cable, and check the one you’re using for physical damage.
Charge the Controller Upside Down
It sounds weird, but it helps. You can put the PS4 controller upside down and then charge it.
This helps because it can clear the dust out of the charging port.
Change the Batteries
Changing your controller’s battery is not as easy as it should be, but you can still do it yourself. You could take it to a service store if you don’t have a small crosshead screwdriver or a Phillips head screwdriver instead. You also need a pry plastic bar and the proper PS4 battery.
Here’re the steps:
- Use the screwdriver to unscrew all the screws at the back of the DualShock 4. Keep the screws safe.

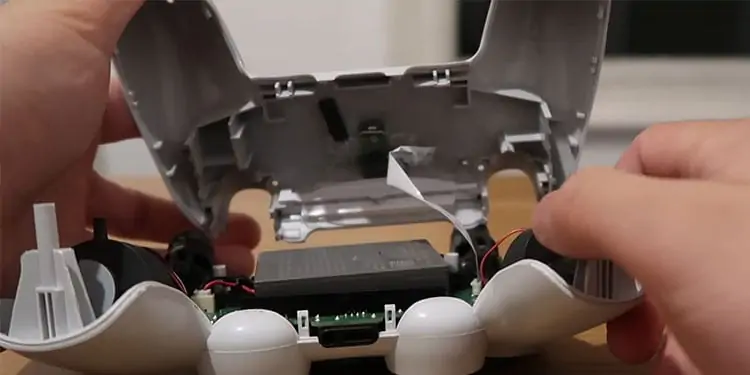
- Pry open the case with a plastic pry bar. Use the bar to move all around the controller until the case pops up.

- There’s a ribbon cable holding the case together. Be careful when opening the controller.

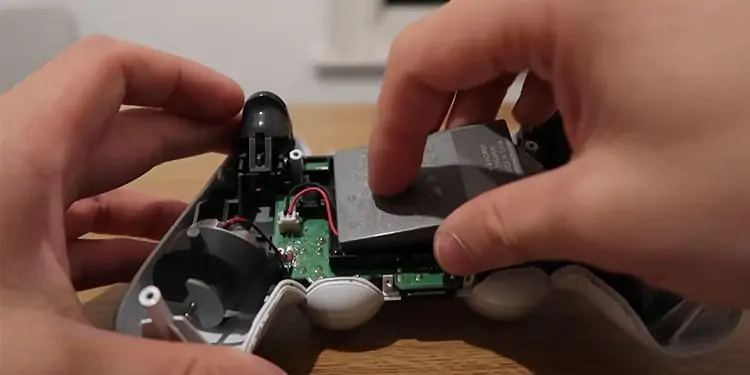
- Unplug the battery connector. Twist and turn it to pull it out.
- Put the new battery on the controller. Ensure the ledge of the connector is at the bottom. Simply attach the connector pin to the socket.

While the process is easy, you need to be extra careful and delicate. And while you’re at it, use a microfiber cloth to clean out the dust.
Here’s a video tutorial:
That said, there’re five PS4 controller generations, and batteries are specific to these generations. Check the FAQ for more info.
Clean the Charging Port
There could be dust or grit in the charging port. It would prevent your PS4 controller from charging.
Use compressed air, a microfiber cloth, a wooden toothpick, an electric blower, or a cue tip to clean the area. Then, try again.
Change the Charging Port
As before, you need either a Phillips Head screwdriver or a small crosshair screwdriver. Also, you need a plastic pry.
- Unscrew the four screws at the back
- Use the plastic pry to take the case out. Be careful with the plastic ribbon cable
- Pull out the plastic ribbons connecting the cases
- Take the upper part of the case
- Take out the light bar by pushing it out
- Light and remove the two pieces of plastic covering the charging port
- Unscrew the two screws holding the charging port

- Gently lift the port from its base
- Put the new port in. Ensure it’s facing the proper direction. Simply slot it into place

- Put the ribbon cables back into place
- Put the two screws back into place
- Put the plastic cover back

- Slot the light bar back into its socket
- Assemble the controller again. Ensure to put the ribbon cable back where it belongs
- Put the four screws back.
Here’s a video tutorial:
The charging ports are also generation-specific. Check the FAQ for more information.

