Your computer cannot turn on if your PSU doesn’t turn on. It’s the unit that gives the rest of the computer power to run, often adjusting the voltage as your computer’s needs dictate. However, even power supply units eventually fail and die. While there’s a chance that your PSU can be salvaged, often, PSUs that won’t turn on should be replaced.
Why Won’t My PSU Turn on?
There are many reasons your PSU won’t turn on. Most of them have to do with its incoming power flow or how it’s connected.
- If your PSU isn’t getting enough power from the wall outlet, it may not be able to turn on. Even if an outlet is working for another device, it might not be providing quite enough for the PSU.
- Your cables could be damaged, interrupting the power flow between the PSU and the wall outlet or the other components in the computer. You can’t always tell if a cable has gone bad just by looking at it.
- The PSU might not be getting a request for power from the computer. Specific models require some amount of load before they start working.
- The PSU could be broken and unable to operate. In that case, you may want to swap it out for a new one. It’s challenging to perform actual repairs on the PSU because working with something with so many powerful capacitors can be dangerous for those who aren’t experienced.
You’re more likely to experience a problem with wiring or connections on a new build. If you’ve had your PSU working for a long time, there’s a higher chance that it needs to be replaced. However, you should still work on it first to see if the problem is something you can quickly fix.
How to Fix a PSU That Won’t Turn ON ?
Start by looking at the most obvious problems to see whether they caused the issue. From there, you can start working with the more complex solutions that might take more time or expertise to use.
Look for a Switch
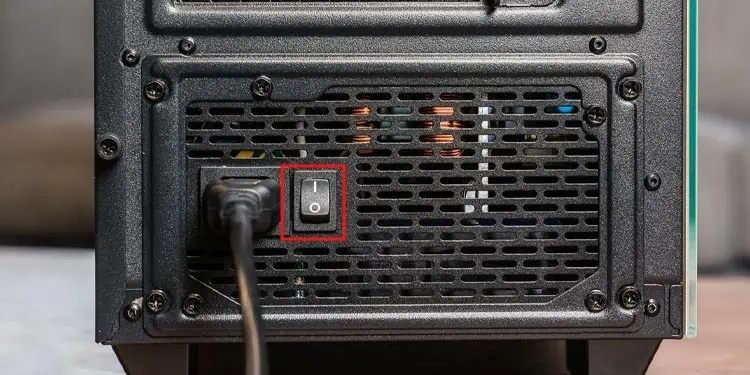
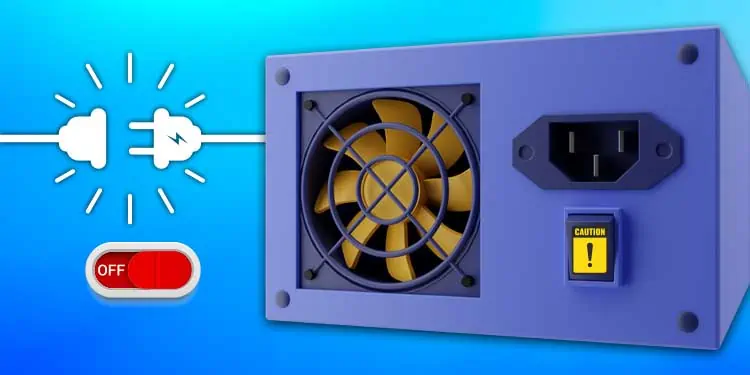
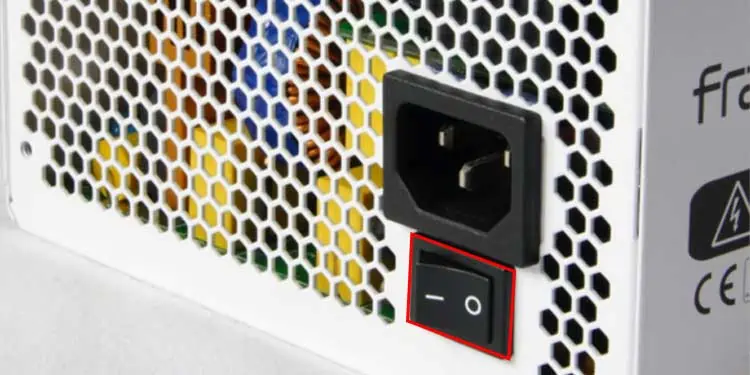
Many power supply units have a switch on the back that turns them on or off at the source. It isn’t the same as your computer’s power button. It’s on the back of the physical PSU itself.
Some people new to building their own computers or troubleshooting components are unaware that the switch exists. So even if it seems silly, take a closer look at your PSU to see whether it’s as simple as flipping a switch.
Try a Different Wall Outlet
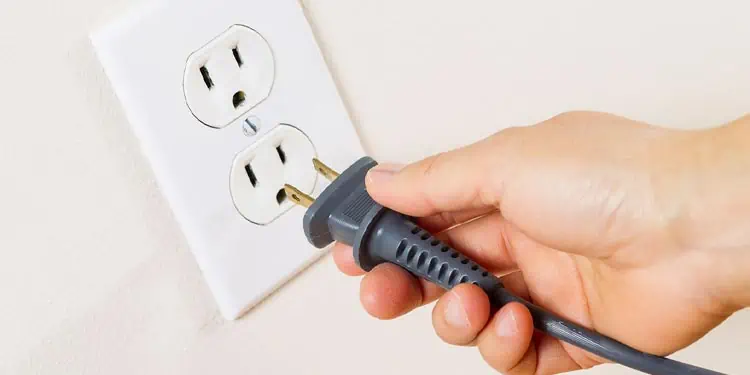
Another simple thing to check is your wall outlet and power strip if you’re using one. Sometimes they’re damaged but still work enough that they seem functional. However, a PSU draws a lot of power, and it might be unable to work with diminished capacity.
Try replacing the power strip and using a different outlet because it could be either. You know where the problem lies if the PSU works with the new connections.
Check Your Plugs
First, you must completely remove any of the connections from the PSU. The chance that something wasn’t plugged in correctly is high if the unit won’t turn on, especially if you’re working on a new build.
- Remove your PSU from the computer and unplug all the connections it uses. You don’t want to leave anything plugged into it.

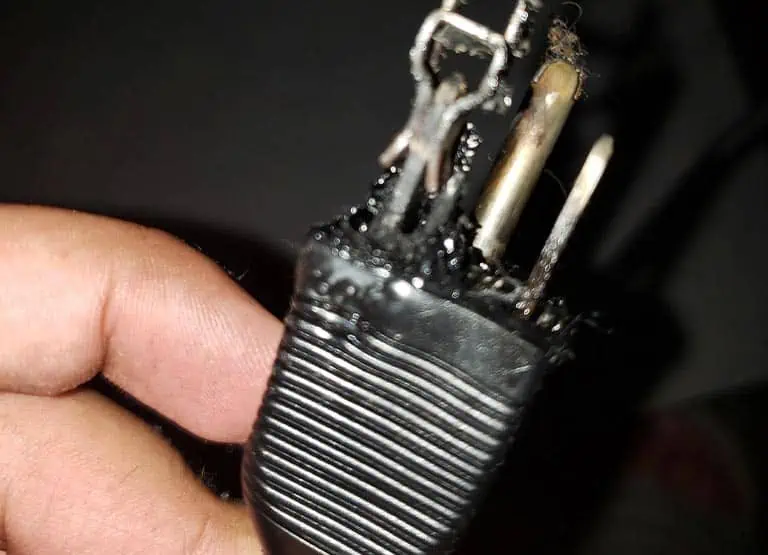
- Examine each end of the cable where it plugs in and look for cracks, burns, or other signs of damage.

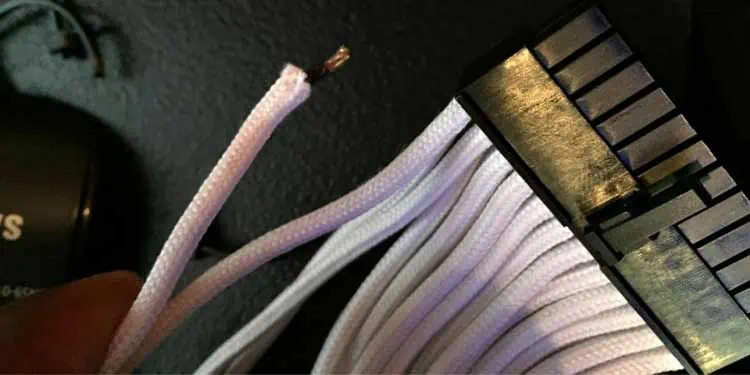
- Run your hands along the cable and look for unusual kinks in the line or other signs of damage.

- Look at the ports on the PSU and the other places that plug into it. Once again, try to find any signs of physical damage.
If you see damage on any parts, they may need to be replaced. You can get replacement cables from the manufacturer of any component they came with or search for compatible cables with a tech store.
Check the Internal Connections
Sometimes a power supply unit won’t turn on unless it actively detects that power is actually required. This isn’t true for all models but is for some. So it’s essential to check whether your connections are as they should be with the computer.
It’s impossible to determine whether your PSU requires a power load to turn on. You should check with your manufacturer if you think that’s the problem because they will be able to tell you whether it’s a possibility.
Wire Everything IN
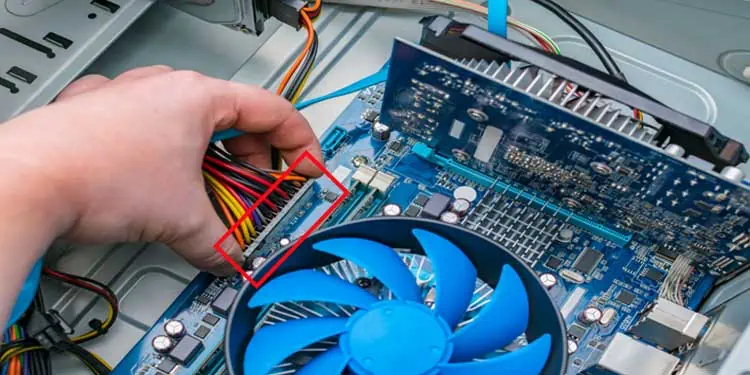
If you haven’t connected the computer’s front panel to the PSU and motherboard, you need to go through and set up each connection. When you’re done, check the switches and plugs, then try to start the machine.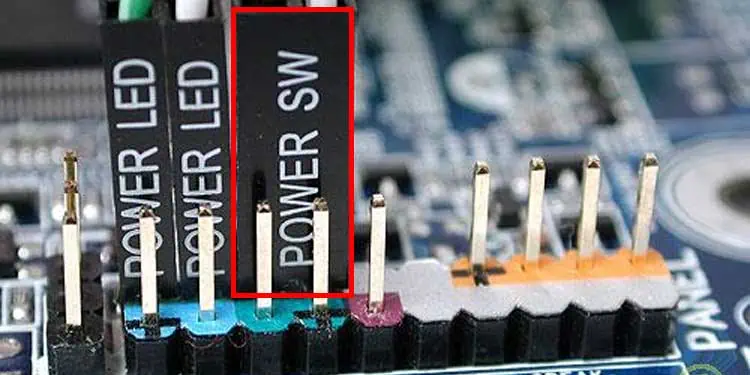
Many people have found their PSUs weren’t working because the required wiring was not quite right. If you have the time, hooking up the entire computer might give you good results – especially if it’s a new build and you haven’t done it yet.
The PSU manual can be a big help with this. It might explain everything that needs to be plugged in. Use it as a guide to ensure everything is put together as the manufacturer recommends.
Go Through Your Case
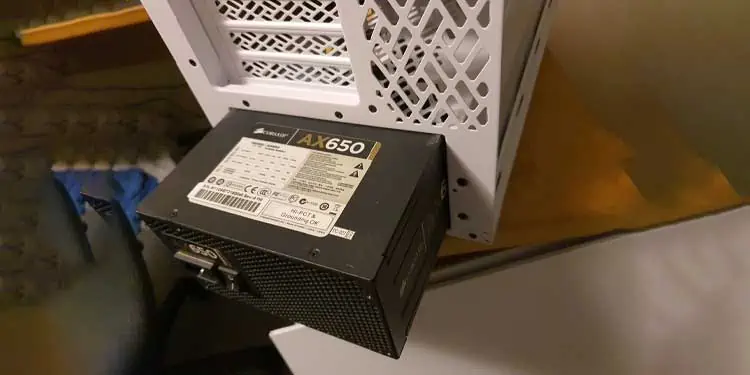
Sometimes a slight problem with your setup can prevent the PSU from working. One user described finding a screw that fell out of one of his components and lodged under the motherboard. It stopped the motherboard from working correctly, which means the PSU also wasn’t working on that particular build.
If you find anything out of place or damaged, try replacing it or using another to see if the PSU powers on.
Try Another PSU
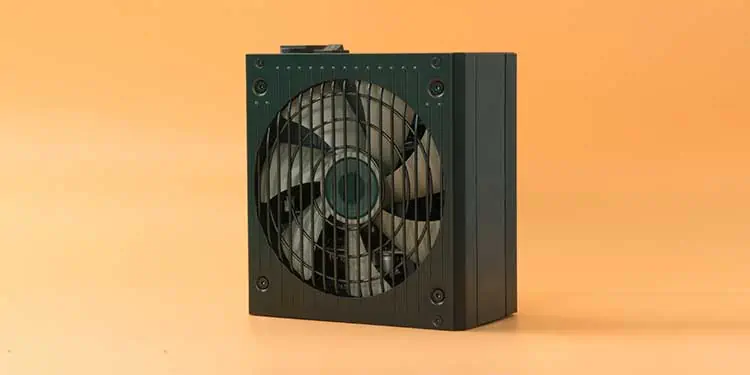
You can also plug another PSU into your computer, wire it in, and see whether it boots. If it works, you know something is wrong with your main power supply. However, the computer refusing to start with a power supply you know works is a sign that something else is wrong with the machine.
At this point, consider removing everything except one component that plugs into the PSU. Try to turn it on and see whether it works. If it doesn’t, remove the power to that component and plug in the next.
If the PSU turns on when one thing is connected but not when everything is, one of your components is bad and affects the PSU. You can figure out which by continuing to plug components in until you find the one that doesn’t allow the PSU to start.
What if I Don’t Have a Computer Put Together or Suspect It’s Something Else?
If you’re just testing a PSU to see whether it works and don’t have a computer you want to swap it into, you can try another way to know whether it works. However, jumping a PSU to test it should only be done by people comfortable with this kind of electrical work.
- Unplug everything from the PSU except the main AC cable and the 24-pin connector cable it comes with.

- Switch the PSU off with the switch on the unit. If it doesn’t have a button, you should turn off the power strip or unplug it while you get things connected.

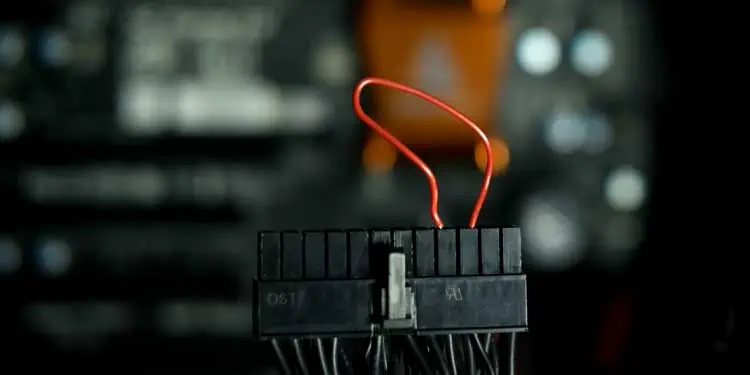
- Bend a paperclip into a U shape. It needs to be long enough to push each end into one of the 24-pin connector ports.
- Insert one leg of the paperclip into the PS_ON connector. It’s generally the fourth pin from the left if the clip is on top of the connector cable while resting on a table. Some models have a visible green wire in the PS_ON connector.

- Insert the other end of the paperclip into a ground wire. Most PSUs have multiple ground wires, so you may need to consult your manual to find the correct ones.
- Flip the switch on. Watch and listen to see if the PSU turns on. Remember: not all PSU fans kick on immediately, so you may have to watch and listen closely to see whether it’s working.
If the PSU turns on, it’s functional, and you can make it work. It means the problem is something other than the unit itself.
How Do I Know When It’s Time to Buy a New Power Supply Unit?
You should consider buying a new unit if your PSU won’t turn on and is out of warranty. Unfortunately, a power supply unit isn’t a part you want to mess around with because its failure could damage the entire computer. Once you’re sure it’s not something you can fix, it’s time to look for something new.
Shopping for a new PSU isn’t the most exciting part of buying a new computer, but it’s vital, and you should think about which you choose. Power supplies are sold with certifications, meaning they have a specific guarantee of how well they perform at different levels. Look for 80 PLUS certifications. They range from the base level up to Titanium, with each level being better than before.

