With the increasing program and system requirements, the need for more amount of RAM is also growing. It has become normal to use multiple memory in our system.
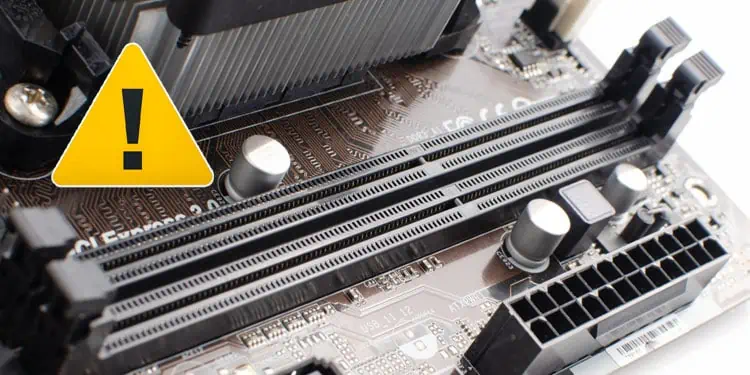
However, there are instances when the RAM is not detected by the system, or you simply see a black screen. In addition, you may not be able to see your additional memory in Task manager. One of the reasons for these issues is the fault in the RAM Slot.
Generally, this problem is seen while trying to use multiple RAMs in the PC. You may hear continuous beeping while starting the PC or see a orange light on the Motherboard, both of which indicate the RAM slot issue.
The causes for the memory slot not functioning range from compatibility issues, incorrect RAM placement, and CPU defects to BIOS and software faults. You will need to identify the particular cause and move on to attempt the fixes to resolve the issue.
Fixes to Make the RAM Slots Work Again
You need to ensure that the fault is indeed in the RAM slots and not with the memory itself before trying to fix them. Along with that, you need to verify a few things and perform some basic troubleshooting given below.
- Make sure that the RAM you are using is functioning well. For that, remove the physical memory, clean it and check it in different slots or other working PCs.
- Also, insert the RAM properly such that the locks are placed well.
- If you are using multiple memory, try using one at a time because one faulty RAM can also cause the PC to not boot.
- Moreover, for multiple RAMs, make sure that they are of the same type and compatible with your motherboard.
- Some motherboards have limitations for the maximum capacity of RAM you can use. Review your motherboard’s manual and ensure that the RAM capacity is within the limit.
- Similarly, obtain a working RAM and try it on all the slots to see if your PC responds well to it. If the RAM does not work at all or functions in only some slots, then the problem may be in the memory slot.
If the system is still unable to detect RAM, then you may have to try the following fixes.
Use the Proper RAM Slot Combination
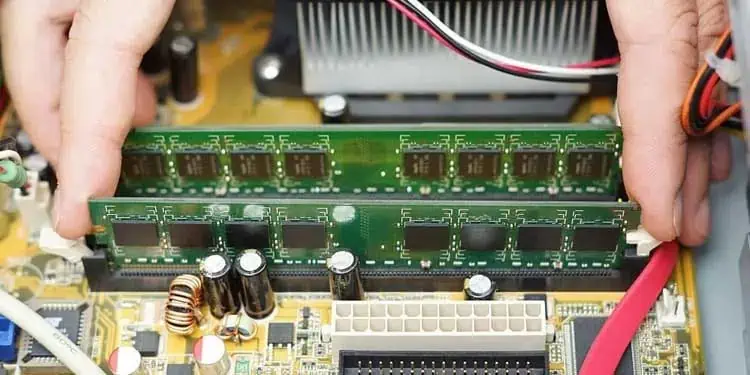
Generally, you can insert the memory stick into any RAM slots on your motherboard. However, the case is quite different if you are using multiple RAMs.
You can use the RAMs in any combination in a motherboard with only two slots. But if your system has four slots, then you need to insert the RAM sticks alternately. Not doing so may result in the issue of the memory stick not being detected by the system or running the system in a single memory channel, thus causing the mentioned problem.
For instance, if you are using two similar RAMs, then these should go inside the A1 and B1 slots or A2 and B2 slots. And you can then insert more RAMs in the remaining slot in a similar fashion. Hence, check if you have inserted the memory sticks in the proper slots.
Clean RAM and RAM Slots
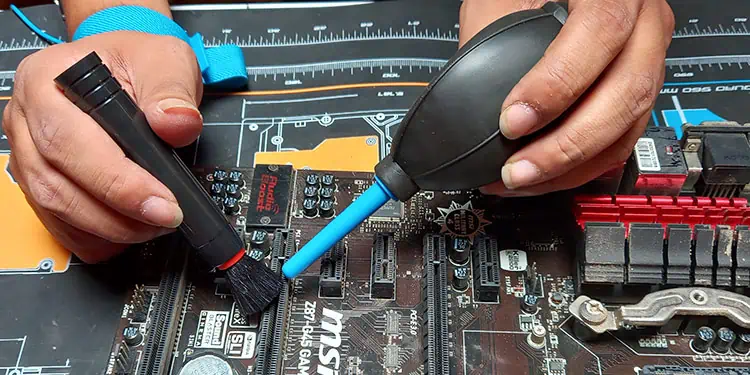
Dust causes far more issues than we imagine. If the holes in the RAM slots are covered with dust, breaking the connection. Not only this, the dust can cause the slots and the memory to get hot after continuous use, eventually leading to damage.
So, you should properly clean the memory slots and the RAMs. For this, you can take a blower and pass air through the slots to remove the dirt.
While cleaning, make sure that no pins inside the malfunctioning RAM slot are damaged. If you find any bent pins, then try bringing them back to their original position carefully.
Reset BIOS
Sometimes, the system may not detect the new components due to the difference in the communication setting in BIOS. If you’ve recently upgraded your RAM for a performance boost or CPU, it is not unusual for the BIOS to not detect it.
To solve this, you can try resetting the BIOS. It will analyze the RAM sticks again and determine the compatible communication setting for them.
- Unplug the power cable and take the PC casing out in an open area.
- Remove the side panel and get to the motherboard.
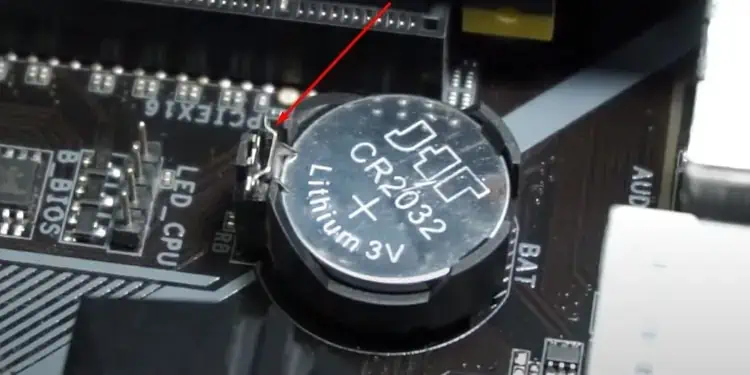
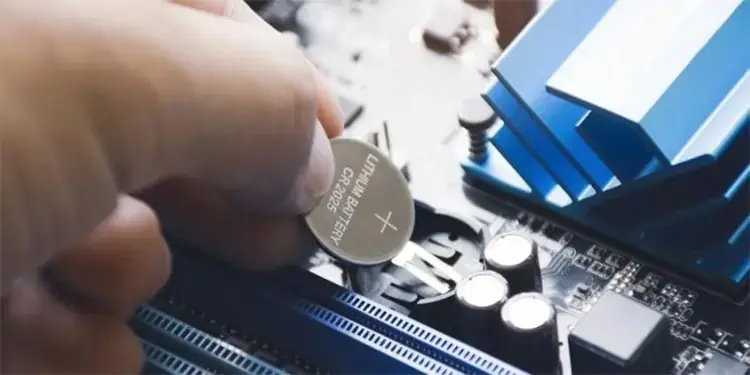
- Find the CMOS battery and push the lock to remove it.

- Now, press the power button for around 20 seconds to remove any residual power from the system. This will ensure that the BIOS resets completely.
- Insert the battery again.

- Plug your system back in power and start it.
Check if the RAM slot work. You can also try resetting the CMOS using a jumper if removing the battery fail to do so.
Enable the RAM Slots in BIOS
Some motherboards have a setting to enable or disable the memory slots within the computer’s BIOS. If your computer has similar configurations and it is disabled for the spare RAM slots, the slots won’t be functional.
- Run your PC and press the respective key repeatedly to get into the BIOS page.
- Go to Advanced Options.
- Look for Memory Settings, DIMM Settings, or similar.
- Find the option to enable the memory slot and turn it on.
- Save the settings by pressing F10.
Reboot your PC to see whether the problem has been solved
Reduce RAM Voltage or Speed
Not all RAMs have the same speed and voltage requirement for operation. The motherboard, and hence the memory slots, are also designed to use the specific voltage and run the memory at a designated frequency.
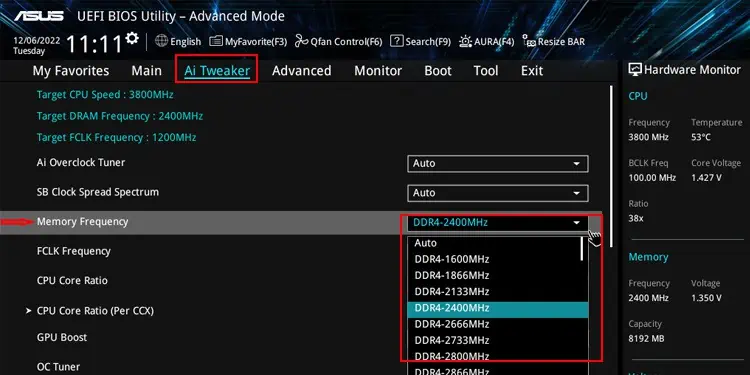
So, if the memory you are using has a lower voltage requirement than that supplied by the motherboard, then it may not detect the inserted memory stick. And you might believe the slot is not working. Thus, you can try reducing the voltage and the RAM speed from BIOS.
- Get into the BIOS page on your computer.
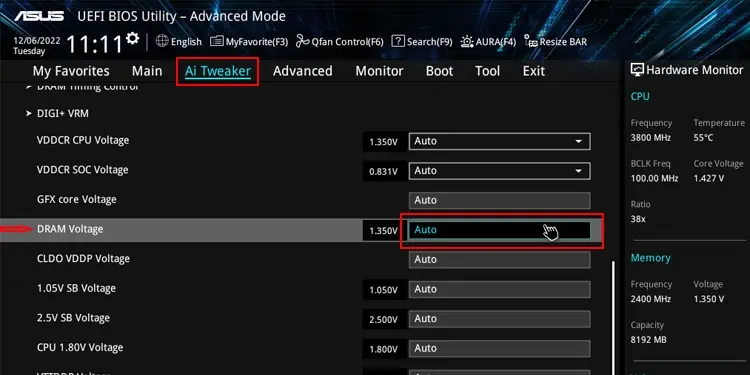
- Go to Advanced Options and find Overclocking, XMP, or similar settings depending on your motherboard.
- Look for DRAM Voltage, and lower it.

- In some PC, you may not be able to change it. However, you can adjust the DRAM frequency to a lower value that will automatically lower the voltage as well.

- Similarly, lower the RAM Speed as well.
- Press F10 to save the settings.
Inspect if the memory slot is working again.
Update BIOS
Sometimes, the motherboard may have some defects from the start causing issues with the memory slot. There is not much you can do except from replacing or repair it if the problem is hardware-related.
However, it can also be a software or BIOS issue. In that case, the manufacturer provides the fix in the new BIOS updates. So, you can try updating your BIOS to the latest version and solve the problem.
Besides these problems, it is also a possibility that the memory slots might have been damaged due to Electro-static discharge while handling the motherboard. We often tend to neglect the harm of ESD and forget to ground ourselves while working with the system hardware. In such cases, replacing the motherboard or repairing it is the only solution.
With the hardware faults on the RAM slot, we recommend you take it to the professional repair center instead of taking things into your own hand.
RAM Slots Not Working After a CPU change?
It is possible for memory slots to not function because of problems in the processor. It can happen due to manufacturing defects, bending of the CPU pins, improper contact of the CPU or compatibility issues with its slot.
So, you should look for the following CPU issues and rectify them to solve the problem.
- Remove the CPU fan and take the processor out of its socket. Clean it carefully to remove any dust from it and the socket. Dust can cause the CPU to heat up as well as hinder proper connection.
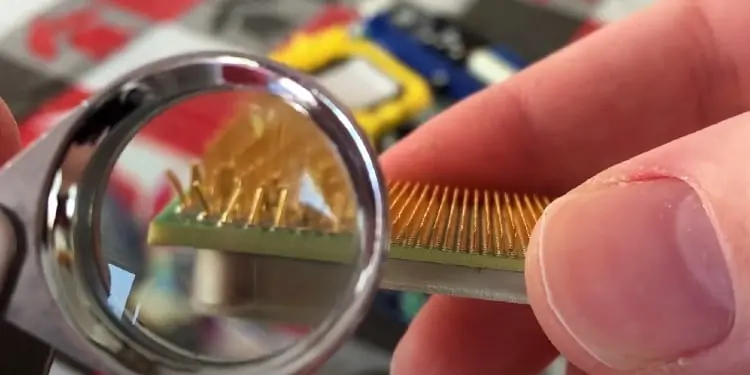
- Check for any bend pins on the CPU as well as the socket. If you find any, carefully straighten them up. Most of the time, the issues of RAM slots not detecting have been traced back to bend or broken CPU pins.

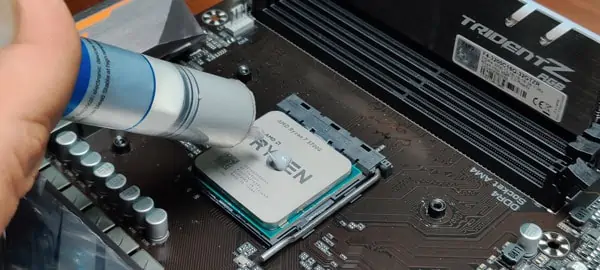
- Inspect the condition of the thermal paste on the CPU. If the paste is depleted, remove it and apply the fresh thermal paste for proper heat flow.

- Another cause is a loosened or highly tightened Cooling fan. Since AIO cooling systems take up a large space inside a PC case, improper alignment it can displace the components rendering the devices unusable.
So, ensuring proper contact, tighten or loosen the cooling fan. - If you have or can obtain a spare CPU, try using it and see whether the problem gets solved.
- As mentioned earlier, for a new CPU you may have to reset your BIOS to fix any compatibility issues.
After you identify that it is indeed the CPU or the socket, then you can move on to replacing or repairing it. If you still have a warranty, then we recommend you ask the manufacturer to replace it.

