Reaction roles are a fun feature in Discord servers. As a server owner, you must always be on the lookout to keep your members engaged.
Unfortunately, Discord does not provide an easy way to set up reaction roles. With the Roles setting, you can assign roles to members. But that’s never going to be as convenient as self-assigned reaction roles.
What is Reaction Role in Discord?
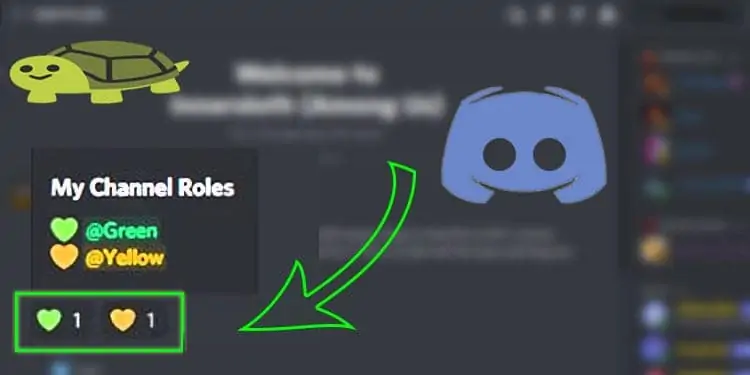
Reaction roles are self-assignable discord roles. Every Discord server has the ability to configure one or more roles. These roles can be linked to specific emoji reactions using a number of ways. When a user performs that reaction, they are automatically assigned the associated role.
Reaction roles assist members in identifying themselves on the server in a unique way. If you know how to use them, they can be very engaging. Some servers make use of them to collect surveys and polls from their users. Others use it to identify admins, moderators, and other high-ranking members of the server.
Reaction Role Bots
Reaction role bots, on the other hand, are Discord bots that are written to automate regular server features. Reaction role bots are third-party integrations that can only be added by the server owner.
Reaction role bots differ in terms of how they can be configured. However, the end goal of all bots is the same. That is, create reaction roles in the simplest way possible.
Note that not all features are available for free across all reaction role bots. Some limit on the number of reaction roles that you can create. Others charge you for the additional features they provide. Here is a quick list of some of the popular reaction bots available in the market.
- Carl bot
- MEE6 bot
- Droplet Reaction role bot
- Dyno
- Lawliet
- Pancake
- Zira
How to Set Up Roles From Discord
These Reaction Roles on discord can also be configured directly from the Discord server settings, without the assistance of a third party. Each member of your server can have their own role. Besides this, the role at the top has the option to modify all roles below it.
As a side tip, @everyone is the default role that Discord gives to all members of a server. Any role assigned thereafter supersedes settings defined in @everyone.
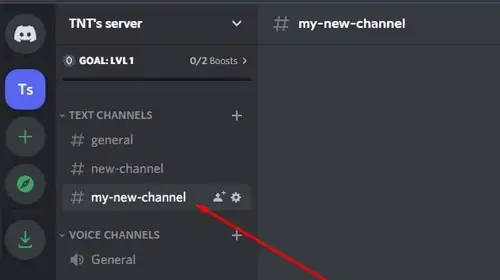
- Open a text channel from the list of channels.

- Click on the server menu and select Server Settings.

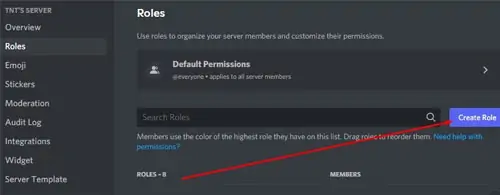
- Select Roles.
- Click on Create Role.

- Give your role a name.

- Pick a role color.
- Select Save Changes.
Now you should be ready to start making reaction roles. Make sure that you use only your created roles in the next sections.
One thing to note here is that, for every bot that you add, move it to the top of the list under the Roles tab. This will give the bot permission to modify roles for all members below it. If you miss this step, the reaction role that you created will not work correctly.
Manual roles
Alternatively, if you want to manually assign roles, follow these additional steps.
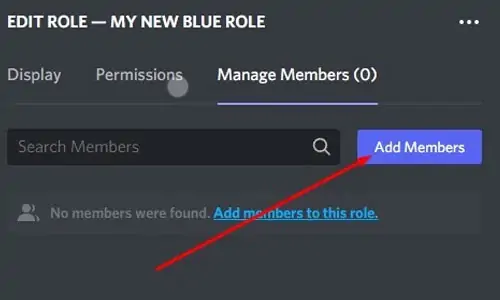
- Go to Manage Members.
- Use the Add Members to find and add members to this role.

- Repeat for additional roles.
Using Carl Bot
Carl bot is one of the most popular server management bot. Deployed in over 4.3 million servers, it makes creating reaction roles a piece of cake.
You can start Carl Bot’s command from any text channel and create reaction roles as per your preference. The creators also provide thorough documentation on command usage.
Carl bot lets you create up to 250 reaction roles in the free tier. If you need additional roles or perks, they also have a paid subscription model.
- Go to it’s website.
- Select Log in with Discord and log in using discord credentials.

- Follow on-screen instructions to add Carl Bot to your server.
- Go to the server in Discord and open any text channel.
- Before moving ahead, make sure Carl-bot is moved to the top of the Role list.

- Type
?reactionrole makeand press Enter.
- Select general or any other channel and press Enter.
- Enter
Roles | {roles}and press Enter.
- Use the provided link to get a hex color code or type none.

- Now start adding roles under the format emoji separated by name of the role.

- Make sure you get a green checkmark as confirmation.

- Once you are done, type done and press Enter.
- Go to the previously selected channel to find your reaction roles.
Using MEE6 Bot
Used by 16 million+ servers, MEE6 is meant to simplify server management and enhance server experience.
MEE6 dashboard is your one-stop for managing different plug-ins that integrate into your discord server. If you don’t want to get started with typing commands, using MEE6 bot is the right approach to creating reaction roles for you.
Their free tier only lets you set up just one reaction role which is a slight disappointment. But they make up for it by providing an extremely user-friendly dashboard. Once you’ve tested it out, you can get their premium plans to set up multiple reaction roles in your server.
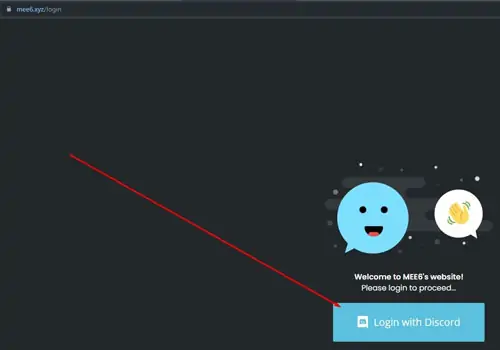
- Go to Mee6 website.
- Select Log in using discord.

- Follow on-screen instructions to add MEE6 to your server.
- Go back to the Discord server and select Server Settings.
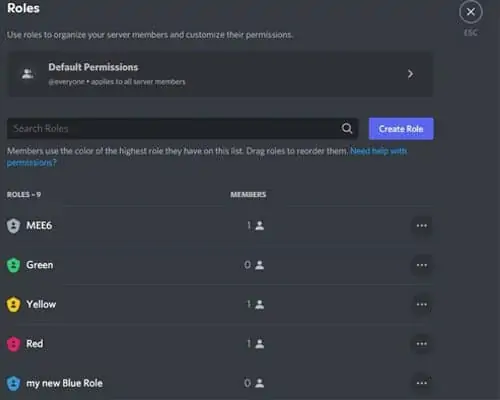
- Select Roles.
- Move MEE6 to the top of the list of Roles.

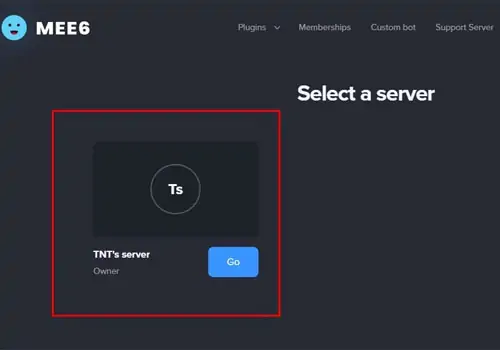
- Go to the MEE6 dashboard and select your server.

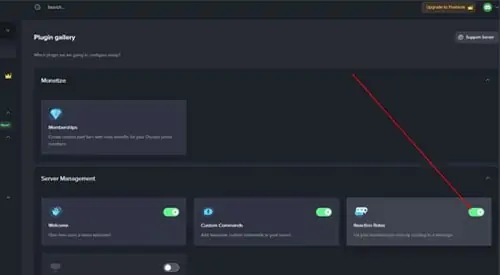
- Enable Reaction Roles under the list of plugins.

- Select Yes to confirm.
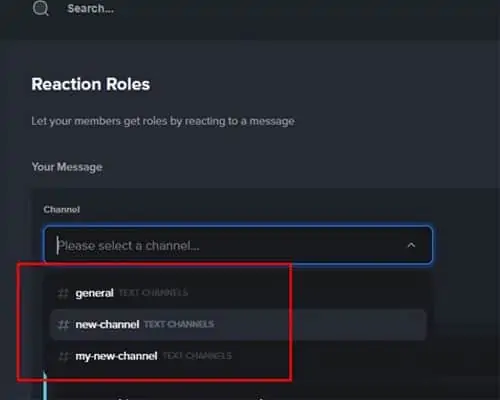
- Under Reaction Roles setup, select a channel.

- Customize your role message.
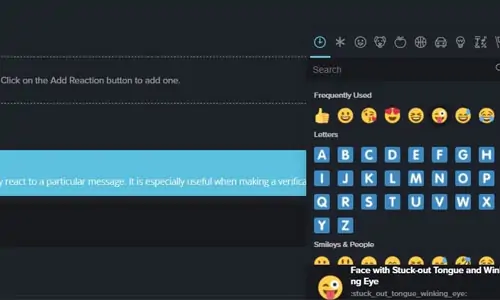
- Select Add reaction.
- Select an emoji.

- Next to the emoji, select the Add button.

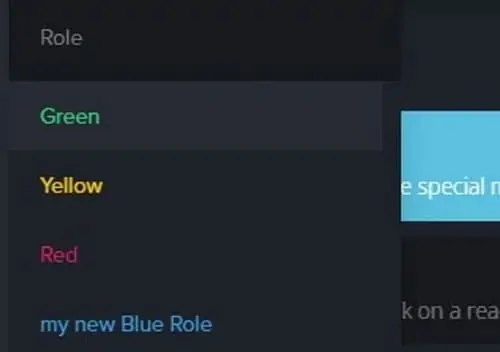
- Choose a role.

- Repeat for additional roles.
- Select Reverse.

- Select Save.
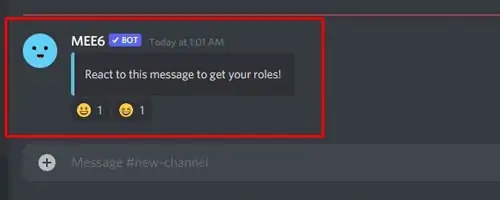
- Go to the selected channel to find your reaction role.

Using Droplet’s Reaction Role Bot
If you are more used to command-based control, Droplet’s reaction role bot is the right choice for you. Unlike another discord bots, Droplet’s bot is dedicated to one thing only, and that is reaction role management.
This bot lets you add up to 20 reaction roles to the same message. If you are deciding to implement this bot in more than one server, you should consider purchasing premium versions.
Droplet does not have a dashboard yet so you will have to learn the commands to get the status of your reaction roles. Luckily, they provide a command instructions page to teach you how to use the bot commands.
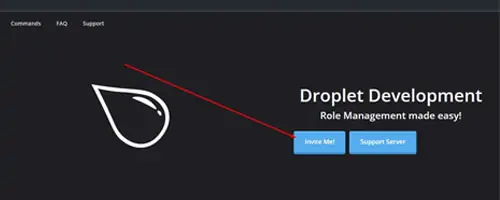
- Go to Dorplet.
- Select Invite Me!.

- Log in using discord and add to a server.
- Go to the Discord server and select any channel.
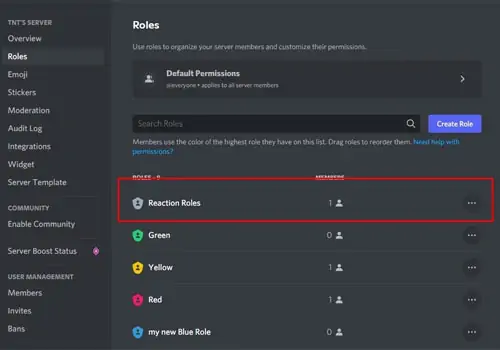
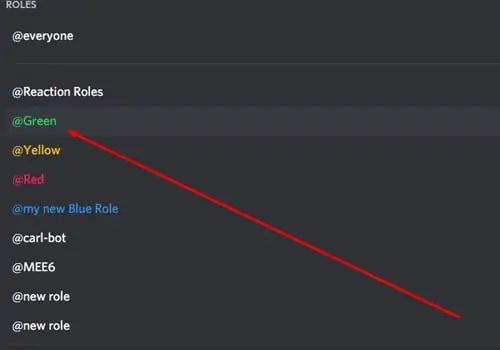
- Go to the Server settings and move Reaction Roles to the top of the list on Roles.

- Go to a text channel and send a reaction role instruction message.

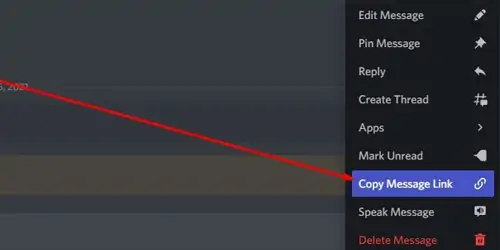
- Under Message options, select the copy message link.

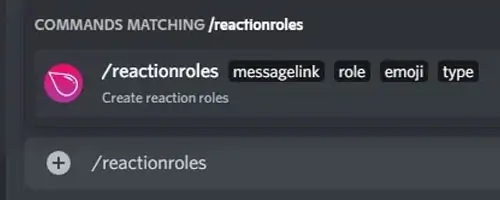
- Type
/reactionrolesto start the setup.
- Under messagelink, paste the previously copied message link.

- Under the role, select one of the previously set up roles.

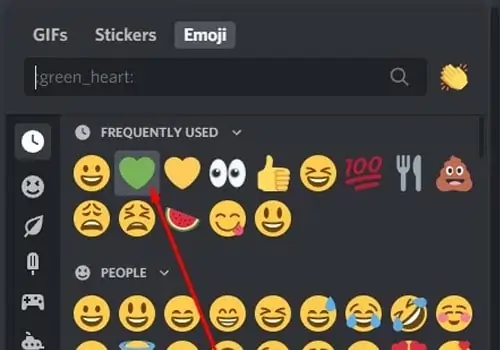
- Under emoji, select an emoji.

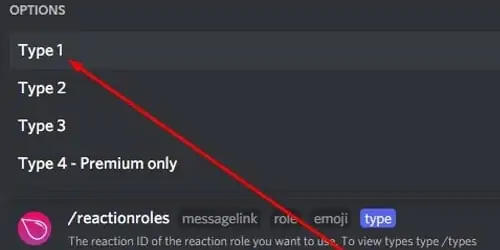
- Under type, select Type 1.

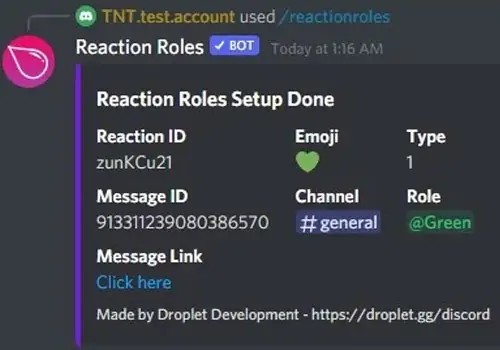
- Press Enter to get a setup confirmation message.

- Go to the role instruction message to find your role.

- Repeat for additional roles.
Using Dyno Bot
With its Autorole and Joinable Ranks feature, Dyno bot makes an extremely good assistant in reaction role management.
It is used in over 5.9 million servers and has a easy interface for setups. Under it’s free tier, it lets you create up to three reaction roles. If you purchase the premium version, you can create infinite number of reaction roles.
- Go to dyno.gg and sign in using your discord credentials.
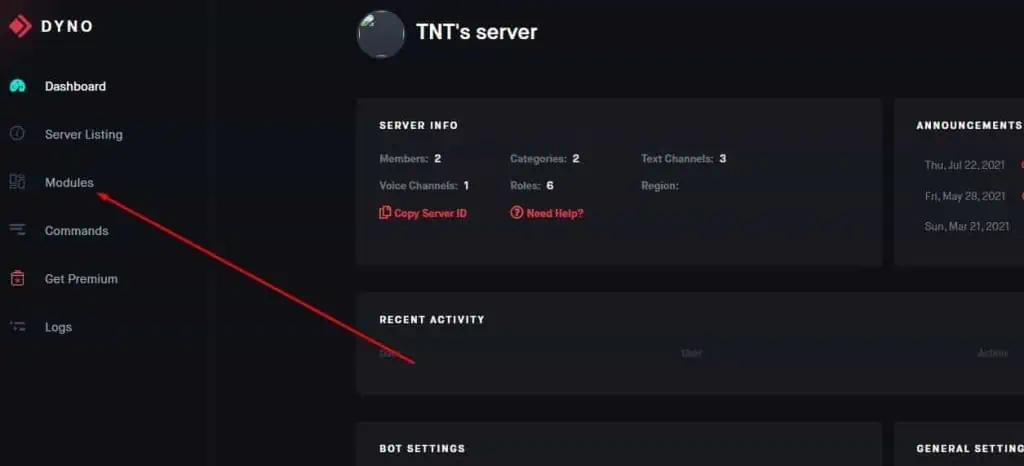
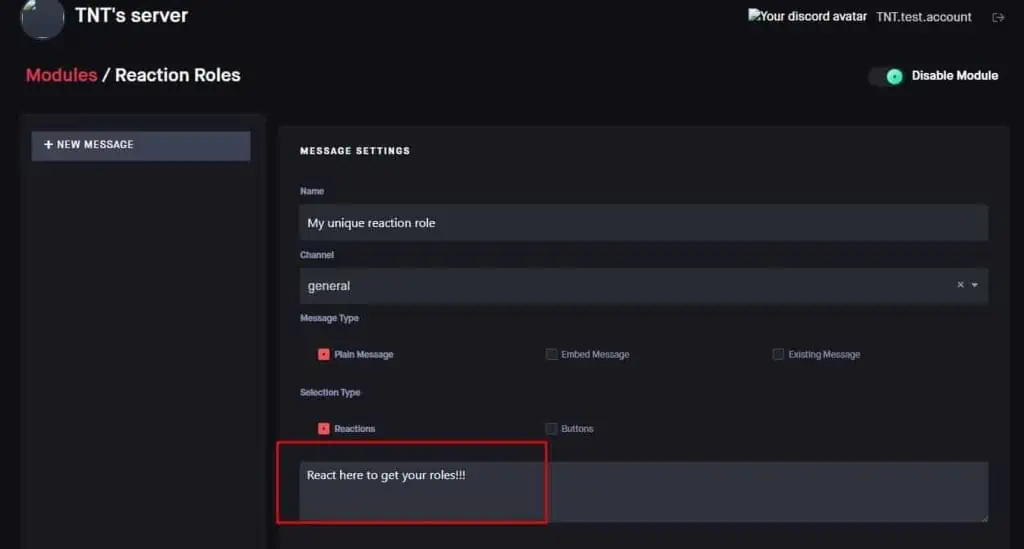
- Under your server dashboard, select Modules.

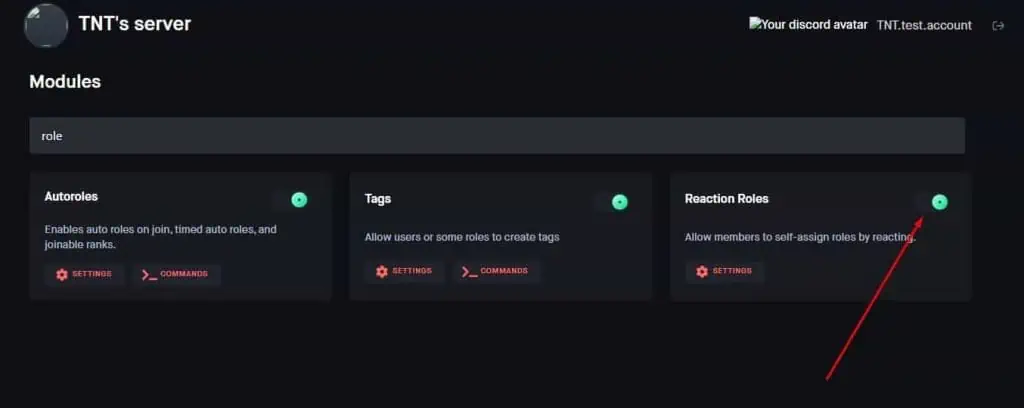
- Locate and enable Reaction roles from the provided list of modules.

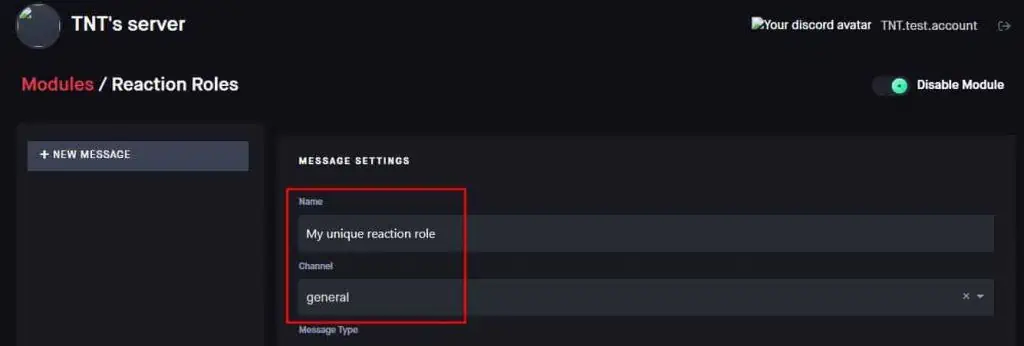
- Under New message, enter reaction role name and select a channel.

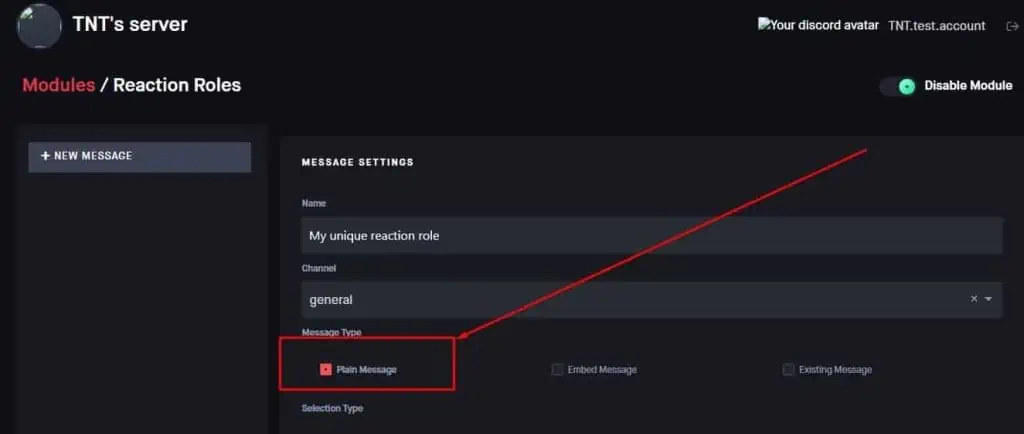
- Select Message type as Plain message.

- Enter a custom reaction role message.

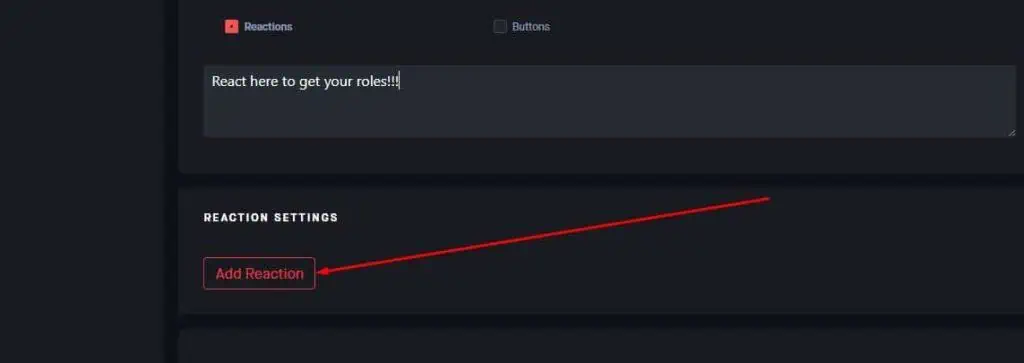
- Under Reaction settings, select Add Reaction.

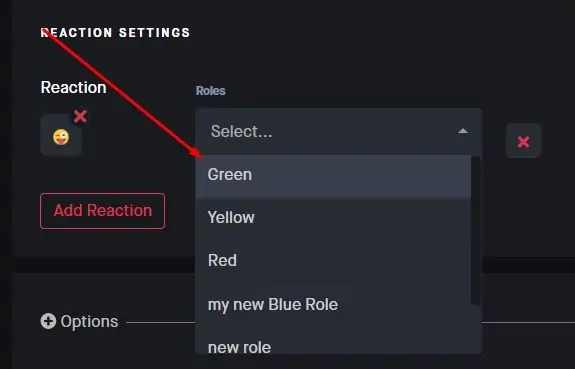
- Select the Plus icon under Reaction and select an Emoji.
- Select the Roles picklist and select a Role to assign to the reaction.

- Select Add Reaction for each additional role.
- Click on Save after you are done.
Using Lawliet bot
If you are looking for a reward-based bot, Lawliet bot is the right choice for you. The more your members are active in your server, the higher they will earn coins called ‘fish’.
Among many other features, lawliet bot lets you create reaction roles in the simplest manner. Lawliet offers explanations and examples for each and every bot command. This makes the bot usage handy as well as convenient.
Lawliet uses message-based interaction to configure and setup. If you are more used to creating reaction roles from the dashboard, you may find this approach slightly cumbersome.
- Go to lawlietbot.xyz and Invite bot to your server.
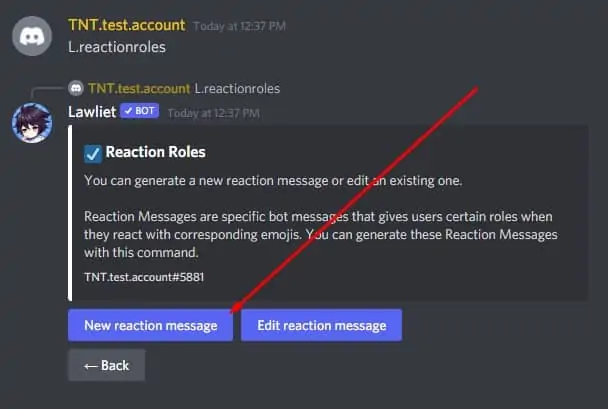
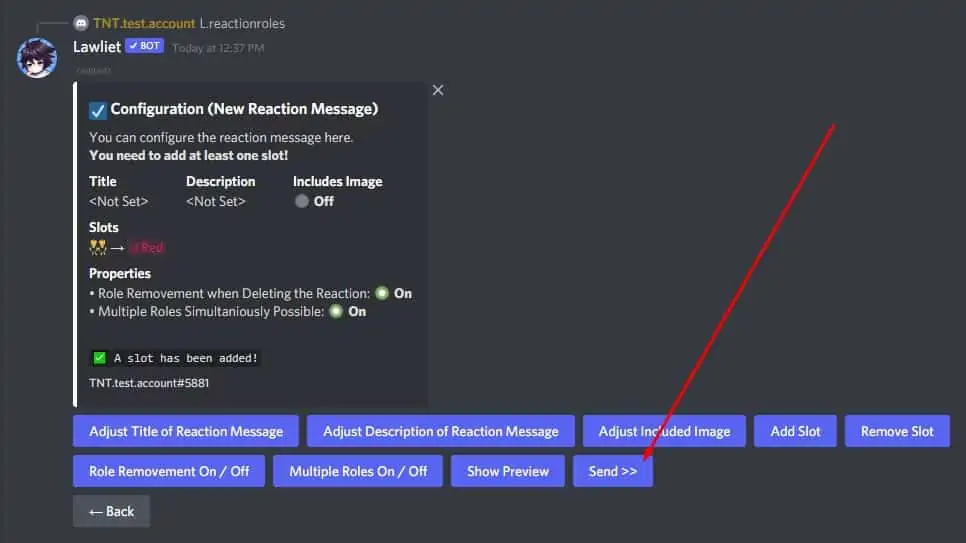
- On your discord server, type L.reactionroles to get started.
- Select New reaction message.

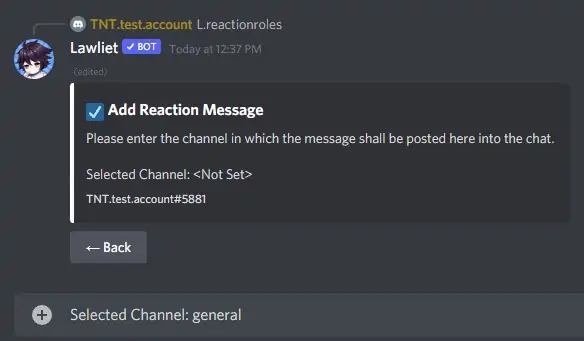
- Type channel name and press Enter.

- Select Continue.
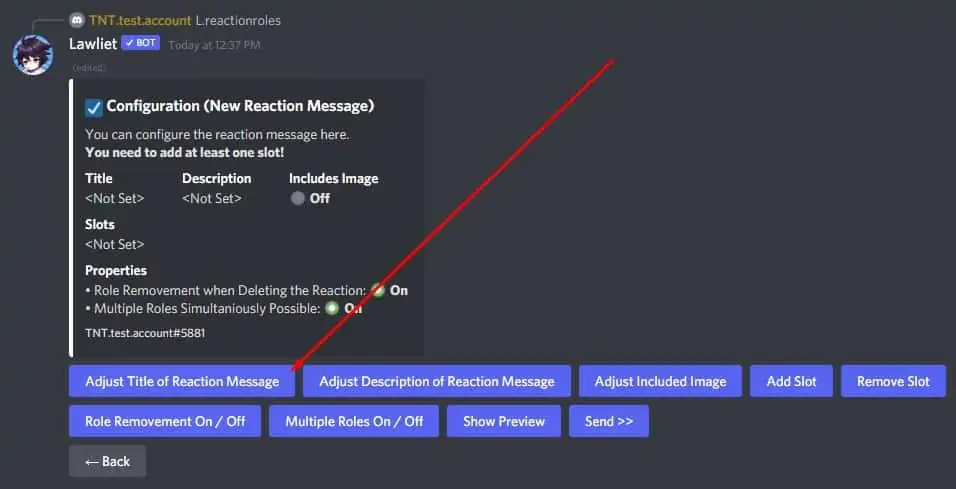
- Customize the title and description of reaction message as required.

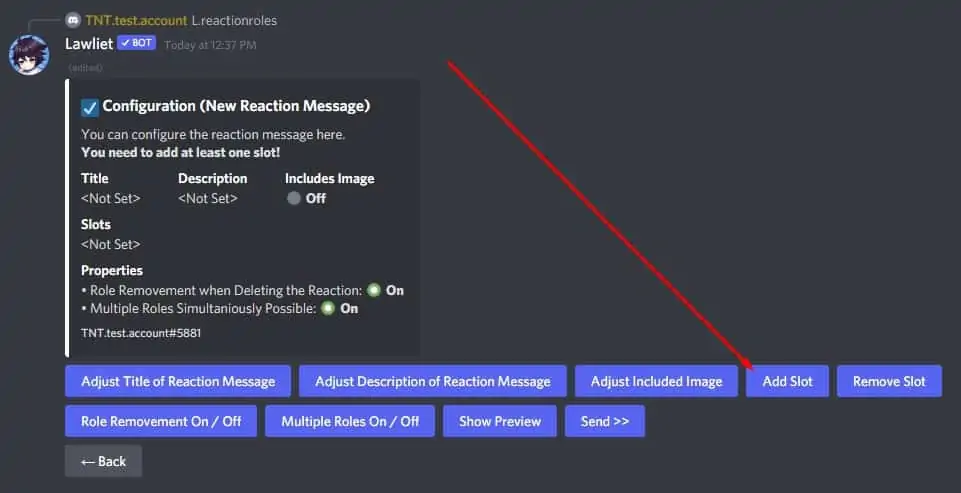
- Once done, select Add Slot.

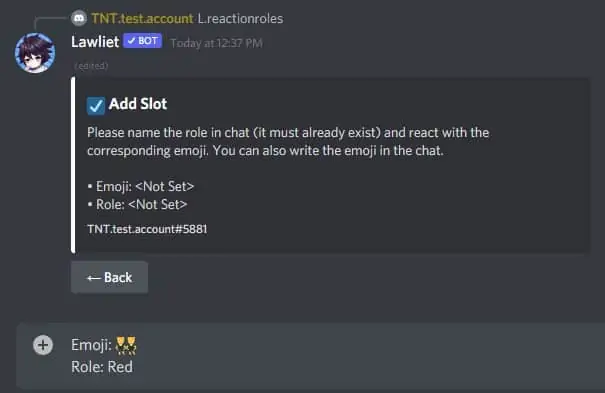
- Type the emoji and corresponding role as suggested e.g. Emoji : 😀 Role: Green and press Enter.

- Select Add to confirm adding.
- Repeat for each additional role.
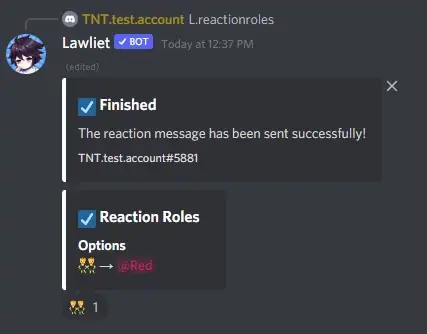
- Click on Send.

- Wait until the confirmation message pops up.

Pancake bot
Any music loving discord user will know the importance of pancake bot. With features mostly geared towards the music community, pancake bot also allows setting up reaction roles for easy access.
The premium version even includes Patron role and other music play features. Pancake makers also have a dedicated support server available to serve your requests at any time. Their documentation page isn’t well-detailed but you can access all of their syntax by typing the command itself.
- Go to pancake.gg and select Invite.
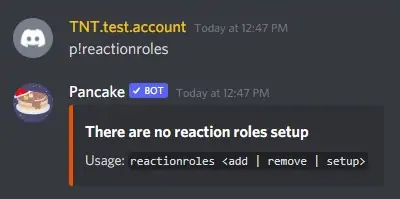
- Once added, go back to Discord server and type p!reactionroles for confirmation.

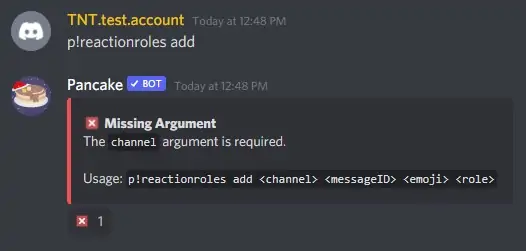
- Now, type p!reactionroles add to get the full command syntax.

- Type the following and press Enter.

p!reactionroles add new-channel https://discord.com/channels/<message id> 😀 Yellow
where,
new-channel is the channel name
message_id is the copied message ID
😀 is the reaction emoji
Yellow is the role - Repeat the command for each additional reaction role.
Zira bot
If you are looking for one bot that’s made specifically for reaction roles, Zira is the ultimate choice. Zira even offers some advanced features such as Timed roles, Once roles and Autorole features.
Zira also provides a dedicated guidebook for discord owners looking to master its command. The premium version includes an unlimited number of reaction roles among other features.
- Go to https://zira.gg/ and select Invite Zira to add Zira to your server.
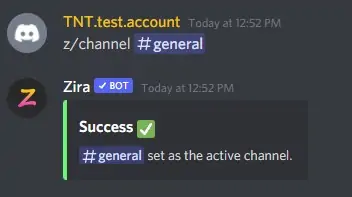
- Once added, go back to the discord server and type z/ channel #general to set channel.

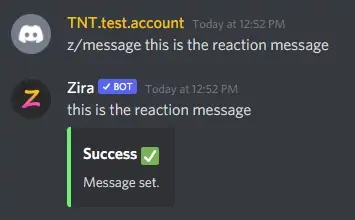
- Type z/message this is reaction message to set the reaction message.

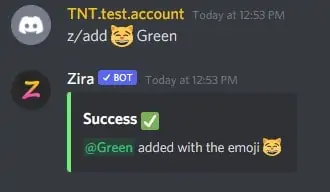
- Type z/add :smiley-cat: Green and press Enter to add ok-hand emoji to Green role.

- Repeat for additional roles as needed.
Frequently Asked Questions
How Do I Remove Bots?
Adding bots to your server is a little bit of a hassle with all the captcha codes you need to solve. Fortunately, removing bots takes less of your time than adding them. Normally there are two great ways of removing bots from your server.
- Kicking them out the same as any other member
- Banning them and then unbanning them
- Deleting your channels and recreating them
Can I Limit Bots to One Channel?
There is no straightforward way of limiting a bot to one channel only. Some bots such as Lawliet may make use of whitelist command to limit themselves to one channel only. But a majority of bots can be accessed from any channel once added to the server.
If you want to limit a bot to one channel, you need to modify permissions for all other channels. This may become tedious if you have large number of channels on your server.
- Do a right click on a channel name and select Edit Channel
- Select Permissions and click on Advanced permissions.
- Add a new Role and select your bot name.
- Under Send Message permission, click the cross icon to disable it.
- Select Save changes.
- Repeat for each channel you want to disable the bot for.
Can I Use More Than One Bots For Reaction Roles?
It is possible to use more than one bot for reaction roles. You can use the same set of discord roles and set them up with different emojis from different bots. Reacting on any one of the reaction message will land you the reaction role. But there’s a catch to using multiple bots for reaction roles.
The one on the top is going to get the highest of all privileges. It means that, the bot that’s placed higher than the rest of the bots in the Roles page under Server settings will have the final say in how the reaction role will be handed.
It means that, the member will be assigned reaction role by the bot at the top of the list as final.

