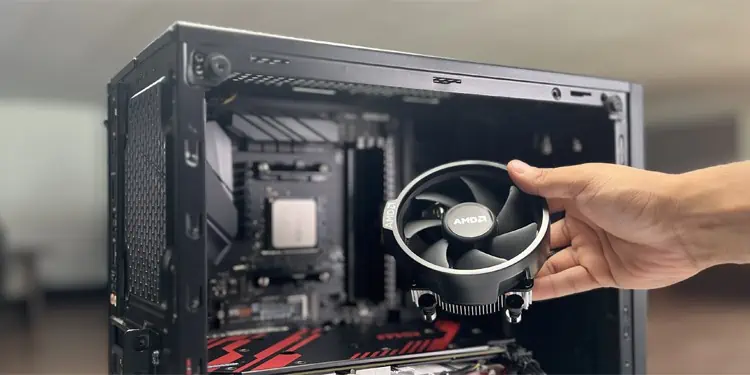
If you ever upgrade your CPU, you might also have to change your CPU cooler to keep it working well. You also have to replace a cooler if your old one stops working properly.
To replace the CPU cooler, remove the old cooler, replace the thermal paste, and finally, install a new one. Although pretty straightforward, the process is not as easy as it seems.
As all CPU coolers are made differently, every single one of them has its own installation techniques, so one needs to pay a lot of attention while replacing them.
When I first tried upgrading from an air cooler to an AIO one for my AMD CPU, I had to buy extra CPU brackets to mount the AIO in place as i had already lost the original brackets that came with my motherboard, and the AIOs package did not include any such components.
Open Your PC Case
The first step to the replacement process is to open up your PC case and expose the CPU cooler.
- Power down your computer and remove the power cable. It’s also better to remove all other peripherals.
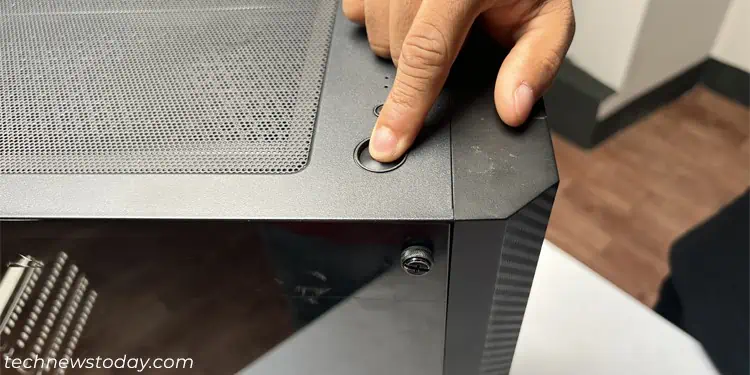
- Press and hold the power button for 3-5 seconds to drain off any excess charge inside. You will likely see your fans rotating or any LED lighting for a very short time, which shows that the excess charge is generating a current.

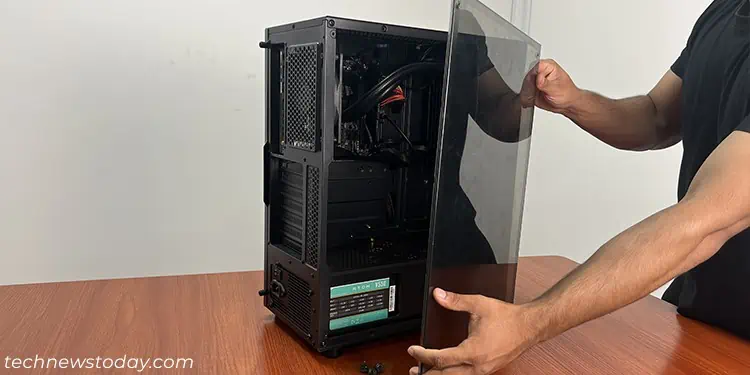
- Unscrew and slide out or take off the left side panel. You may need to use another method depending on your PC case. So if you can’t determine what to do, I recommend checking on official sources or the user manual.

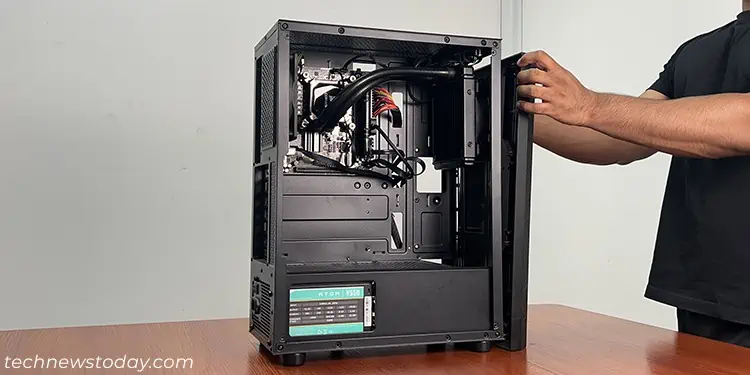
- If you have an AIO liquid cooler and the radiator is mounted on the front, you need to remove the front panel.

- This panel normally uses pressure clips to attach to the case, so you need to squeeze the clips and pull out the case. It’s better to do so from one side, like the top or bottom, first.

- Some PC cases do not allow easily removing the front panel. You should be able to unscrew the fan slots on the front to remove the radiator in such cases.

- This panel normally uses pressure clips to attach to the case, so you need to squeeze the clips and pull out the case. It’s better to do so from one side, like the top or bottom, first.
Remove Old CPU Cooler
After exposing the CPU cooler, you can start with removing it from your PC. You will need to follow different procedures to do so depending on the type of your cooler.
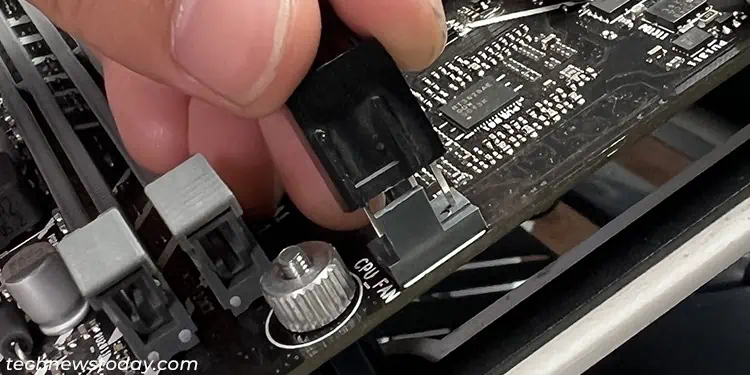
- Plug out all the cables of the cooler from the motherboard or any fan controllers.

- Depending on your internal cable management, you may need to take out the cable so that you can easily remove the cooler after disconnecting it.
- Now you need to unlock the CPU cooler. Before that, check if any other components like the RAM obstructs you from releasing the cooler. If so, you will have to remove them. Then,
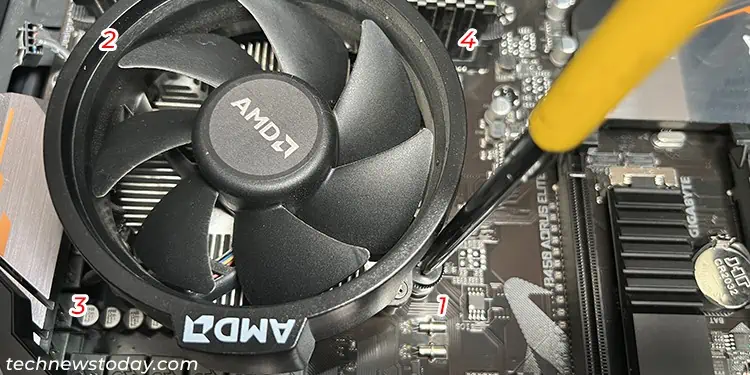
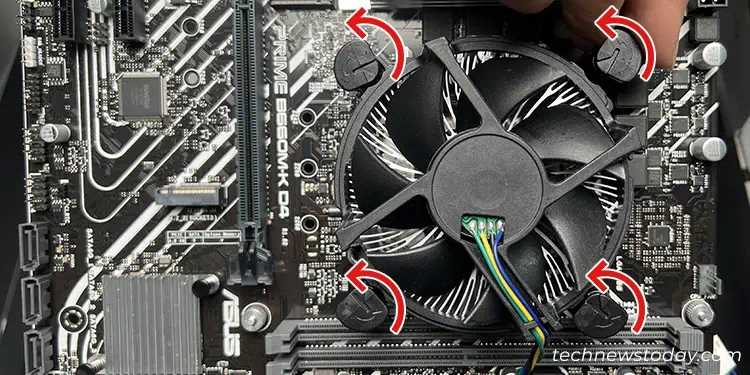
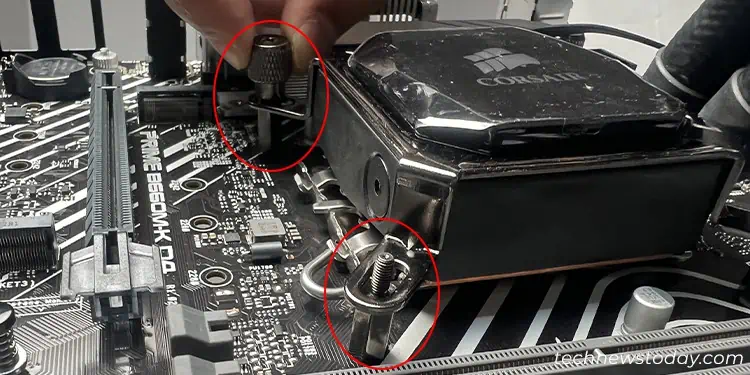
- If the cooler has spring screws, you need to unscrew it on all four corners.

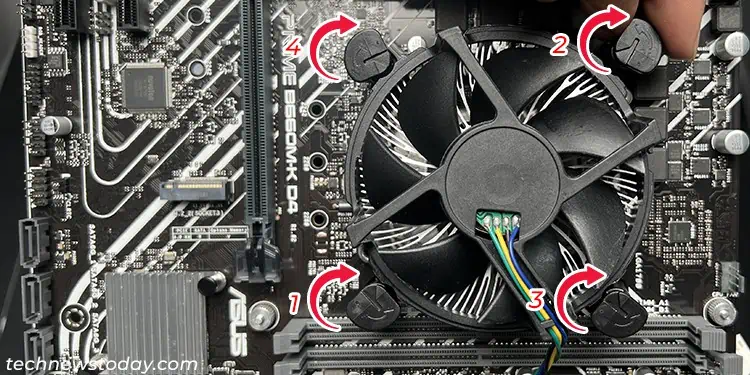
- If the cooler uses push pins, you need to turn all the pins 90° counterclockwise.

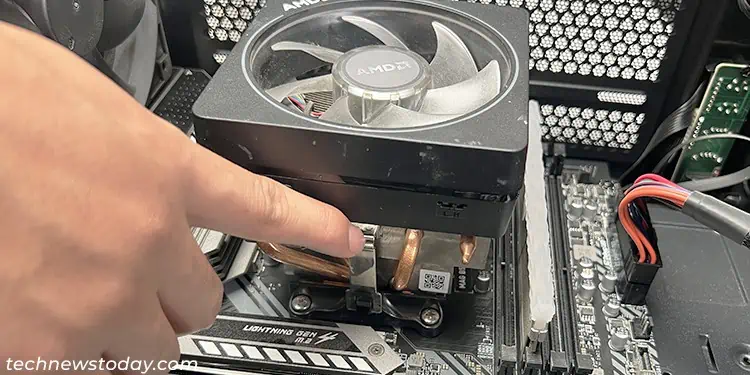
- If the cooler uses retention clips, you need to unlock the CAM lever and then pull out the retention clips.

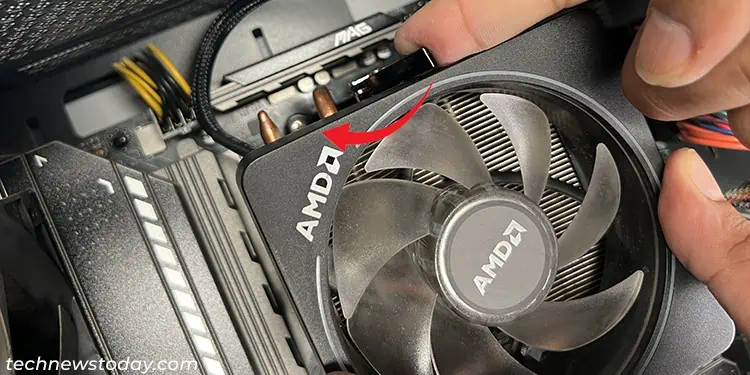
- Most other coolers and AIOs use mounting brackets to hold themselves in place. You need to unscrew them to be able to remove the cooler.
- If the cooler has spring screws, you need to unscrew it on all four corners.
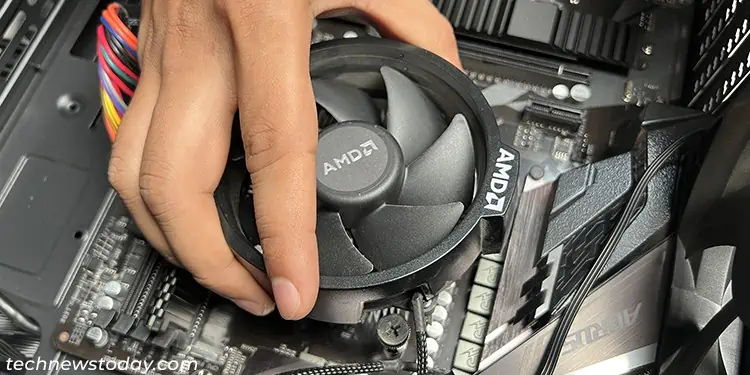
- Now, carefully pull out the cooler. If it tries sticking to the CPU, you should gently keep twisting it in both directions while pulling it out to loosen the thermal paste.

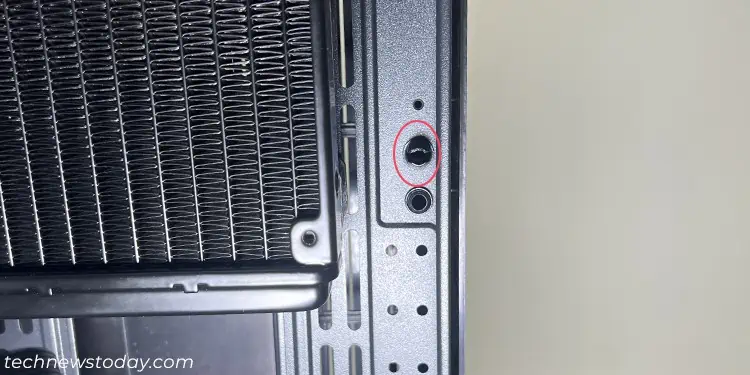
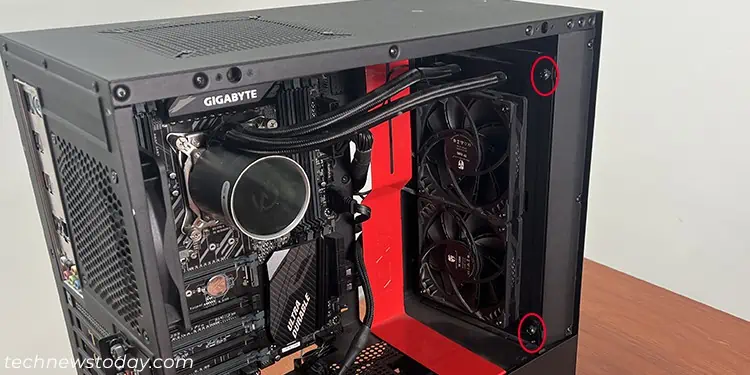
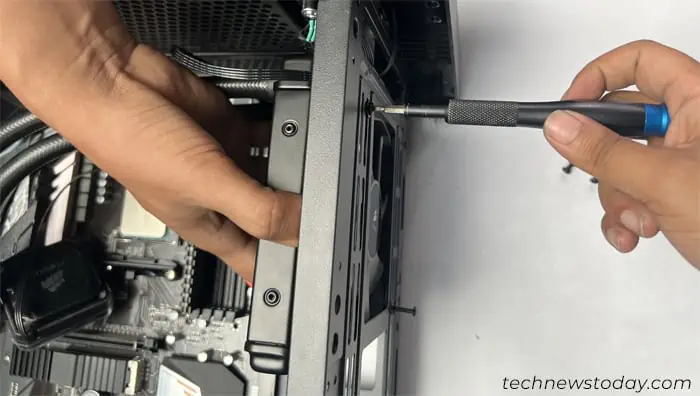
- If you are removing an AIO cooler, unscrew the radiator from the case’s fan slots as well.

If the cooler is still functional, you may need to use it somewhere else in the future. So it’s better to clean it before storing it away.
Clean the PC
Before installing the new cooler, it’s better to clean your PC. You can spray the insides of the PC, the case fans and any dust filters with compressed air cans to clean it properly. But before that, make sure that you take the PC somewhere else so that the dust from the PC doesn’t go to your room.
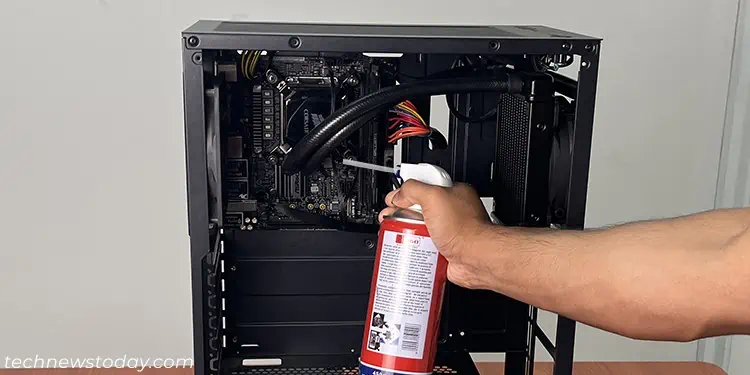
If you don’t have such cans, you can also use a brush and a low pressure blower like a silicone blower to remove any dust. I don’t recommend using electric air dusters or vacuum cleaners as they can create static electricity and damage the electronic PC components.
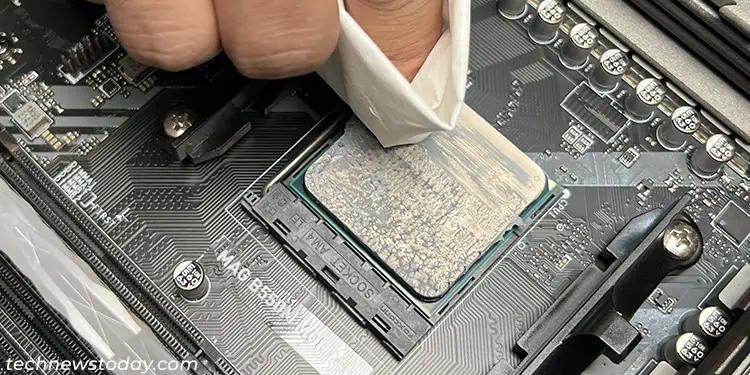
You should also clean off the thermal paste on the CPU using isopropyl alcohol and microfiber cloth. Be careful while doing so as you don’t want the paste to get to the CPU socket or any PCIe/RAM slots on the motherboard.
Install New CPU Cooler
Now is the time to install the new CPU cooler onto your CPU. If you are installing the same type of cooler as the one you removed, you can simply reverse the above steps.
However, if you are installing a new type of cooler, you may need to mount them differently. The general steps are as follows.
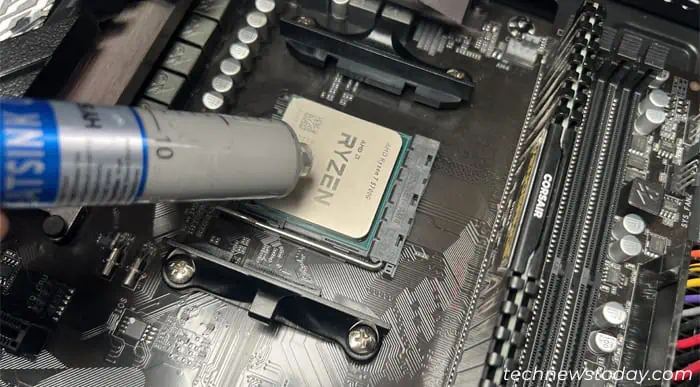
- If the new cooler does not come with a layer of thermal paste, you need to apply the paste to your CPU.
- You need to use an optimal amount of the paste along with a proper pattern to ensure that it spreads over the majority of the CPU without overflowing to the motherboard.

- Also, make sure that the CPU is dry and all isopropyl alcohol has evaporated before applying the paste.
- You need to use an optimal amount of the paste along with a proper pattern to ensure that it spreads over the majority of the CPU without overflowing to the motherboard.
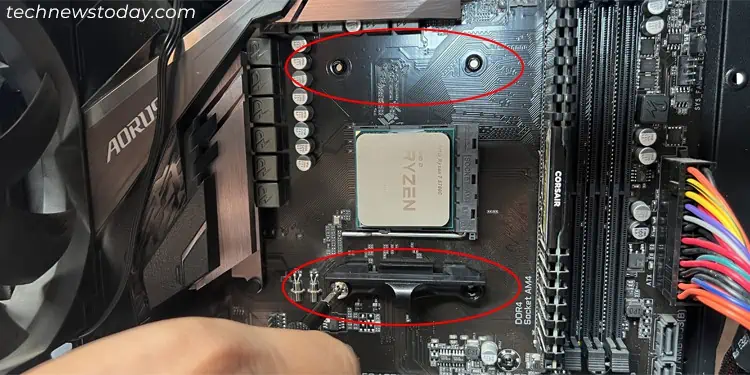
- Have the CPU backplate in the proper place (not necessary for coolers with push-pins).

- Connect any additional CPU brackets you may need for the cooler to the backplate through the motherboard.

- Align the cooler above the CPU, push it in place and lock it using its mounting mechanism.
- For coolers with push pins, turn the pins 90° clockwise.

- For coolers with retention clips, lock the clips onto the CPU bracket and pull the CAM lever to the opposite side until it locks in place.

- For coolers with spring screws, fasten all the screws one diagonal at a time securely.
- For AIO coolers or other air coolers, place the mounting bracket properly and connect it to the CPU bracket/standoff screws using clips or screws.

- For coolers with push pins, turn the pins 90° clockwise.
- If you are installing an AIO cooler, you need to install the radiator and fans as well.
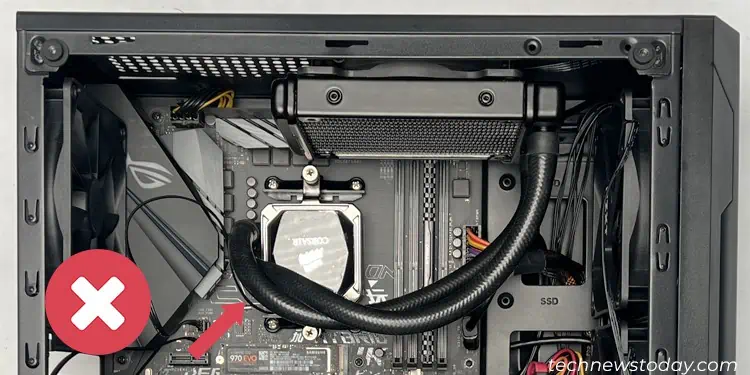
- Mount them on a suitable location while avoiding any excessive bends. Bending the tubes too much can cause leaks and damage the GPU or the motherboard.

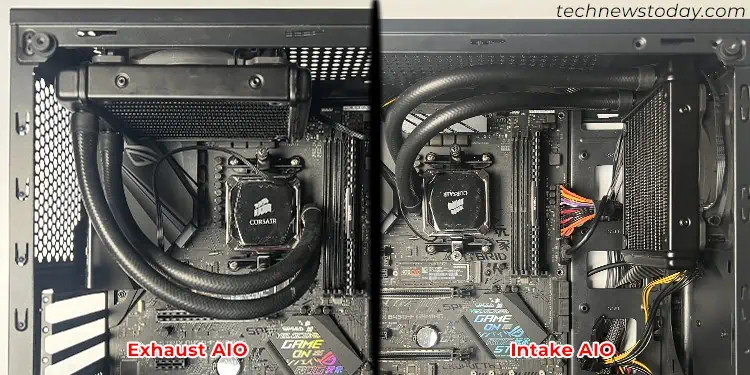
- You should also figure out whether you want the radiator as an intake or exhaust beforehand. You need to set the fan direction and placement of the radiator differently for both scenarios.

- Mount them on a suitable location while avoiding any excessive bends. Bending the tubes too much can cause leaks and damage the GPU or the motherboard.
- After installing the new cooler, connect the fan and RGB cables to the appropriate headers on the motherboard or a fan controller.
- For air coolers, use CPU_FAN for the fan header.
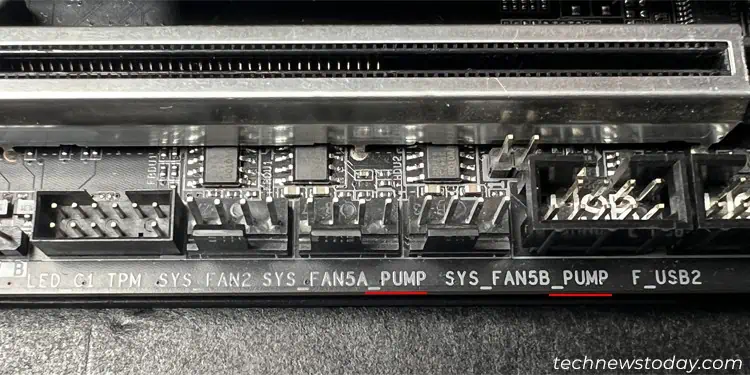
- For AIO coolers, use an AIO_PUMP or W_PUMP header for the pump and CPU_FAN/CHA_FAN for the radiator fans.

If you need more help to mount the coolers properly, I recommend checking out my dedicated guides on installing a CPU fan or mounting an AIO cooler, which contain more detailed steps.
Reassemble the PC
Now you can finish up the replacement by reattaching all the panels on your PC case. But if you had removed any components like the graphics card or the RAM earlier, you need to reinsert them first.
After reassembling the PC, it’s best to get to the BIOS, check the fan speed and modify it properly depending on the cooler. You may also need to change some additional settings, like the fan mode (PWM or DC).
