Most ASUS motherboards offer customizing a wide range of BIOS settings to help optimize system performance. However, incorrectly modifying these advanced options can potentially lead to boot failure or system instability.
Whether you are facing issues after unstable overclocking, misconfigured boot/power-related options, or a forgotten BIOS password, loading the optimized BIOS defaults can sometimes solve it.
You may restore your BIOS settings (on ASUS or any other motherboard) from the UEFI/Legacy settings. However, if you’re unable to access the power-on screen, you need to clear the CMOS, which can be done by shorting the RTC RAM or reseating the battery. In this article, I will guide you through every possible way to reset your ASUS BIOS.
From BIOS Settings
The first method involves accessing the motherboard BIOS and loading the optimized defaults. The steps involved are almost similar on every series of ASUS motherboards, notebooks, and AIOs. However, this does vary for UEFI and Legacy users.
On UEFI
To get to the ASUS UEFI Utility, you can restart the computer and hit the dedicated BIOS key multiple times. This might be Del, F2, F9, F12, or Esc, depending on your motherboard model. I recommend checking yours from the motherboard’s user manual or referring online (a simple Google search should do).
However, if you do not want to restart the system completely, you may even use the Windows Recovery Environment to enter the BIOS screen:
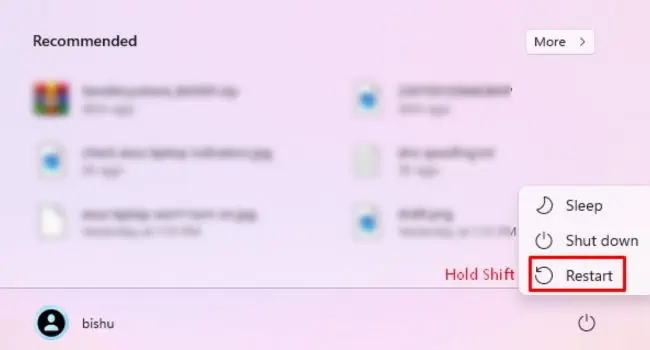
- Go to the Start Menu and select the Power icon.
- While holding the Shift button, click on Restart.

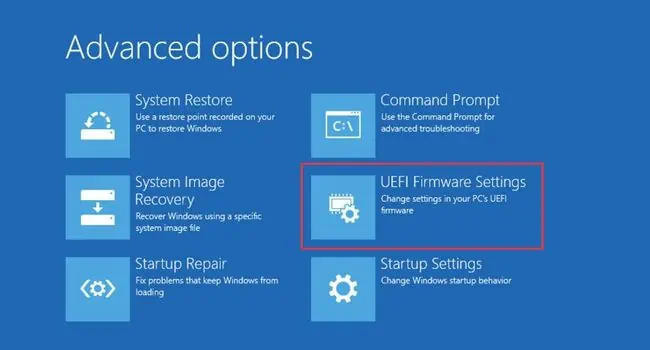
- Once you’re in the recovery console, navigate to Troubleshoot > Advanced Options > UEFI Firmware Settings.

- Wait until you enter the UEFI Settings. If you had set up BIOS security, enter the correct password to continue.
- If you’re on EZ Mode, follow the below steps:
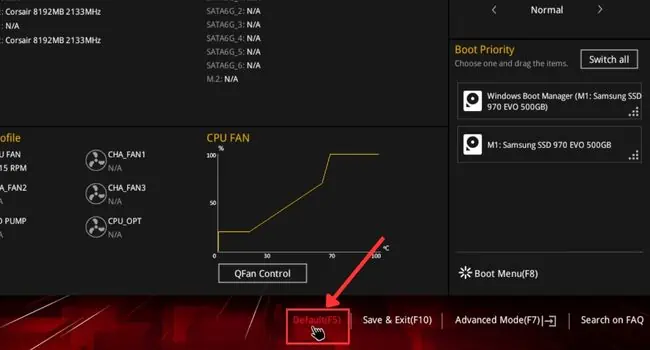
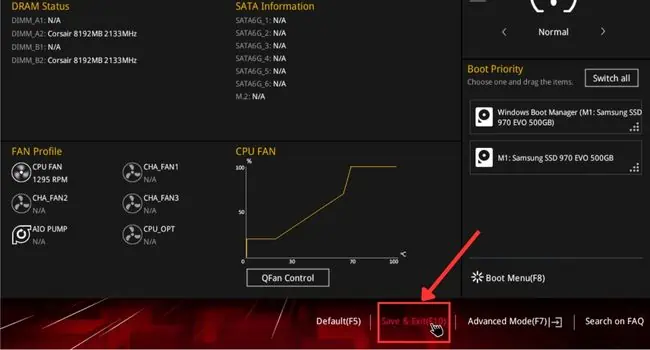
- Press F5 or click on Default (from the bottom section). The hotkey might be different for other ASUS models.

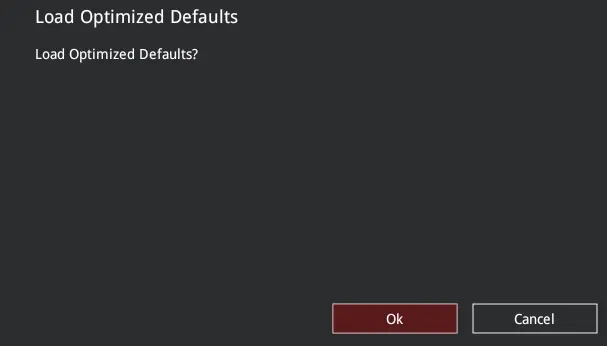
- In the confirmation prompt seeking your permission to confirm loading the optimized defaults, hit Ok.

- Now, press F10 or click on Save & Exit.

- Click Ok and this should restore your ASUS BIOS settings to factory defaults after your PC restarts.

- Press F5 or click on Default (from the bottom section). The hotkey might be different for other ASUS models.
- If you’re on Advanced Mode, go through the below steps:
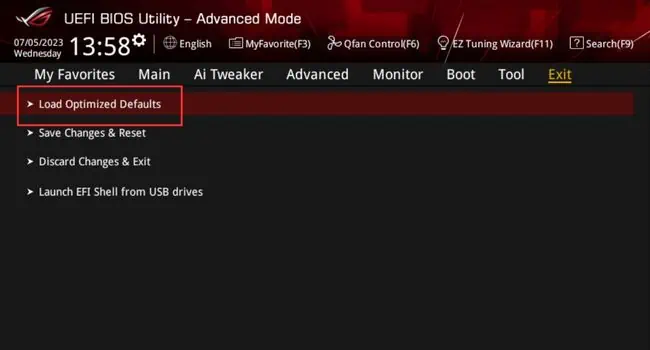
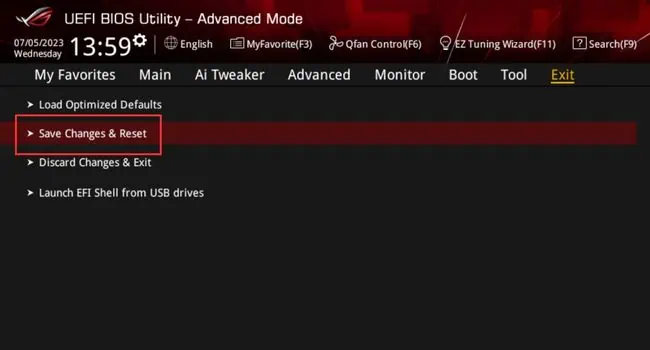
- Navigate to the Exit tab.
- Select Load Optimized Defaults.

- Then, press Ok in the confirmation prompt.

- Get to the Exit tab again. This time, choose Save Changes & Reset.

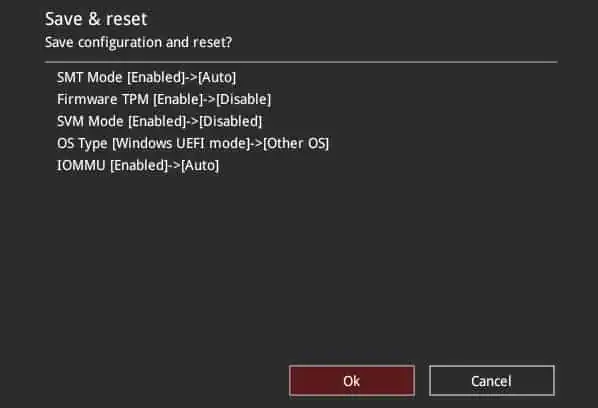
- Now, you should see the list of the configurations that will reset. Press Ok to start the process.

- Your ASUS PC will restart and the BIOS should now be restored to factory settings.
On Legacy
While the general idea of resetting BIOS remains the same, the exact steps vary for Legacy users. Also, note that you’re restricted to use your mouse in this mode. So, you need to utilize the dedicated hotkeys as prescribed below:
- First, reboot your computer and use the BIOS key to access its interface.
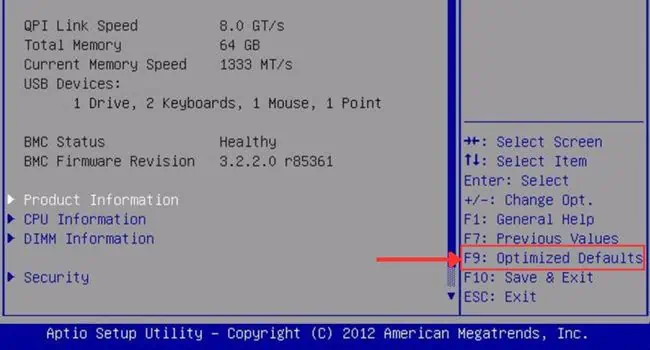
- Use the related hotkey to load optimized defaults. Check yours from the right pane on the Main tab.

- In the confirmation dialogue box, press Yes.

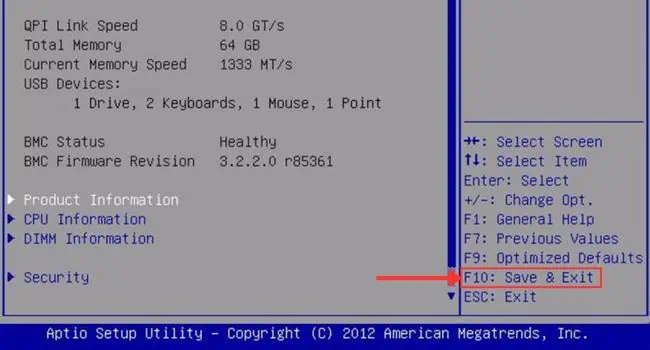
- To save the settings and exit, hit F10 or the dedicated key.

- Once the Save & Exit Setup comes up, click on Yes.

- Now, your computer should restart and the BIOS should reset.
Reseating the CMOS Battery
If you’re unable to get to the BIOS screen (usually after a failed BIOS update), the above steps might not be of any help. In that case, the best option is to clear the CMOS.
All you have to do is remove the CMOS battery and wait for a few minutes. Then, insert it back into its compartment and this should reset the BIOS settings.
In the past, CMOS batteries stored all the low-level system settings (50 out of 64 bytes of total storage) along with time and date (in the remaining 14 bytes). But in the newer motherboards, the BIOS settings are now kept in separate NVRAM chips (as the large data can’t be held by the CMOS).
For that reason, some believe that reseating CMOS won’t help reset the BIOS. However, that’s not the case. In fact, most professionals still utilize this method to restore their BIOS to factory defaults. Even the manufacturers (including ASUS) have kept this tradition and recommend doing the same.
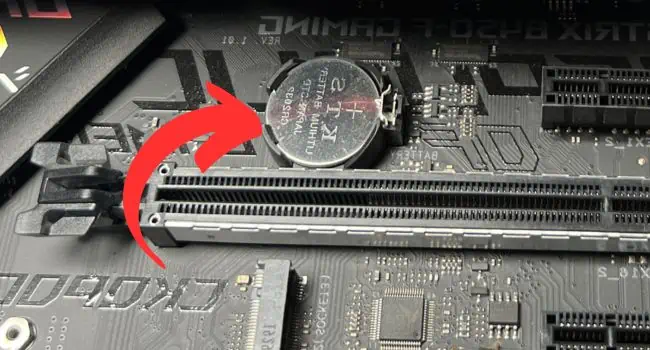
The exact position of the CMOS battery varies on different ASUS motherboards. It’s not at all difficult to locate it. Just look for a coin-shaped battery, usually near the PCIe slots. Follow the detailed steps below to do this correctly:
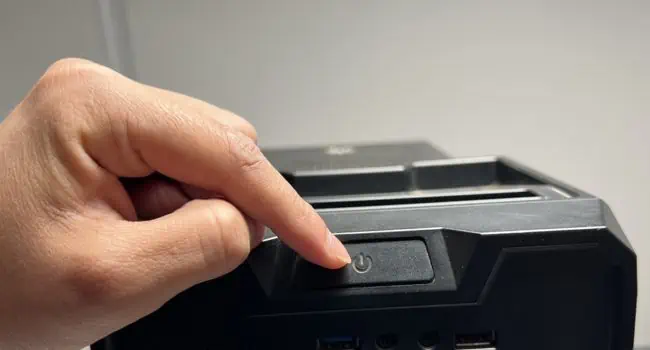
- Start by turning off your computer. If you are unable to boot up, press and hold the power button for 3 to 5 seconds to force shut it down.
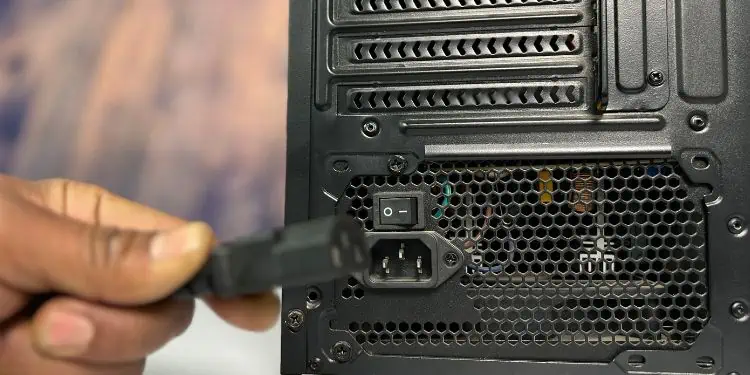
- Now, switch off the power supply and unplug the power adapter.

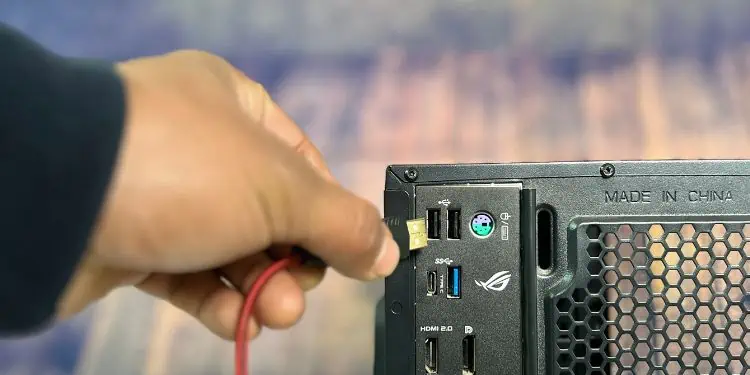
- Then, disconnect all the external peripherals.

- Press and hold the power button for 10 to 15 seconds to discharge the static electricity.

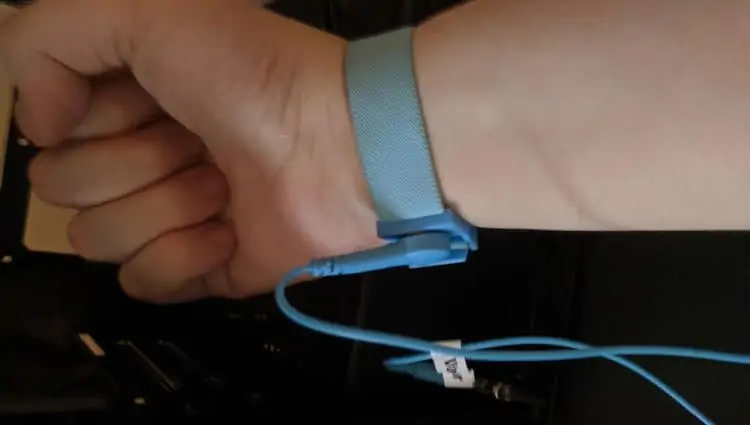
- Before touching any internal components, I recommend grounding yourself. Follow our other guide that discusses the various ways to do it.

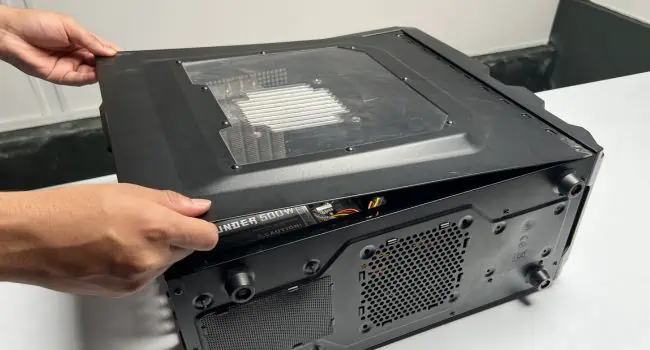
- Now, remove all the screws and open up the case. This step may require a screwdriver (of an appropriate bit size) or if yours have thumb screws, loosen them using your fingers.

- Once you’re inside the casing, locate the CMOS battery compartment, as discussed above.

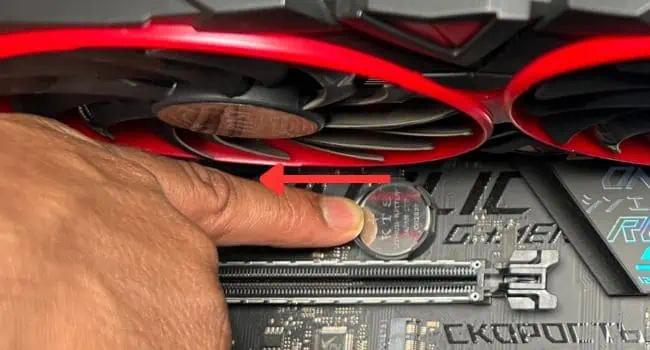
- Push the lever clip in the opposite direction with a little pressure and the battery should pop right out. It’s wise to handle it with a plastic tool or a pair of tweezers (especially if you haven’t grounded yourself).

- Wait for about 1 to 5 minutes. This should clear the CMOS.
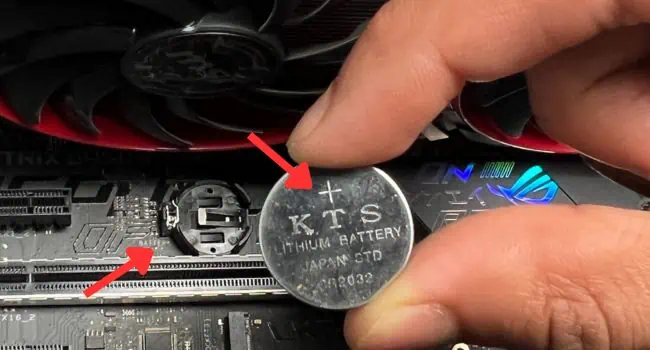
- Check the battery polarity (align the positive side of the CMOS to the positive side of the socket).

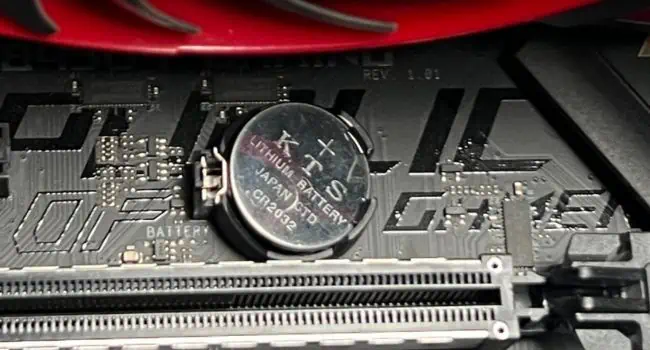
- Then, insert it into the compartment. You’ll hear a click sound confirming that it’s now secured.

- Finally, close the PC case, reconnect all the cables, switch on the power supply, and start your ASUS computer.
- You’ll see an AMI screen asking you to enter the BIOS setup to complete the reset. Press F1 or any other related key (as indicated on the display) to continue.
- Now, press the Default or Load Optimized Defaults option. Then, save and exit from BIOS (the same steps as done in the earlier method).

- Your ASUS PC should reboot and complete the BIOS reset.
Note: Modern ASUS laptops do not include a CMOS battery these days. Instead, they utilize a soldered RTC battery. The BIOS settings are stored in a non-volatile flash RAM.
In case you have an older notebook computer, you might find it wrapped inside a special enclosure with a 2-pin white connector. To clear CMOS, all you have to do is reconnect the white plug.
Pressing the Clear CMOS Button
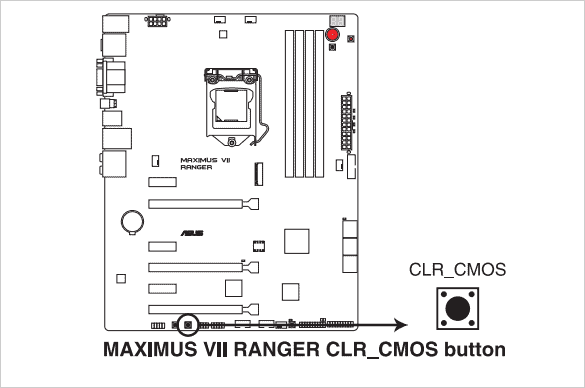
Some high-end motherboards offer a dedicated button to clear CMOS, which is indeed a much more straightforward process. ASUS recommends using this method when you’re experiencing boot failure after a bad overclocking or you have forgotten the BIOS password.
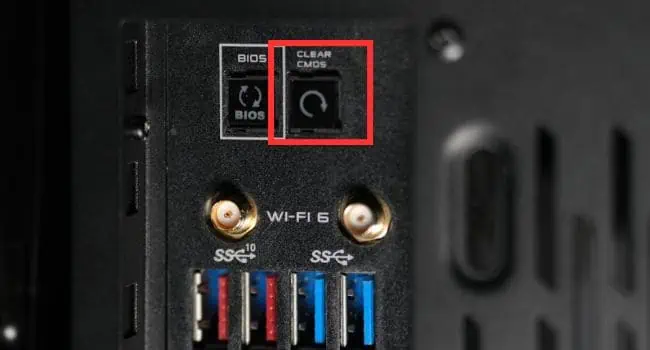
You can find this button within the motherboard itself (near the CMOS battery) or along with the I/O ports in the back panel. Do not confuse it with the USB BIOS Flashback button. Check for the label for easy navigation, which is usually CLR_CMOS or CLEAR CMOS.
- Start by shutting down the system, and unplugging all connections (both power adapter and external devices).
- If the dedicated button is on the motherboard, follow the below steps:
- First, check the user manual to locate the button.

- Take off the PC case and navigate to the button’s location.
- Press and hold it for about 10 seconds. This should erase the RTC RAM data.
- First, check the user manual to locate the button.
- If the dedicated button is located in the I/O panel, here’s what you can do:
- Get to the back panel of your PC.
- Once you see the refresh icon (usually labeled CLEAR CMOS), press it for about 10 seconds to clear the CMOS.

- Now, reassemble everything, and start your ASUS computer.
- Hit the BIOS menu key to enter the UEFI Utility.
- Now, press F5 to restore the default BIOS settings.
- Once that’s done, hit F10 to save and exit. This will reset your ASUS BIOS.
Using the CMOS Jumper
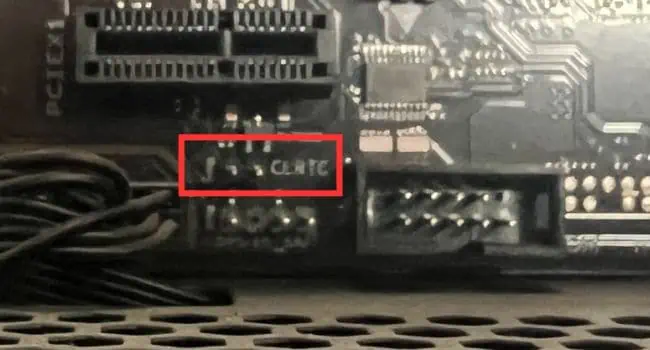
While the CMOS button is available only on high-end ASUS motherboards, the CLRTC header is present on most models. It should be located somewhere at the bottom (next to the CMOS battery if it’s available).
I understand that normal users can have a hard time locating this. So, I always recommend inspecting the user manual first. Otherwise, just look for the CLRTC label (which stands for Clear Real-Time Clock).
Before You Begin: Start by turning off your system, unplugging the power cord, and opening the PC case. Also, wear an anti-static wrist wrap or touch a safely grounded metal object to prevent the internal components from static electricity.
For 2-pin CLRTC
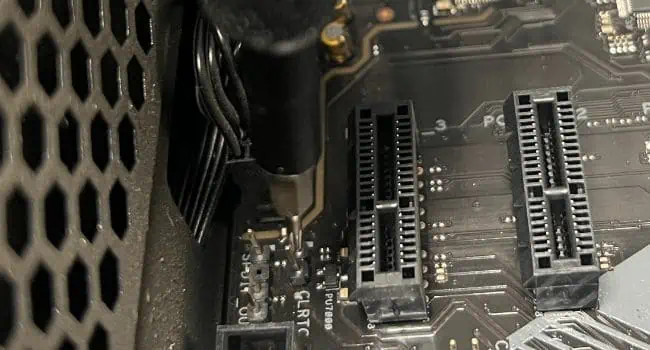
The 2-pin headers are available on most ASUS mobos. Here, the first pin is the 3V battery and the second one is for GROUND. Keeping this thing in mind, our task is to short these pins by placing a metal object for about a minute. You can use another jumper on the motherboard or even a screwdriver will do.
- Navigate to the 2-pin CLRTC header.

- Place a screwdriver or a metal object (a jumper will do) in between two pins for about a minute. This should cause a short circuit, clearing the CMOS RTC RAM data (which includes the system date, time, and passwords).

- Now, remove the jumper or metal object.
- Reconnect the power cord and start your ASUS computer.
- Get to the BIOS to load the optimized defaults (as instructed earlier).
- Finally, save the settings and reboot your PC again.
Note: In case your BIOS settings didn’t reset, disconnect the CMOS battery and repeat the process. After the RTC RAM is cleared, you may reseat the battery.
For 3-pin CLRTC
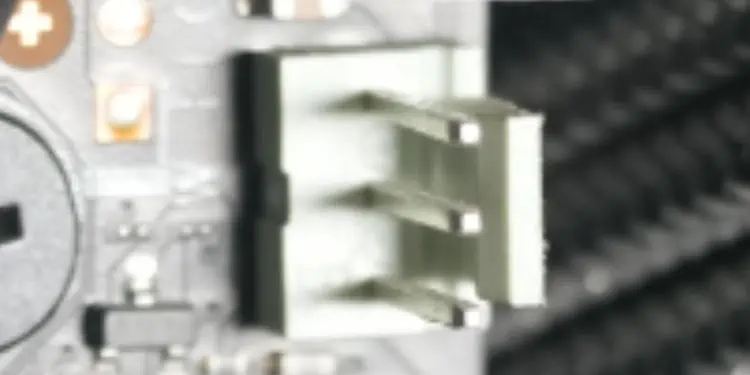
Some ASUS motherboards can come with a three-pin header with a jumper cap. By default, it is placed in the 1-2 position. To clear CMOS, you need to move it to the 2-3 position for a few minutes and revert the configuration:
- Locate the 3-pin CLRTC header and note the jumper’s current position (should be 1-2).
- Remove the jumper and seat it to the next two pins (2-3).
- Wait for about 1 to 5 minutes for the RTC RAM to be cleared.
- Then, place back the jumper to the 1-2 position.
- Plug back the power cord and start your computer.
- Get to the BIOS screen to load the optimized defaults (by pressing F5 or the related hotkey).
- Once done, save the changes and reboot.

