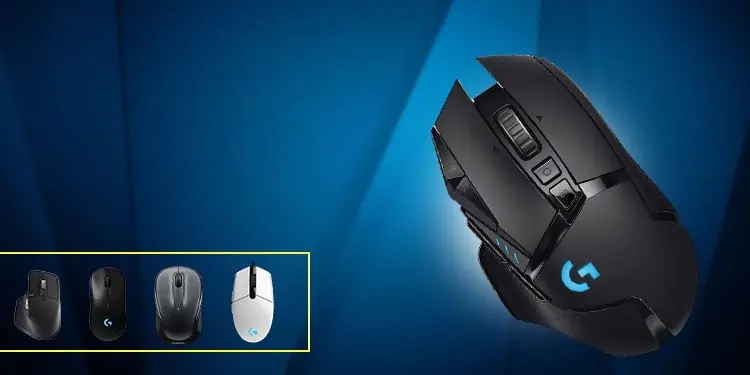
The reset button on any device is located on its back or the base. You press and hold the button using a pin for ten to fifteen seconds to reset the device, and voilà, all your device configuration is back to its factory state.
The same is the process when you reset a Logitech mouse. However, users may face complications as the reset button can be hard to locate. In this article, we have explained in detail what you need to do to reset your Logitech Mouse.
So without further delay, let us get right into it.
When Shoud I Reset My Mouse?
Resetting a mouse reverts all its settings and configuration to its default state. This means that all changes made to its DPI (Display Per Inch), polling rate, or even button configuration will return to normal.
There are multiple reasons you may want to reset your mouse. Some of which we have mentioned below.
- Companion application not recognizing mouse
- Reverse mouse configuration
- The computer does not detect the Mouse
- The wireless receiver is not working
- Corrupted firmware
How to Reset Logitech Mouse?
Depending on the mouse you use, there may be a dedicated button, or you can use Logitech G Hub to reset your Logitech mouse. However, if you do not have a dedicated mouse button or if Logitech G Hub does not detect your Logitech mouse, we have mentioned a few other steps that might reset the mouse.
Using the Reset Button
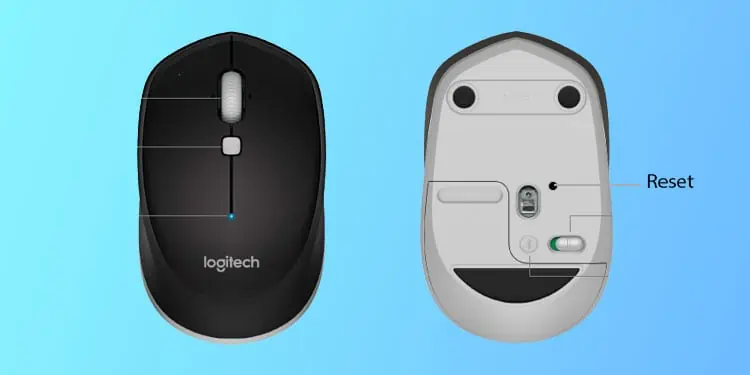
Your Logitech mouse should have a dedicated reset button located under the mouse. Pressing this button for ten to fifteen seconds will revert all the changes made to the mouse back to its default state.
Usually, this switch is located on the side of the mouse sensor. If you cannot locate the reset button, check for a small hole. Some Logitech mouse will have the reset switch inside a small opening. You will need a thin pin to access this reset switch.
Press and hold this switch for ten to fifteen seconds to reset the mouse to its default settings.
Using Logitech G Hub
You can also use Logitech’s official companion application, Logitech G Hub, to reset any Logitech device. However, Logitech G Hub does not support all Logitech products. If the application does not detect the Logitech device, please follow other methods to reset the Logitech mouse.
Below are the steps to reset the Logitech mouse using Logitech G Hub.
- Download Logitech G Hub from the official Logitech website.

- Run the downloaded file and install Logitech G Hub.
- Login to your Logitech account. If you do not have an account, you need to create one.
- Connect the mouse to the computer and wait for the application to detect the mouse.
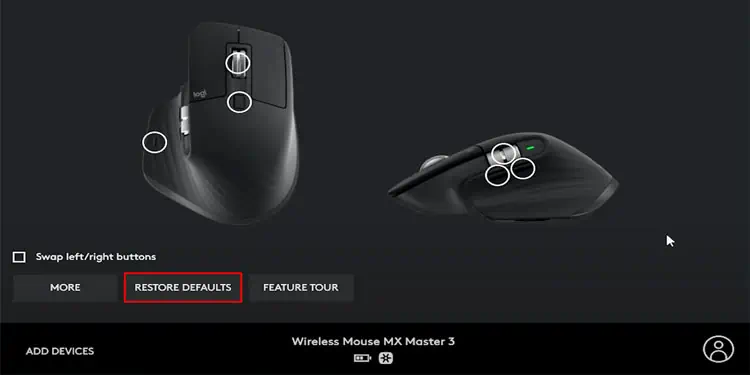
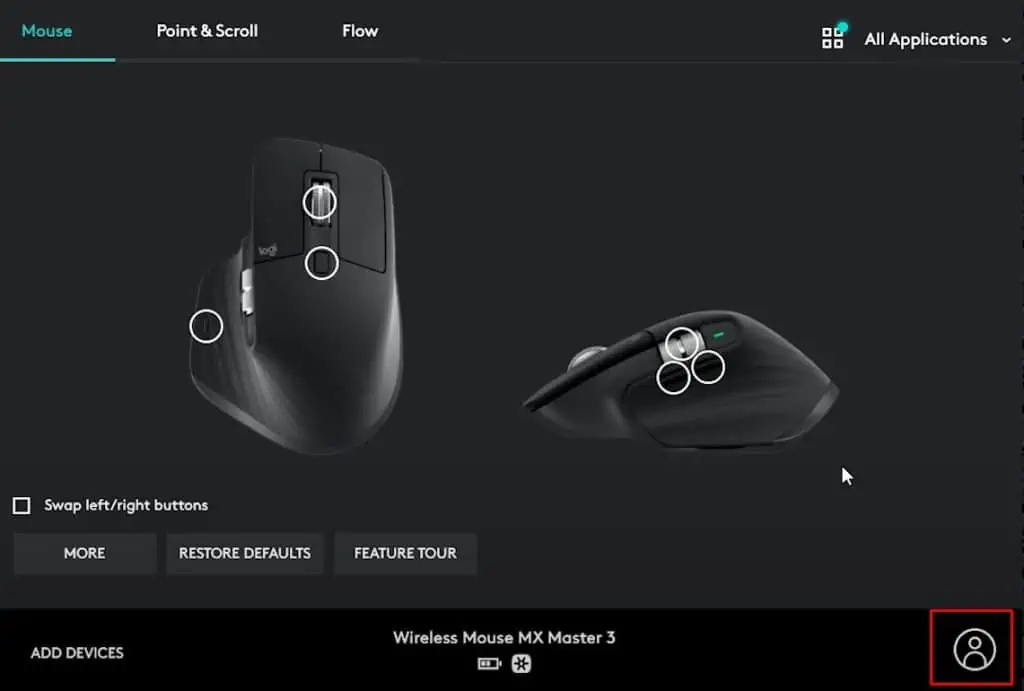
- Once Logitech G Hub detects the application, click on Restore Defaults to reset all settings to default.

Perform a Soft Reset
If your wireless Logitech mouse suffers from lag and has issues connecting to the receiver, you can perform a soft reset to fix the issue. Although this will not revert any mouse settings, it can make your mouse perform smoothly without lag.
To perform a soft reset,
- Disconnect the mouse receiver if you are using a 2.4 GHz wireless mouse or unpair if you are using Bluetooth connectivity.
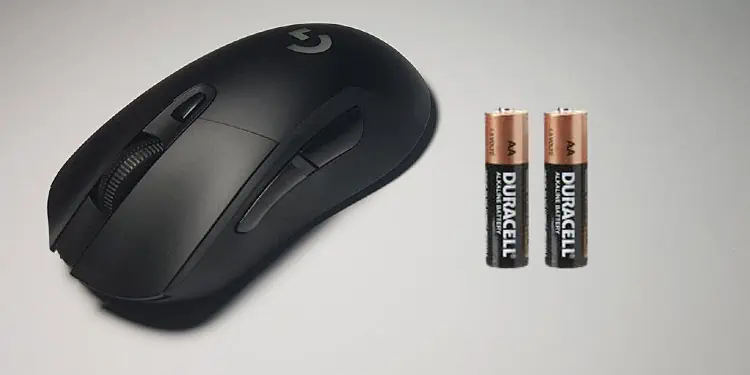
- Remove the batteries and replace them with a fresh set of batteries.

- Connect it to the PC by pairing or connecting the receiver to the computer.
- Try using the mouse again to see if it fixes the issue.
Using Mouse Buttons
All Logitech mice do not have a dedicated reset button or may not support Logitech G Hub. In this case, you can try using the mouse buttons to reset it. Pressing the mouse button in a certain combination should reset your Logitech mouse.
- Unplug the mouse from the PC.
- Press and hold both the left and right mouse buttons.
- Continue holding the buttons and plug the mouse back into the PC.
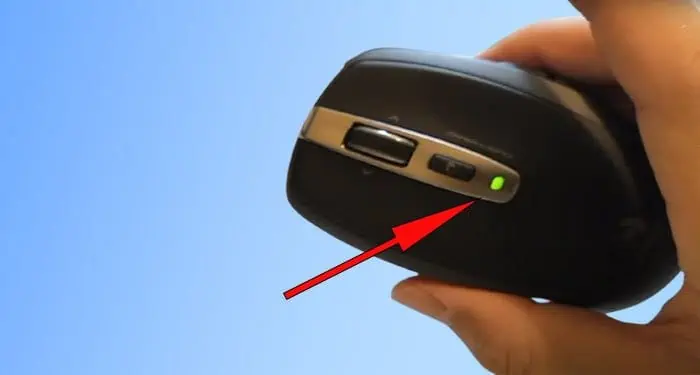
- Once plugged in, hold the button for five more seconds. The mouse should flash an LED light indicating that the reset process is successful.

Backup and Restore Logitech Mouse Settings
Logitech G Hub is compatible with most Logitech mouse. If Logitech G Hub detects your Logitech mouse, you can use the application to backup or restore all you mouse settings.
Follow the steps mentioned below to backup and restore your logitech mouse.
- Download Logitech G Hub from the official Logitech download center.

- Install and run the application.
- Logitech G Hub will automatically detect your mouse if the mouse supports the companion application.
- Now, login to your Logitech account by clicking on the users icon located on the bottom-right.

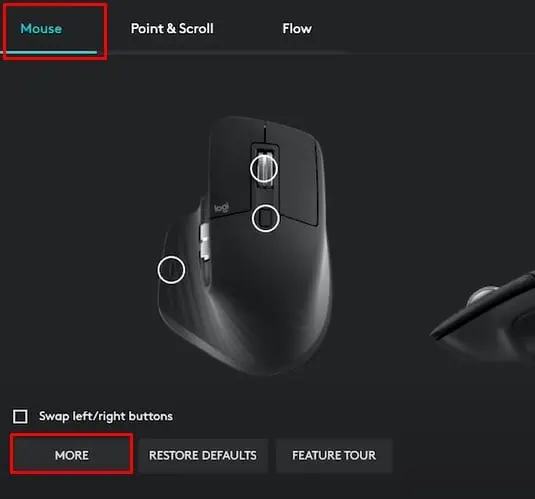
- On the mouse tab, click on More.

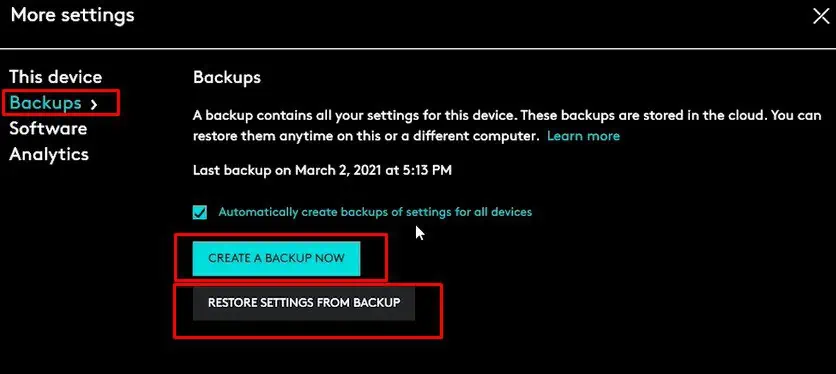
- Select Backups.
- Click on Create a Backup now to backup all your current settings on your Logitech G Hub account
- Click on Restore Settings from Backup to restore.

- Now select the backup profile that you want to restore.
- Press on Continue.
- Click on Yes, restore these settings.
- Once the application says Backup restored successfully, click on Continue.
Logitech Mouse is Not Responding Even After a Reset
After a reset, the OS might have issues installing the driver for the new mouse. Try downloading the correct driver from the internet and install them. If this does not work, try updating the recently installed driver.
It can also be that the receiver is not recognizing the Logitech mouse after a reset. To fix this you need to pair it using Logitech Connection Utility Software.
- Download Logitech Connection Utility Software from Logitech official support page.
- Run the application and then plug the receiver in a USB slot.
- Click on Advanced and select Pair a New Device.
- The application should now automatically pair the mouse and the receiver.
If you cannot find its driver, you can also download Logitech G Hub to detect most Logitech Products.
Connect Logitech Mouse to a Unifying Receiver
First make sure that the mouse supports Unify. To check this, search for an * logo under the mouse. This logo indicates that the mouse supports Logitech Unify.
Follow the steps below to connect your mouse to the unifying receiver,
- Download the Unifying software from the official Logitech support page.
- Install and run the application.
- Turn the mouse off using the slider located under the mouse.
- Click on Next once the application starts.
- Now, turn the slider back on again.
- The application should now automatically detect the mouse.

