Whether your system fails to boot into the OS or crashes constantly due to incorrect BIOS settings, resetting the BIOS should work. When you reset the BIOS, it reverts all your BIOS configurations to their default state—meaning all overclocked settings will revert, and the BIOS password will be reset.
There are a couple of ways to reset the BIOS on the MSI motherboard. But depending on your situation, you might want to follow a specific method.
Using BIOS Settings
Let’s start with the easiest method of them all, using BIOS settings. You can reset all your BIOS settings within the BIOS itself. To do this, you first need to access the BIOS. If you cannot access the BIOS at all, you can skip this method and jump to the next one.
- Enter the BIOS by repeatedly pressing the BIOS key.
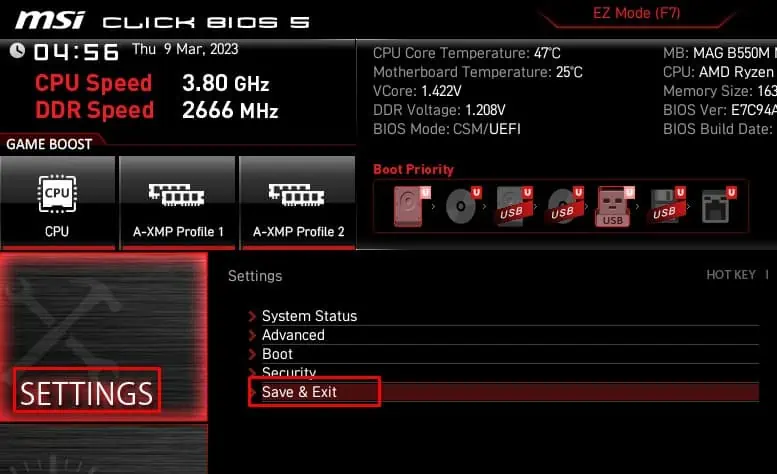
- Make sure you are in Advanced Mode. Press F7 to toggle between Advanced and EZ modes.
- Go to Settings.
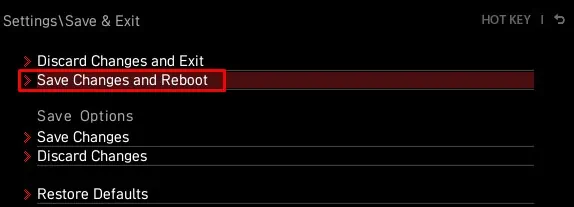
- Click on Save & Exit.

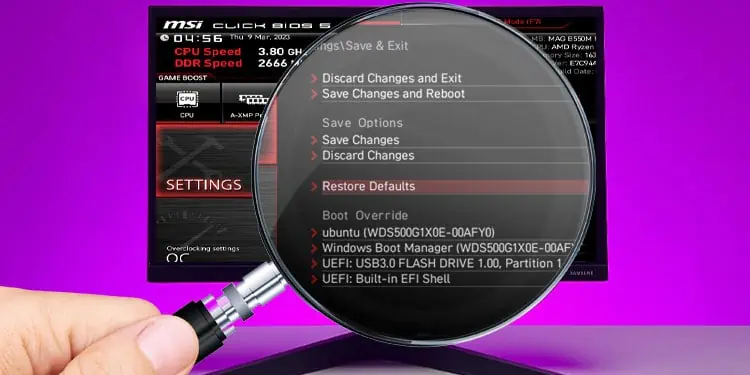
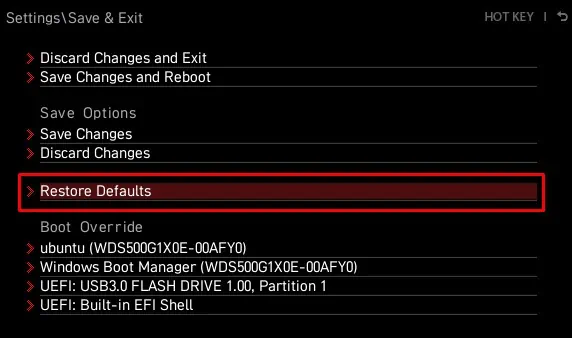
- Here, click on Restore Defaults.

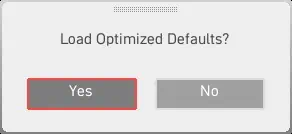
- Select Yes when it asks for confirmation.

- Click on Save Changes and Reboot.

- The system should now Boot with the default BIOS configuration.
Using Clear CMOS Button
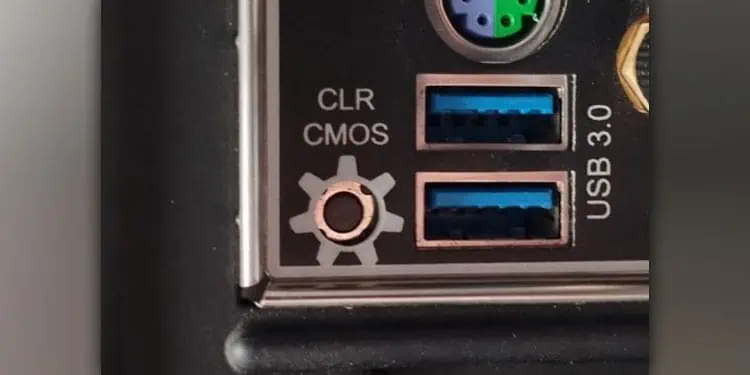
Some MSI motherboards, especially newer ones, have a Clear CMOS button on the motherboard’s I/O panel. Turn off the PC and press the CMOS reset button to revert all your BIOS settings. Depending on the motherboard, it might also have a switch near the CMOS itself.
You can refer to the motherboard’s user manual to check if it has a reset CMOS switch.
Clear CMOS Using Jumper
CMOS battery supplies power to the CMOS (Complementary Metal Oxide Semiconductor) chip. The CMOS chip holds all your BIOS settings as long as you supply the chip with power. Your motherboard will also have jumper pins that allow you to reset data in the CMOS chip. Simply short-circuiting these pins will reset your BIOS.
- Turn off the PC.
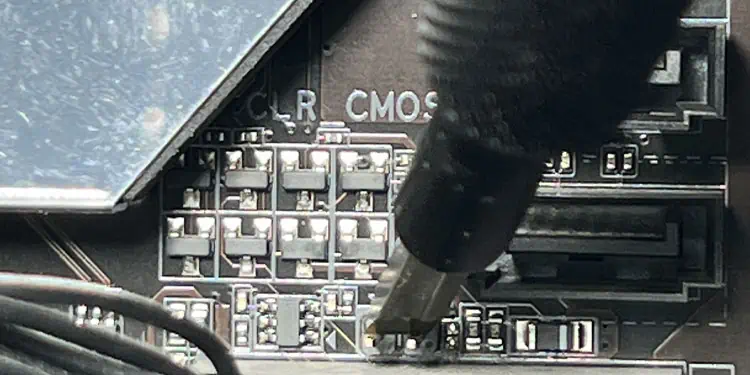
- Search your motherboard for pins with writings like CLR, CLEAR, CLEAR CMOS, CLEARCMOS1, JBAT1, BIOS CONFIG, etc.

- Depending on the motherboard, it may have two or three jumper pins. If your motherboard has two jumper pins, connect the two pins using a flat screwdriver for five to ten seconds.

- Remove the screwdriver. All your BIOS configurations will be reset.
- If your motherboard has three pins, say pins 1, 2, and 3, it will have a plastic material connecting two pins, 2 and 3. Remove it and insert it in the other two pins, 1 and 2.

- Wait a five to ten seconds and revert the jumper to its previous state, i.e., pins 2 and 3.
- Turn on the PC and check if the BIOS configuration is in its default state.
Reseat CMOS Battery
You can also reseat the CMOS battery to reset the BIOS. BIOS reset by resetting the CMOS is especially useful if you cannot even boot into the motherboard’s BIOS and have difficulty identifying the right pins for shorting.
- Turn off the PC and unplug the PC from wall outlet.

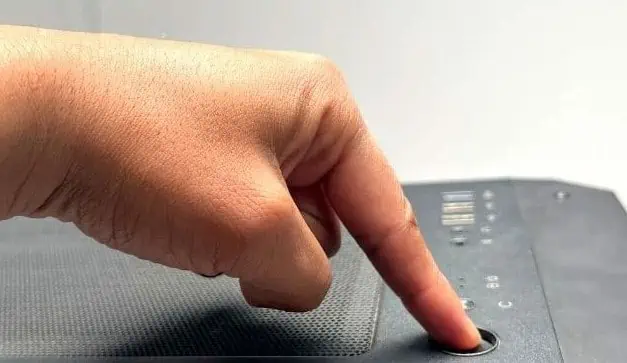
- Press the power button for 30 seconds to one minute to discharge capacitors on the motherboard.

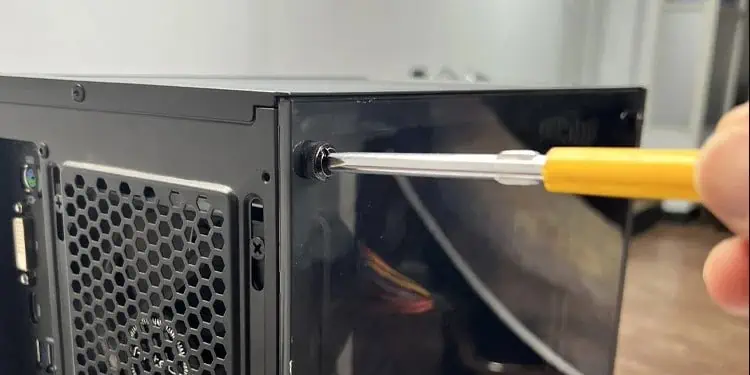
- Remove any screws that attach the side panel to the PC case.

- Once all the screws are out, take the side panel out. You will now have access to the motherboard.
- Now, locate the CMOS battery on the motherboard. You can also check for writings like CMOS on the motherboard.

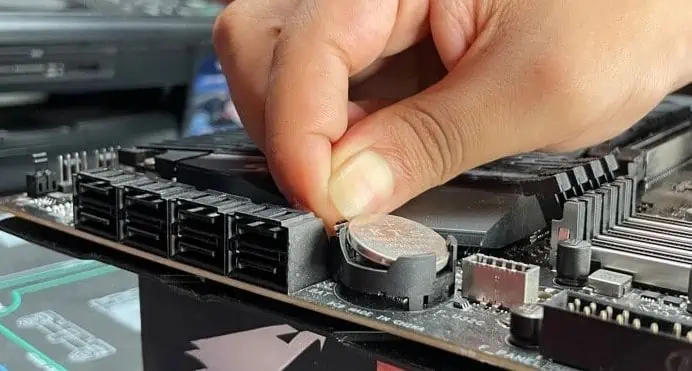
- Press the metallic lock that is holding the CMOS battery on the slot. The CMOS battery should pop right out.

- If you are using a Mini-ITX MSI motherboard, the CMOS battery is connected to the motherboard via a cable. In such a case, remove this cable.
- Wait two to three minutes and insert the CMOS battery back into its slot. Make sure that the + sign is facing you.
- Screw the side panel to the CPU case and turn on the PC.

- Boot into BIOS and check the BIOS settings.
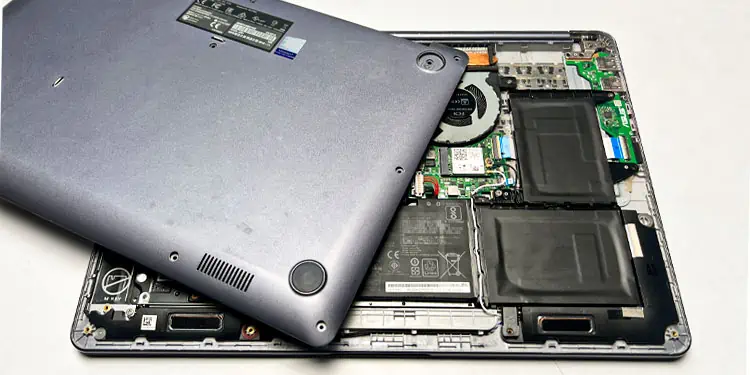
For MSI laptops, resetting the BIOS can be quite complicated, as you need to remove the entire back panel to access the motherboard. And even so, locating the CMOS battery could be difficult.
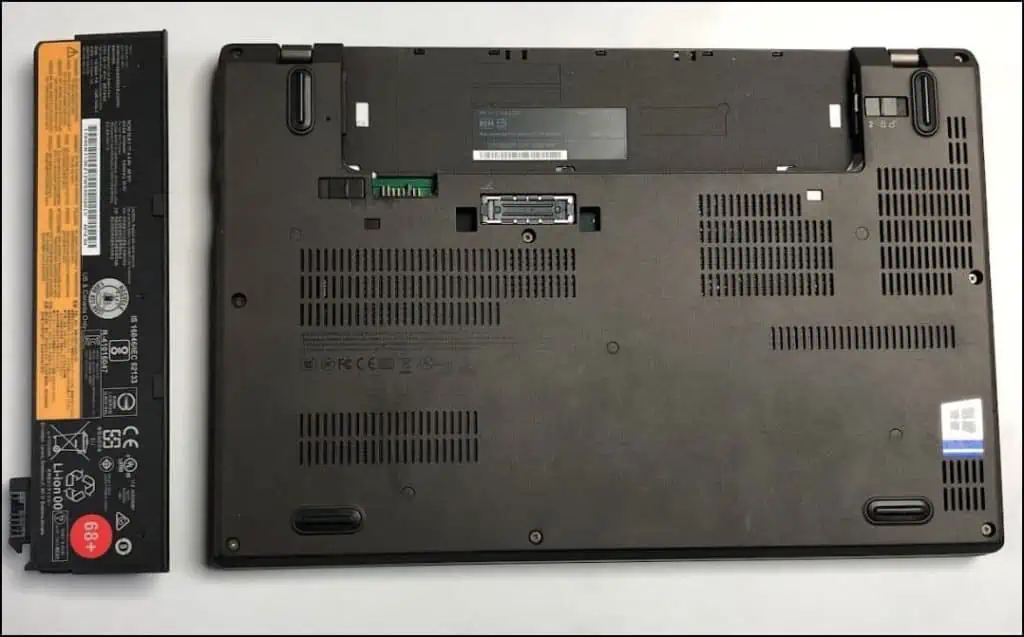
- If you have a removable laptop battery, take it out of the laptop first.

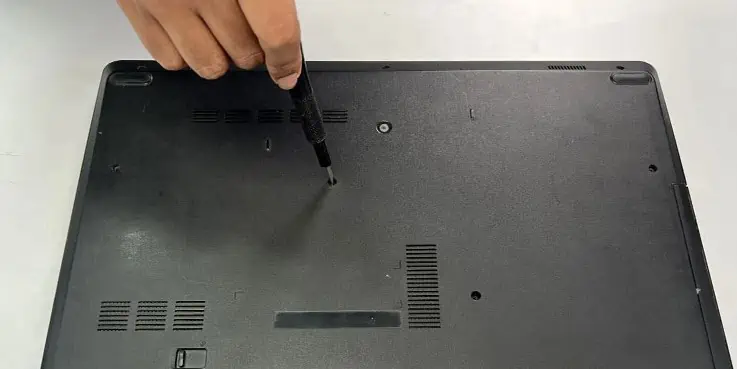
- Unscrew all the screws on the laptop’s back plate and put it on a metallic tray.

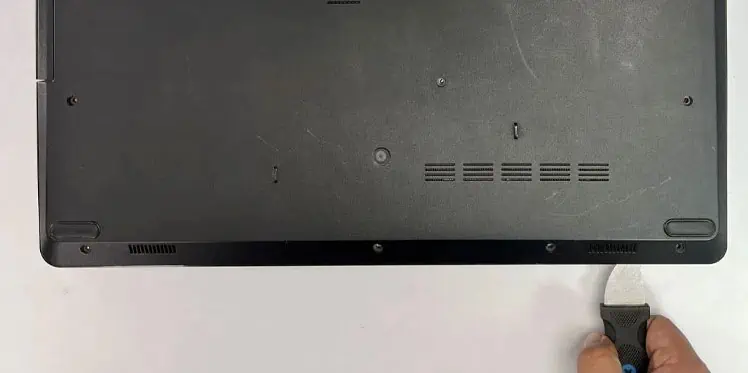
- Insert a pry tool between the laptop and its back plate.

- Slightly turn the pry tool at an angle. You should hear a click.
- Repeat this process all around the laptop to unclip the entire backplate.

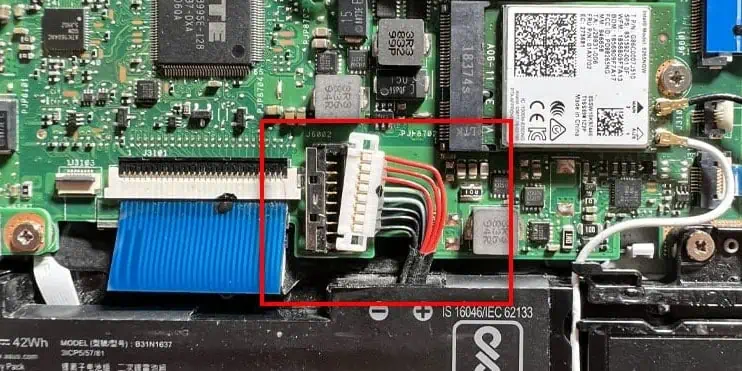
- If you see the battery inside the laptop, remove the battery cable that connects to the motherboard. You can skip this step if you have a removable battery.

- Now, search for the CMOS battery.

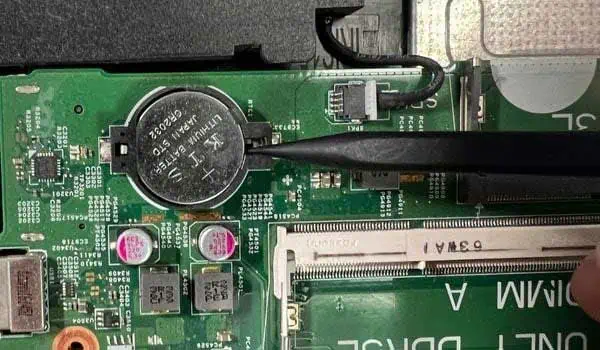
- Depending on the MSI laptop model, the CMOS battery could have a dedicated slot or a cable connecting the battery to the motherboard.
- Remove the CMOS battery from the motherboard.
- Wait a few minutes and insert the CMOS battery back into the motherboard.
- Connect the battery cable back to the motherboard.
- Place the back panel back into the laptop, clip all the sides back in, and secure them using the screws that you previously removed.
- Reconnect the laptop battery if you have a removable one.

