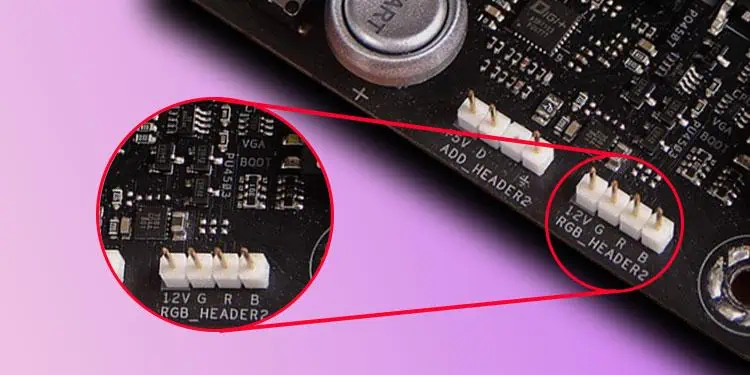
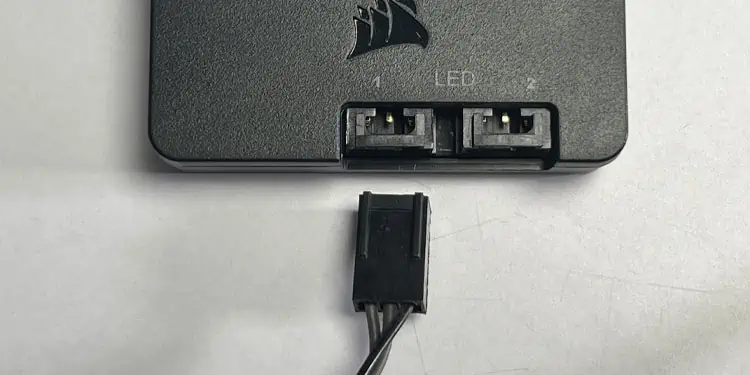
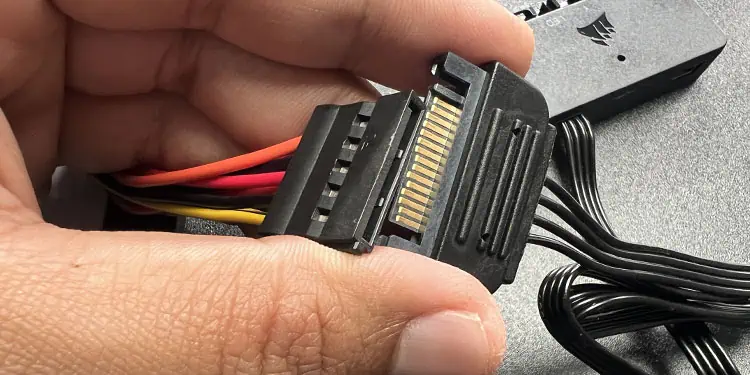
So you have got yourself an RGB device to light up your gaming setup. But when trying to connect it to the motherboard, you find that your motherboard does not have any RGB header.
To connect any RGB device to your computer, you will need an RGB or an ARGB header/pins on the motherboard. Whether it be an RGB light strip or an RGB fan, without the required pin on your board, you simply can not connect it. In such cases, you will need to use a controller, and depending on the type of RGB device, the controller may vary.
In this guide, I will precisely show you how to choose a proper controller for your RGB device and how to connect it to your system.
Which Controller Should You Get?
You will find two types of RGB on the market—Static RGB and Addressable RGB (ARGB). Static RGB devices only light up one single colored LED at a time, and Addressable RGB devices can adjust the intensity of all three LEDs simultaneously.
These two types of RGB connect to two different types of headers on the motherboard—Static RGB device requires a 12V supply, and ARGB requires a 5V supply.
If your motherboard lacks these heads, you need a separate controller to connect your RGB devices. You will find two types of controllers in the market, one for static RGB and the other for ARGB.
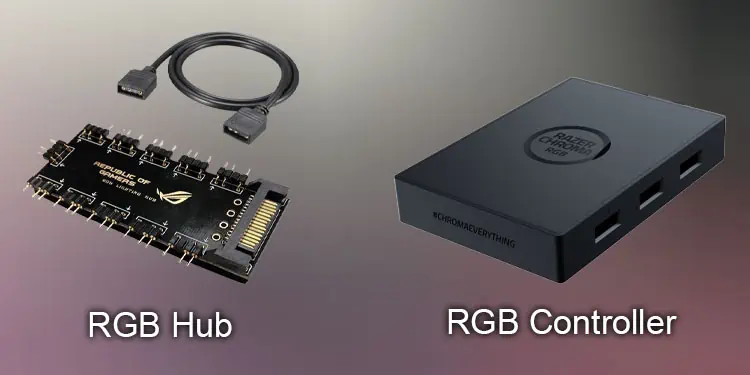
Make sure that you do not get an RGB hub. RGB hub and RGB controller are two different devices. RGB hubs require an RGB header on a motherboard, whereas an RGB controller allows you to connect RGB devices on a motherboard without an RGB header.
With that out of the way, let us first start with connecting static RGB.
Connecting Static RGB Devices
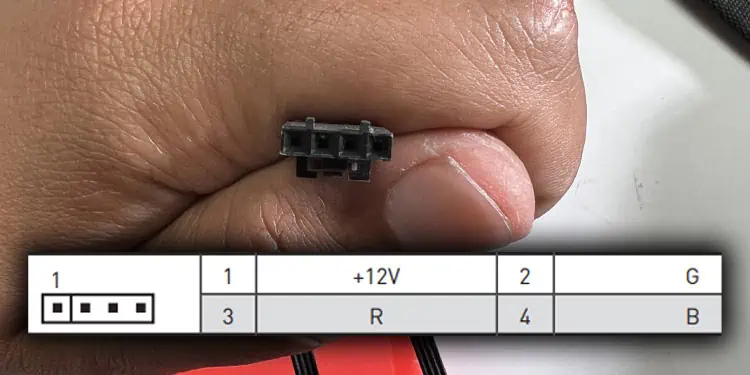
By default, static RGB devices go into a 12 Volt 4-pin RGB header on the motherboard. So you need to get a controller with 12V 4-pin RGB header. Some variants of this device even come with a remote to control the individual LED.
The Static RGB controller will have a power cable and USB cable connector.
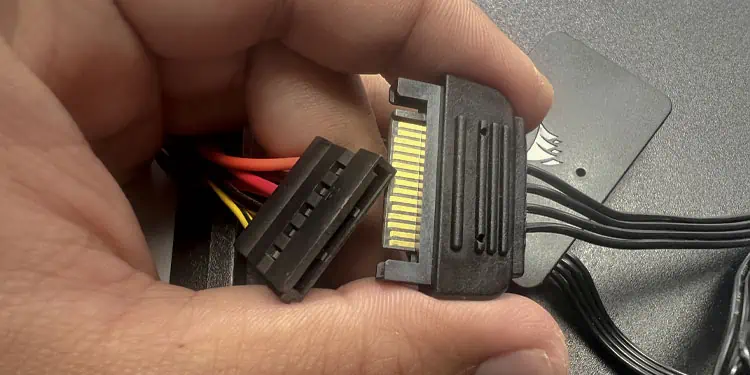
- Depending on the type of power cable, connect the Molex or SATA power cable from the controller to the PSU.

- Connect the other end of the power cable to the controller.

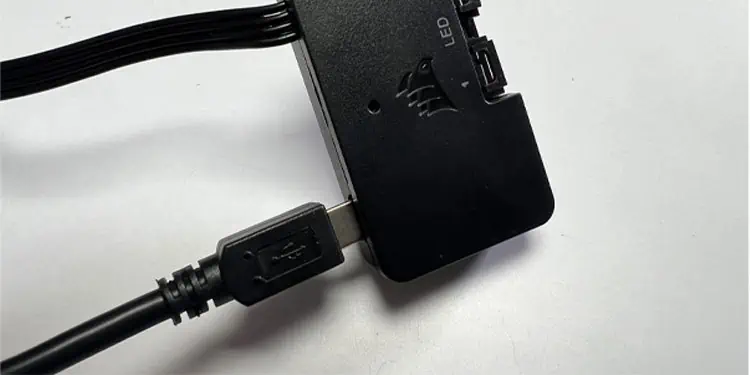
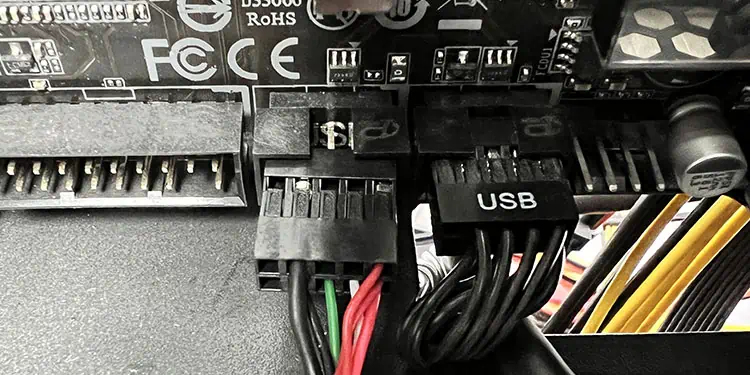
- Connect one end of the cable to the motherboard’s USB header (JUSB/USB) and the other end to the controller’s micro USB port.

- Now connect the 12V 4-pin connector from the static RGB device to the 12V 4-pin header on the controller.

- Turn on the PSU and check if the RGB on the device turns on.
Connecting Addressable RGB
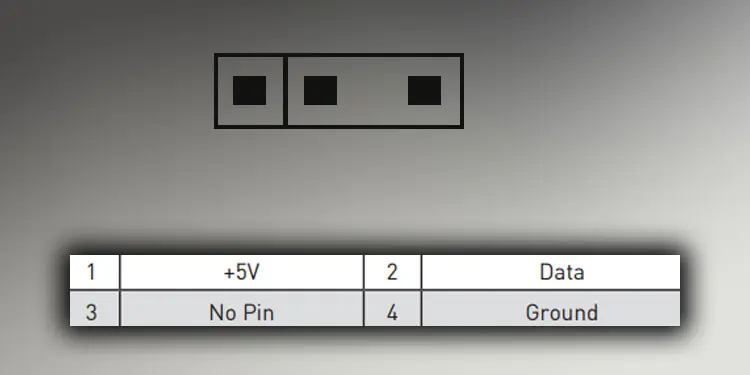
Addressable RGB or ARGB is a newer technology that can control individual LEDs on an RGB device. Since it is more advanced compared to the traditional Static RGB, they are not so common in every motherboard.
First, to connect an ARGB device to your motherboard, you need a 5V 3-pin header on the motherboard. If you do not have this header, you will need an ARGB controller.
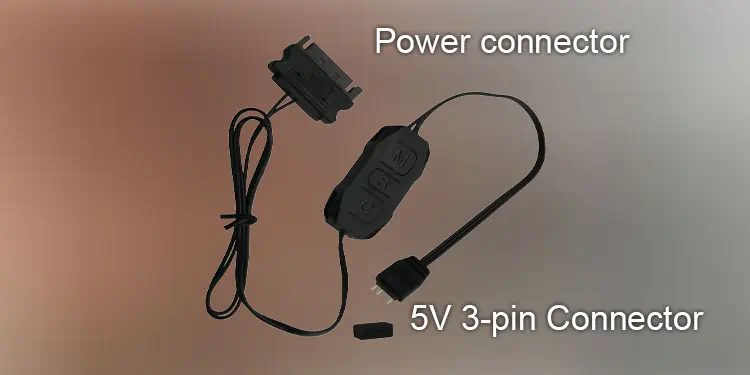
To connect several ARGB devices, you need to get an ARGB controller with multiple 5V 3-pin headers. This device comes with a power connector and a USB cable connector.
- Connect one end of the power connector to the ARGB controller and the other end to the PSU using SATA or Molex power connector, depending on the ARGB controller.

- Connect one end of the USB connector side of the USB-connector-to-microUSB to the USB header on the motherboard. The USB header is usually denoted as JUSB/USB on the motherboard.

- Now connect the microUSB side of the cable to the ARGB controller.

- Finally, connect all your ARGB devices to this controller. You can only connect the ARGB header in one specific way, so make sure to align them before you connect.
- Turn on the PSU and check if the LED on the ARGB device turns on.
On the other hand, if you only have one single ARGB device, you can simply use an ARGB controller with one 5V 3-pin header. This type of device will have two ends, one for power and the other is the 3-pin header.
- Connect the power supply end to the PSU using Molex or SATA cable.

- Connect the ARGB device to the 5V 3-pin header.

