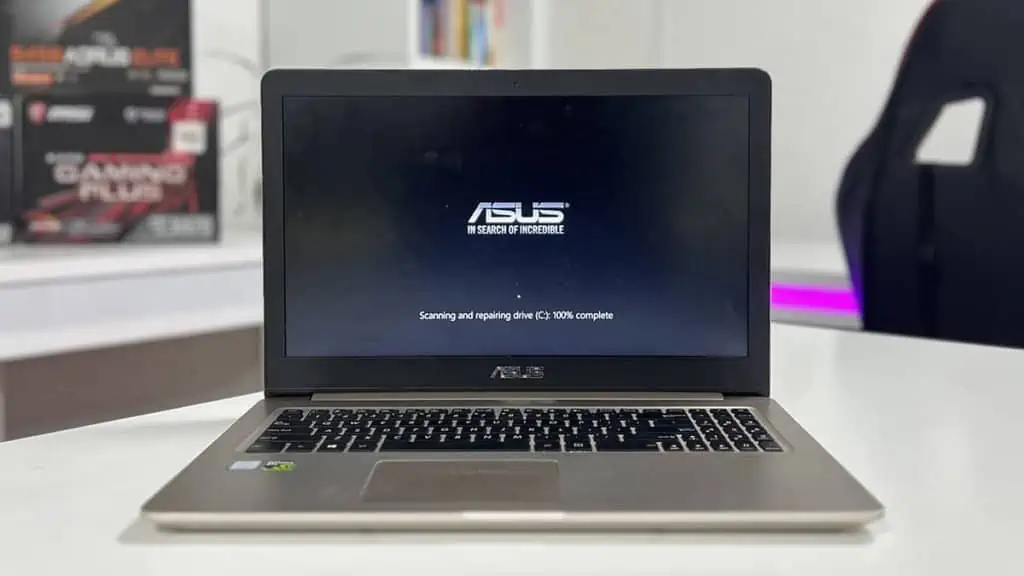
Your system brings up the Scanning and Repairing Drive screen if it detected some disk corruption in the previous boot. This utility will also run if you previously ran CHKDSK for the boot drive.
If your computer gets stuck on this screen, it usually means some system processes are not running properly due to temporary issues. But it can also happen if the disk is extremely corrupted and the process can’t fix it.
To resolve the Scanning and Repairing drive stuck issue, first, force restart or power cycle your PC. You can also manually run CHKDSK from advanced startup, check the disk health, or repair the EFI partition.
If you can successfully get past this screen, but it appears every time, check out our How to Fix Scanning and Repairing Drive on Every Boot guide.
Now, let’s discuss the actual fixes.
Force Restart or Power Cycle Computer
It is possible that your computer got stuck due to some temporary issues. A reboot should take care of all such problems.
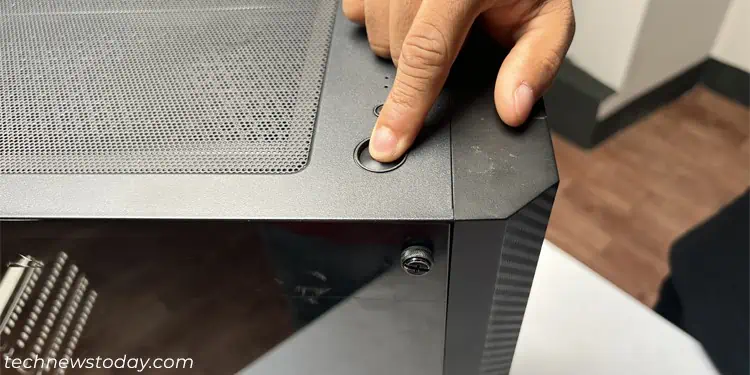
So the first thing you should do whenever you face this issue is to force shutdown your computer by pressing the power button for 3-4 seconds. Then, remove all external storage devices and power up your computer again.
If you still run into the same issue, power cycle your PC. To do so, shut it down the same way and remove all power cords and peripherals.
Then, press and hold the power button for a few seconds to drain all excess charge. Reconnect everything and power up your PC.
Run CHKDSK from Advanced Startup
You can also manually run the disk scan and repair operation through Command Prompt to check for disk errors and disable the automatic scan at the same time.
It’s best to do it through the Advanced Startup environment using the steps below:
- First, access the advanced startup or Windows Recovery Environment using an external installation media. To do so,
- Create a USB Windows installation media on another computer.
- Insert that USB flash drive on your computer and power it up.
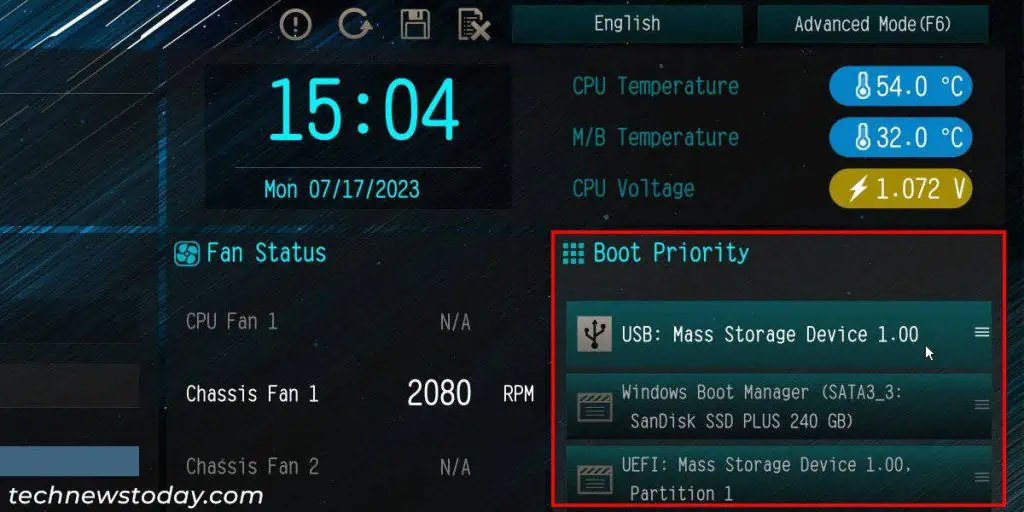
- Press the BIOS key on startup to boot into the BIOS/UEFI interface. Here, alter the boot order and give the first priority to the USB drive.

- Save changes and exit the BIOS.
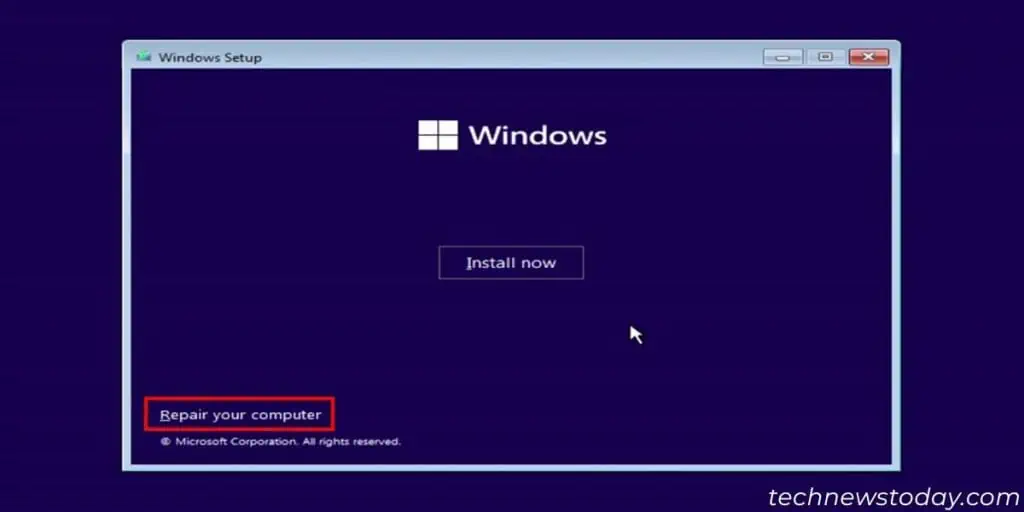
- After booting into the drive, set your language and keyboard preferences and click Next.
- On the Install screen, click on Repair your computer.

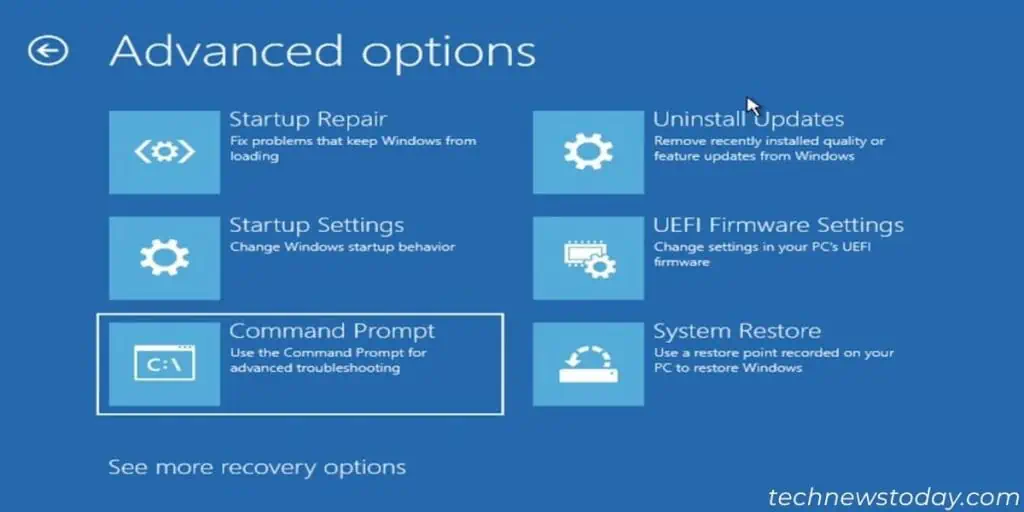
- Here, go to Troubleshoot > Advanced Options > Command Prompt.

- Type the command
bcdeditand press Enter. Check for the drive letter next to osdevice under Windows Boot Loader. The Advanced Startup environment may reassign the drive letters so it may not be C: - Then, type
chkdsk /r C:while replacingC:with the letter you determined and press Enter.
- Exit Command Prompt and boot to your normal operating system.
Check Drive Health
When you get to the “To skip disk checking” screen, press any key to skip this process.
Then, check your disk’s health status using any OEM or third-party tools, such as CrystalDiskInfo, SSD Lite, etc.
You can check out our Hard drive Health Check and SSD Health Check guides for more information.
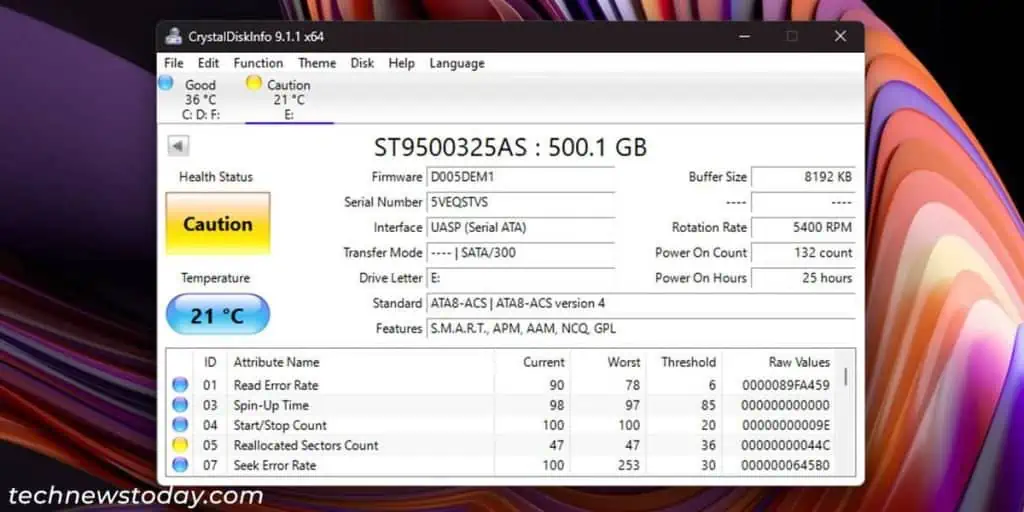
If your drive is failing or in bad condition, replacing it with a new disk is best. Check if the warranty is still valid; you might get a replacement.
Otherwise, purchase a new one. Before that, make sure to back up any necessary data.
If you want to install it to your PC yourself, check out our How to Install an SSD or How to Install a Hard Drive content for detailed steps.
Repair EFI Partition
It is also possible that the disk corruption has occurred on your disk’s EFI partition. In such cases, even if you bypass the “Scanning and Repairing Drive” screen, you will run into other system issues.
In such cases, first try to run the Startup Repair utility from Advanced Startup using the steps below:
- Access the advanced startup screen using a bootable media.
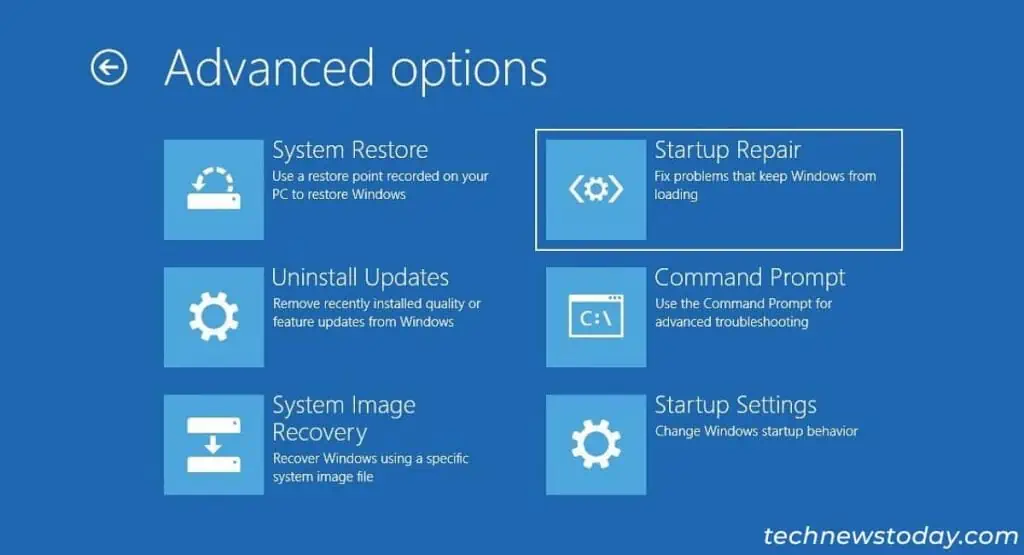
- Go to Troubleshoot > Advanced options and select Startup Repair.
- After the process completes, select Shutdown. Reboot your computer and see if you still encounter the issue.
If you get the error “Startup Repair couldn’t repair your PC” or something similar, repair your EFI partition. To do so,
- Run the Command Prompt from Advanced Startup.
- Type the below commands and press Enter after each steps:
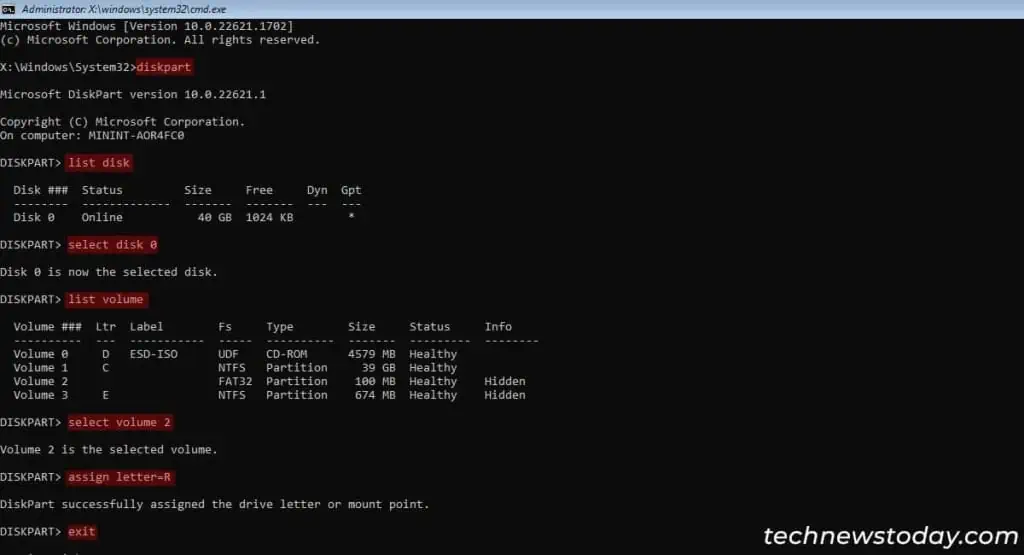
diskpartlist disk(check the number of the disk that contains your OS)select disk 0(replace 0 with the above number)list volume(check the partition numbers of the EFI partition. The EFI partition should have 100MB capacity and a FAT32 file system. Also, note the volume letter of your system drive, it may not be C:)select volume 2(replace 2 with the EFI partition’s number)assign letter=Rexit
cd /d R:\EFI\Microsoft\Boot\(If it gives “The system cannot find the path specified”, use the commandcd /d R:\ESD\Windows\EFI\Microsoft\Boot\orcd /d R:\Boot\, whichever works)ren BCD BCD.bakbcdboot C:\Windows /s R: /f ALL(replace C: with your OS partition’s drive letter)bootrec /rebuildbcdexit
If the above methods were not of any help, your disk is not in a bad condition and you don’t want to keep skipping the scan every time, install a new Windows OS in your PC.
