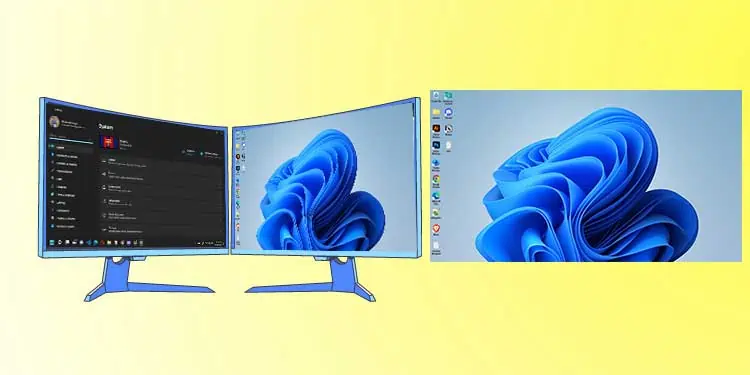
Taking a screenshot is quite an easy task. But, you might get puzzled when trying to print a screen on dual monitors.
Well, you may have noticed screens of both monitors get printed while trying to take a normal screenshot of your desired display. This is because you’ve extended your display, and the system understands both monitors as a single screen.
Some of us may change our display settings and return to the PC Screen Only option to take screenshots. But what if we tell you there’s a much easier way to print just your desired screen while using dual monitors?
So, in this article, we’ll help you learn some easy techniques to print one screen with dual monitors.
How to Print One Screen With Dual Monitors?
Printing just your preferred screen on a dual monitor setup is possible using in-built Windows tools. Moreover, you can install various third-party software that makes screenshots much easy to take.
In this section, we will discuss the steps of both the Windows and third-party options to print one screen with dual monitors.
Use Keyboard Shortcut
Taking a normal screenshot totally depends on your device. However, using the Windows + PrtSc keys is the preferable one. You can refer to our other article that guides you on various methods to take screenshots on Windows 11.
Unfortunately, the shortcut key directly saves the dual-screen snap on your computer drive. Thus, it’s pretty clear that this technique is not at all helpful. Also, using Ctrl + PrtSc will not take screenshots of a single screen.
Well, you don’t need to scratch your head. The following steps will help you with how to print one screen with dual monitors using two easy keyboard shortcuts:
- Firstly, drag your mouse pointer to the monitor you wish to print.
- Now, you can either press Alt + PrtSc or Ctrl + Alt + PrtSc as per your choice.

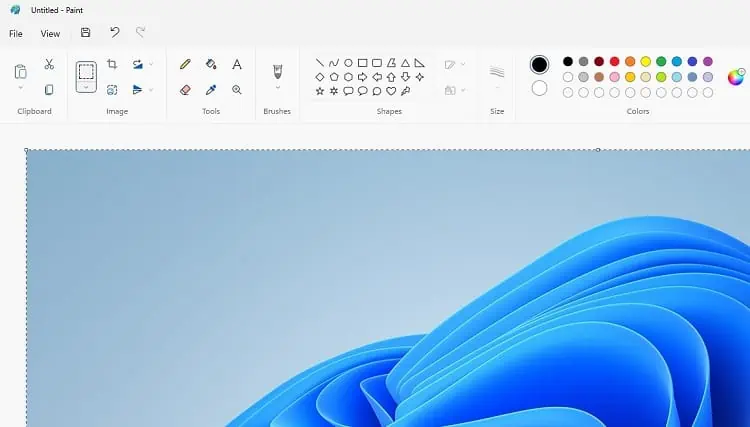
- Since neither of the two shortcuts directly saves the screenshot, you need to launch an editing tool next. Well, you can use Microsoft Paint, Adobe Photoshop, or any other software you prefer.
- If you’ve opened Ms. Paint, simply press Ctrl + V keys to paste the copied screenshot.

- Finally, select the desired picture format and save it to your desired location.
Use Windows Snipping Tool
The Snipping Tool is an in-built Windows utility used for taking screenshots. Sadly, the feature is only unavailable on the versions of Windows before Vista.
Since most of us are already using Windows 10 and 11, you can directly launch the application from the Start Menu.
Well, you can either print the screen and save it to your drive or copy a certain portion of the window and save it to the clipboard. You can check our other post featuring how to view and use clipboard history on Windows 11.
Here’s how you can directly open the Snipping tool and copy one of the two screens to the clipboard:
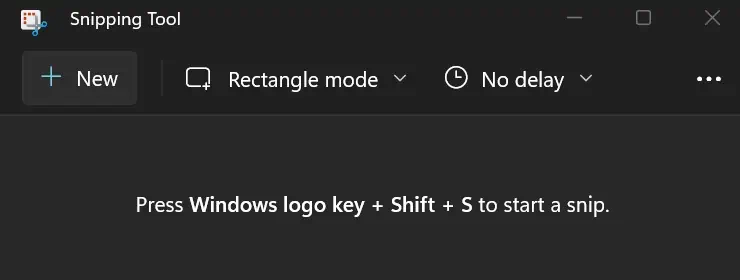
- Press Windows + Shift + S keys to launch the Snipping Tool.

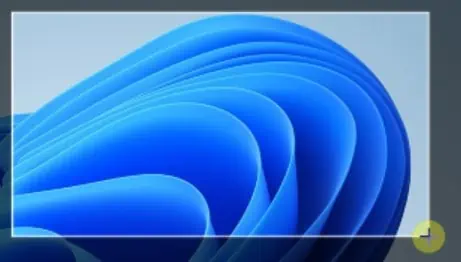
Else, you can also press Fn + PrtSc on your keyboard. - Since you’re printing just one screen, drag the ‘+’ pointer from the top corner to the end corner of that monitor.

- Once done, open an editing software, let’s say, Ms. Paint.
- Paste the content there and save it in your drive.
However, if you do not want to use an editing utility, here’s how you can save the screenshot of one screen:
- Navigate to the Magnifying button and search for Snipping Tool.

- Once a new window opens, click on the New button. This shows the exact same snapshot area as earlier.

- Drag and take the full snip of your desired screen.
- This time a preview is shown in the application. To save, click on the Save icon from the menu.

If your Snipping tool is not working on Windows 11, here’s an article that will help you fix it. Like this utility, Windows provides another in-built software called Snip & Sketch. If you want to learn how to use it, read our other post.
Use a Third-Party Screenshot Software
The major advantage of using third-party software is we can access some additional features. Thus, you can download any third-party software to take a screenshot of your desired screen despite running dual monitors.
Well, there are tons of tools available online. Among them, some popular ones include Lightshot, Screen Recorder, Snagit, etc.
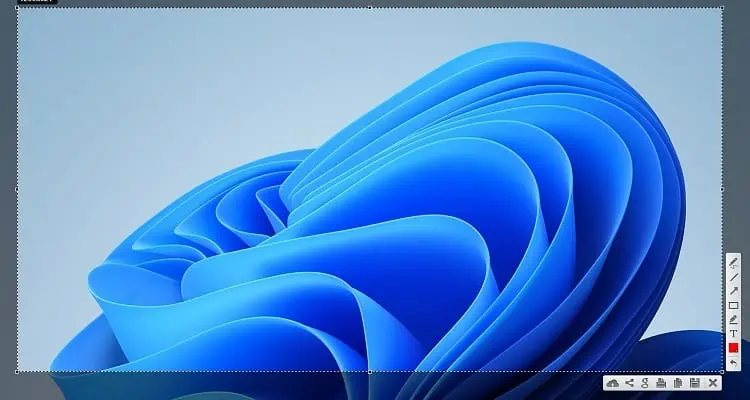
For demonstration purposes, we have used Lightshot to take a screenshot of one screen in a dual monitor setup:
- Firstly, you need to download and install the software. You can get the installation file from a simple Google search.
- Now, search for Lighshot in the Start Menu and add it to the taskbar.

- Next, navigate to the taskbar and click on the Show hidden icons.
- Then, tap the feather icon to launch a screenshot area.

- Like you used the Snipping Tool, drag and select the entire window of one of the screens.

- Finally, click on the save icon and choose a location to save the screenshot.

