By default, most devices automatically update their date and time. However, sometimes your device may show an incorrect time or date. You may also have unknowingly changed the setting to manual date and time.
Nevertheless, enabling automatic date and time is a simple task for all devices. In this article, we have explained this process for some common devices such as Windows, Mac, iPhone, etc.
How to Set Automatic Date and Time on Windows
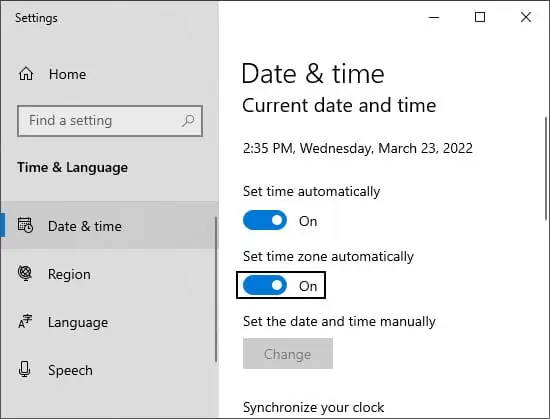
Here are the steps to set date and time automatically on Windows:
- Right-click on the Date/Time icon on the right side of your Taskbar.
- Select Adjust date/time. It opens the Date & time setting.
- Toggle On the Set time automatically and Set time zone automatically options.

- Also, make sure the Time server under Synchronize your clock is not empty.
- Click on Sync now on Date & time settings to synchronize your current time to the server.
How to Set Automatic Date and Time on Mac
Please follow these steps to enable automatic date and time on Mac:
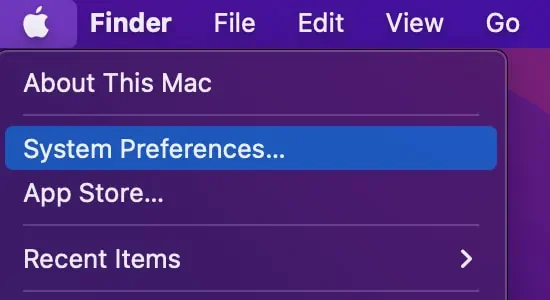
- Click on Apple menu and select System Preferences.

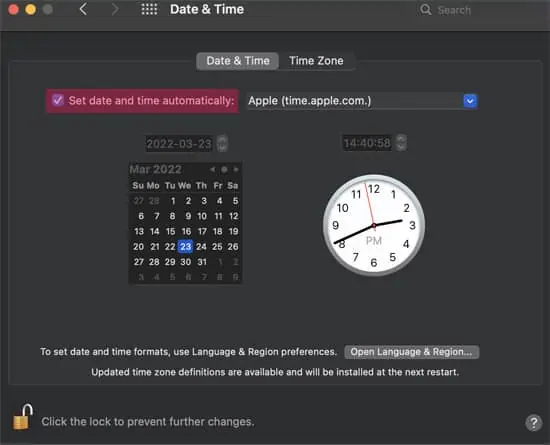
- Click Date & Time. Then click on the lock icon on the bottom left to be able to change the settings.
- In the Date & Time tab, check the Set date and time automatically option.

- Go to the Time Zone tab and check Set time zone automatically using current location.
How to Set Automatic Date and Time on iPhone
Please follow these directions to set date and time automatically on an iPhone:
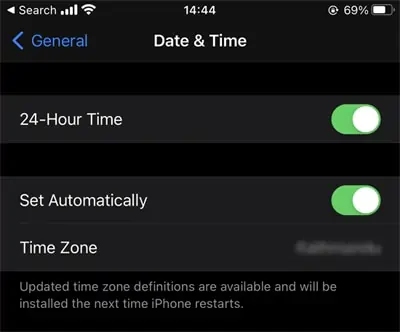
- Launch Settings and navigate through General > Date & Time.
- Toggle On the Set Automatically option.

Note: If Set Automatically is grayed out, your device may have a Screen Time passcode. Go to Settings > Screen time > Change Screen Time Passcode and select Turn Off Screen Time Passcode.
It is also recommended to toggle off the Share Across Devices option in the Screen Time settings.
How to Set Automatic Date and Time on Android
Follow the instructions below to set automatic date and time on an Android device:
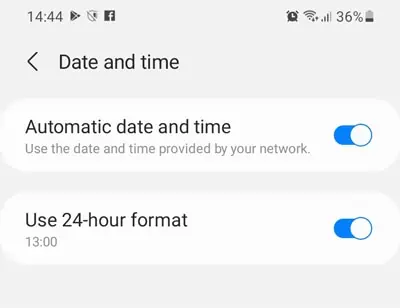
- Launch the Settings app and go to General management > Date & time.
- Enable the Automatic date and time option.

How to Set Automatic Date and Time on Chromebook
Here’s how you can enable the option to automatically set date and time on Chromebook:
- Click on the Clock on the right of your System Shelf.
- Open Settings by clicking on the gear icon.
- Click on Main Menu icon (3 horizontal bars) and go to Advanced > Date and time.
- Click on Time zone and check Set automatically.
