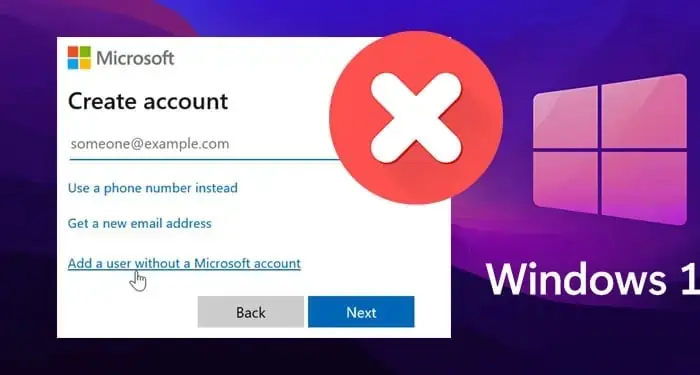
Don’t want to compulsory create a Microsoft account during setup? We got you!
Microsoft has created a compulsion for all Windows 11 Home and Pro users to create a Microsoft account during setup. Many users do not like being forced to do this and would like to use windows 11 with a local account.
So how do we bypass this compulsion? Do not worry; we have two reliable ways to bypass it. We have also provided a third alternative which isn’t exactly bypassing it but will eliminate the Microsoft account from windows.
How to Set Up Windows 11 Without a Microsoft Account
As the point of this article is focused on a specific window during windows setup, we assume you have already reached here. So, we will be jumping on the exact thing you need to do during setup.
If you are confused about installing Windows 11 in the first place, do not worry. We have dedicated articles focusing on many installation scenarios like:
- Installing Windows 11 via USB
- Use a Virtual Machine to Install Windows 11
- Installing Windows 11 on Mac
Once the Installation Media is loaded up, follow the steps below:
Get to the Add Microsoft Account Section
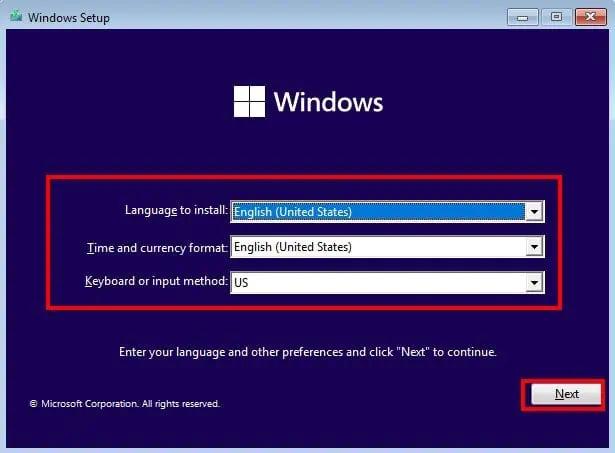
- You will see a language preference window, select the language, time & currency format, Keyboard or input method and press next.

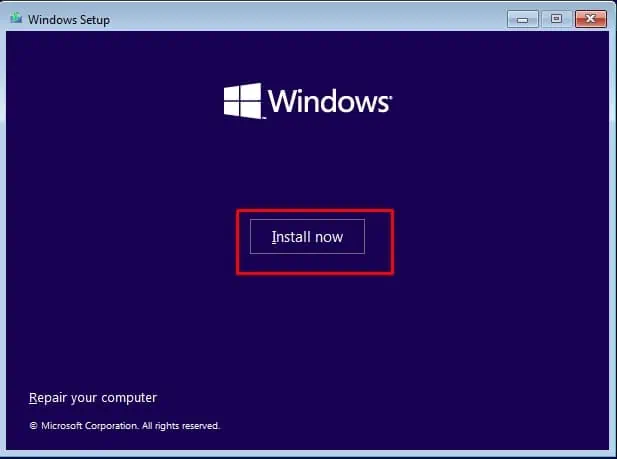
- Click on the Install Now option.

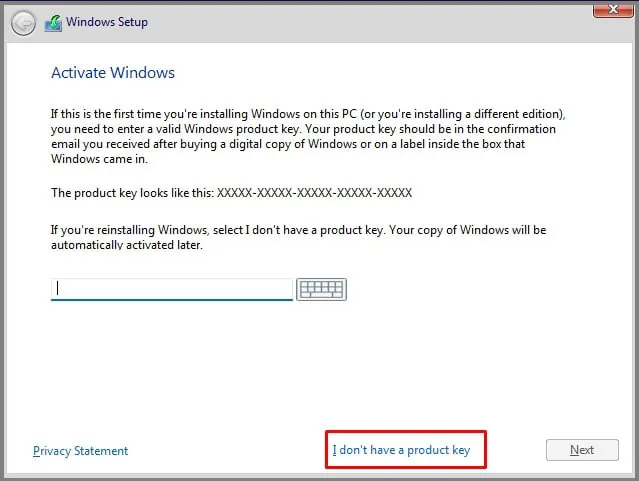
- An activate windows screen will be shown asking you to enter a product key, skip all that and click on I don’t have a product key.

- Choose the version of Windows and press Next.

- The Applicable Notices and License terms window will be displayed; scroll down and tick on the I accept box. Click on the Next option.

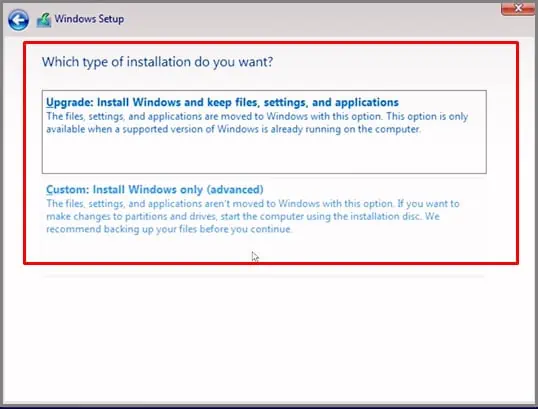
- You will be given an option to choose the type of installation and select the type that suits your needs.

- Select the storage drive where you will store the windows OS files and let the installation continue.

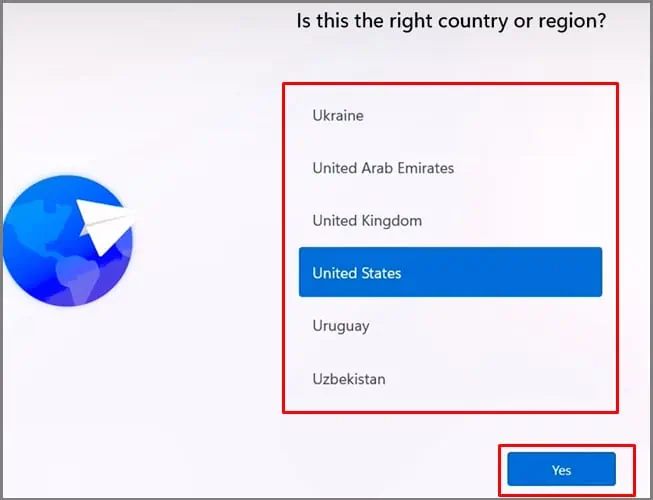
- Once complete, select the country or region and click on Yes.

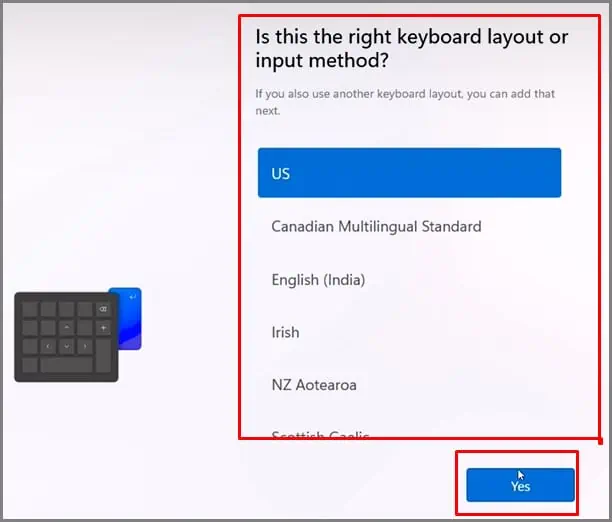
- Confirm the keyboard layout / Input method and select Yes.

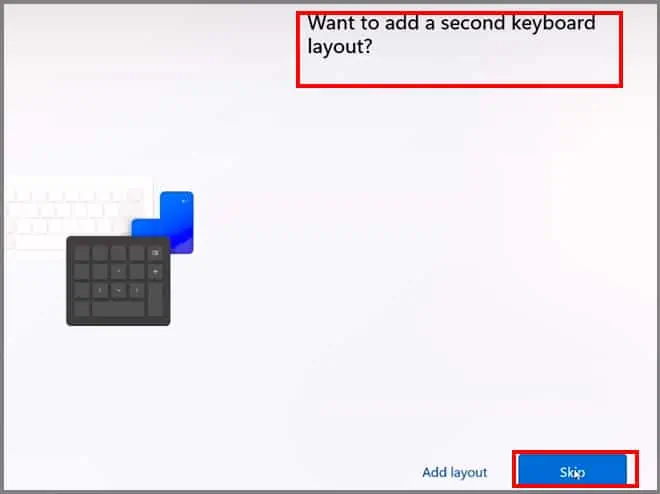
- Select the Skip option on the add a second keyboard layout window.

You should now see the “Let’s add your Microsoft Account “ Window if you have an internet connection. Else it will show you a window asking you to connect to a network. Follow the next step to bypass it.
Bypass Microsoft Account
There are two ways you can have your windows 11 without using a Microsoft account. Use any of the alternatives below to do it. If one doesn’t work, go for the next alternative.
If the bypass methods stop working, move on to the last alternative in the article.
Use OOBEBYPASS Command
The initial setup part is the same as stated above. We will need to use a specific command prompt command line to get a non-internet option for setup.
- Disconnect ethernet cable or any internet connection before the setup procedure.
- Go through the above steps for the initial part of the setup.
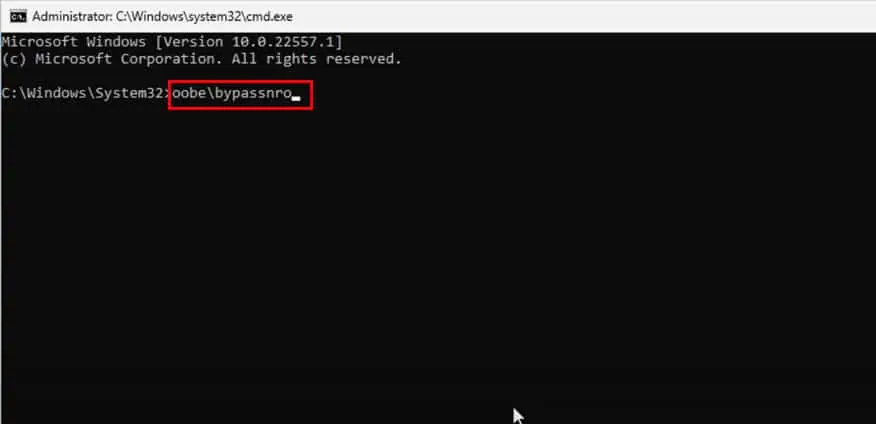
- You will now see the “Let connect you to a network” window. Press Shift + F10 to open the administrator command prompt.
- Run the following command:
OOBE\BYPASSNRO
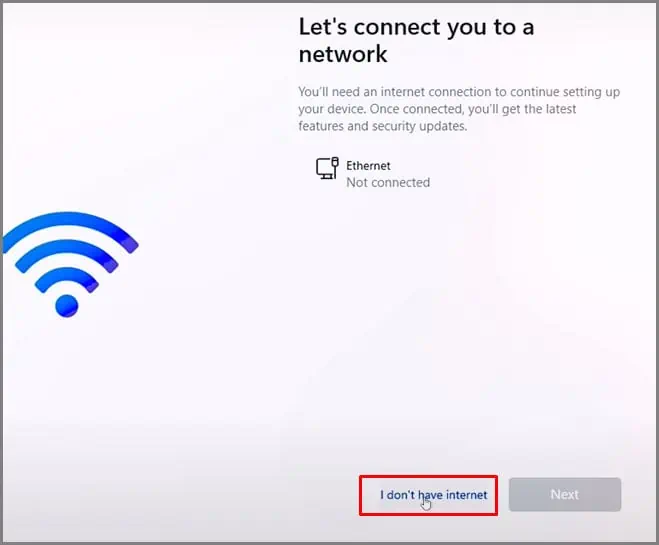
- The command will also restart the setup. Get to the “Let’s connect you to a network” windows again.
- Select the “I don’t have internet” at the bottom of the window.

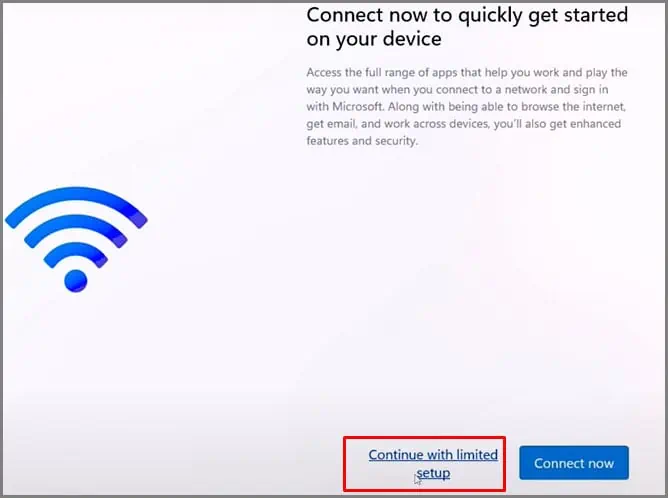
- Select Continue with Limited Setup.

- Enter your name and select Next.
- Enter a password and click on Next.
- Follow instructions on the windows setup for the latter part of the setup.
Use Taskmgr Command
The beginning portion of the setup is the same as stated above. We will use a command line to open the task manager and end the task of a specific process to bypass the Microsoft compulsion.
- Disconnect any internet connection like the alternative above.
- Go through the initial part of the setup till you get to the “Let’s connect you to a network” window.
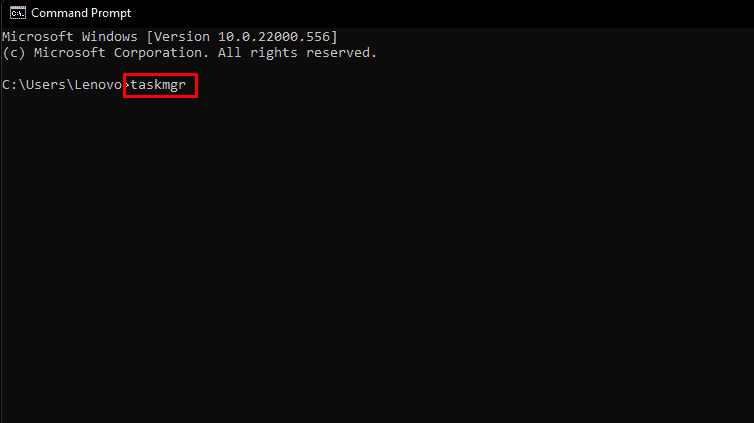
- Press Shift + F10 to open the administrator command prompt.
- Run the following command:
taskmgr
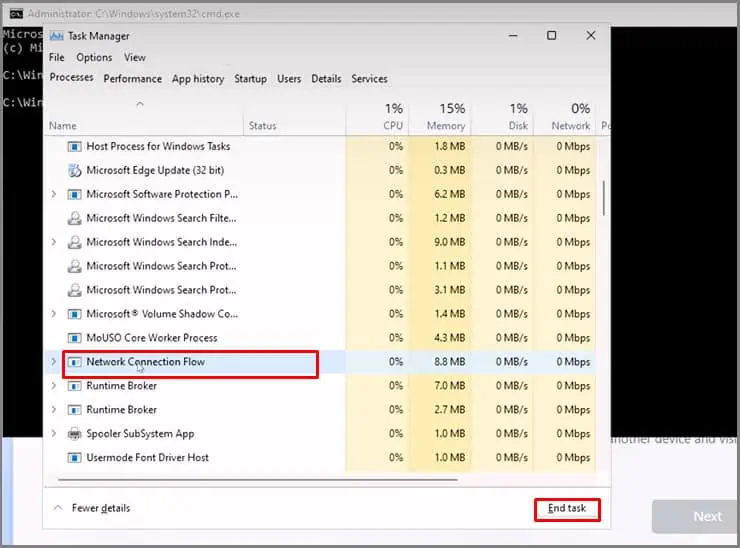
- Once the Task manager opens, scroll down, and under processes, find an option titled network connection flow.
- Select “Network connection flow” and select End Task.

- Go back to the setup window.
- Enter your name and select Next.
- Enter a password and click on Next.
- Follow instructions on the windows setup for the latter part of the setup.
Setup Windows With a Local Account
We can also directly set up windows 11 by using a local account. You will have to stop your internet connection to do this. Use the steps below to get it done.
- Please leave the internet-connected and get to the “Let’s Add your Microsoft Account” Window by following the instructions on the screen.
- Disconnect the internet and click on the Back icon in the top left corner.

- Enter the Local Account User Name and select Next.
- Enter the password for the local account and click on Next.
- Follow instructions on the windows setup for the latter part of the setup.
Alternative to Bypassing Microsoft Account
If the above steps aren’t working for you or you are having trouble with the steps, we recommend creating a Microsoft account just for its sake and later switching to a local account.
In the end, you won’t have a Microsoft account linked to your PC. Once the windows 11 is fully set up, follow the steps stated below:
- Press Windows Key + X and select Settings.
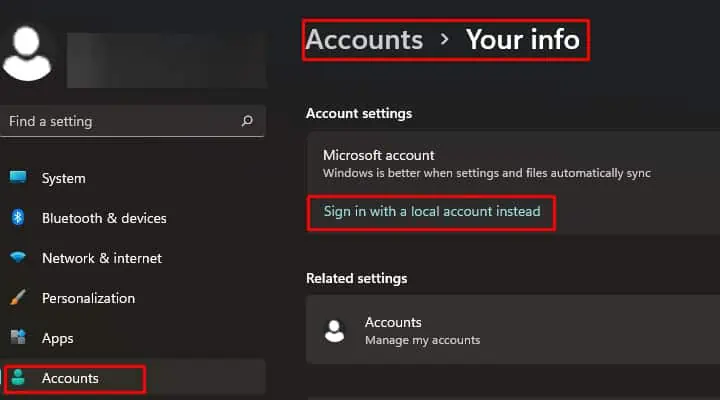
- Go to Accounts from the left panel.
- Select the Your Info option.
- Under Account settings, click on the Sign in with a local account option.

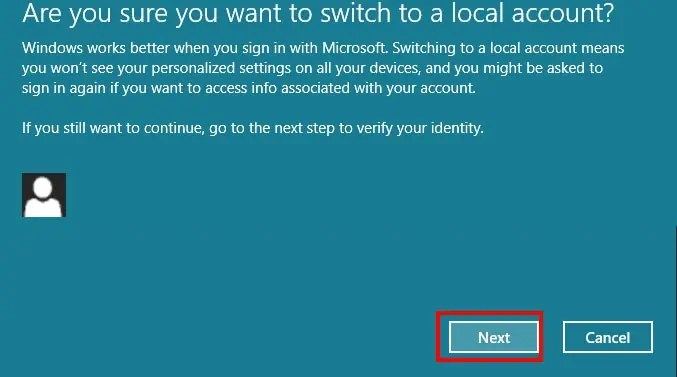
- A pop-up box will open asking you to confirm the action; select Next.

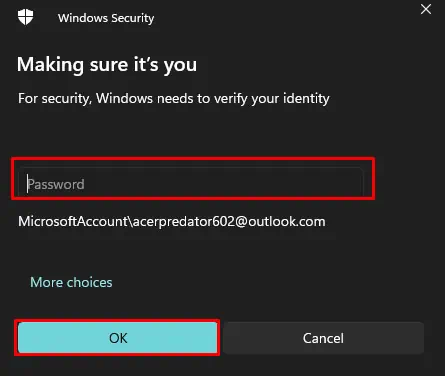
- Another Windows security pop-up box will open, type in the password for the Microsoft account and click on OK.

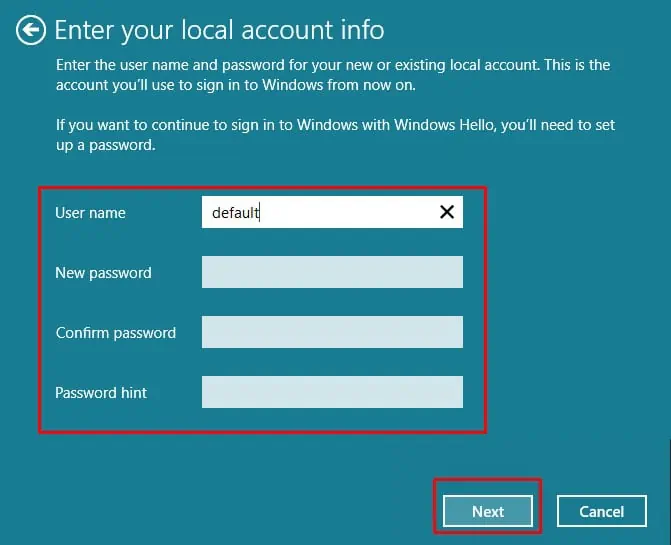
- A new pop-up will open where you can enter the local username, password, and password hint. Please fill in all up and select Next.

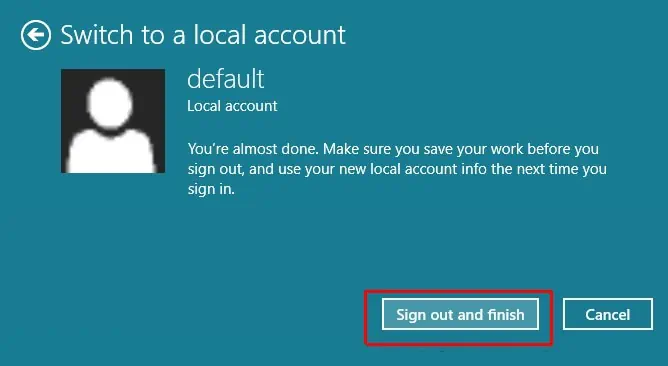
- Click on Sign out & Finish.

Once this is done, you will remove the previously created Microsoft account on your Windows 11.
If you still have trouble removing the Microsoft account, we have a dedicated article written for that specific purpose. We recommend checking it out for numerous ways to remove the Microsoft account.
