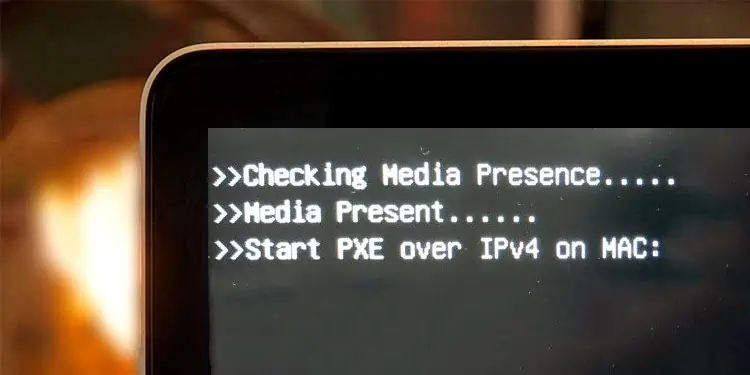
If you see the Start PXE over IPv4 on MAC error during the startup process, your computer will not be able to load into the operating system. This particular error signifies that your system could not find any bootable device to boot up and ends up starting via the network.
The PXE (Preboot Execution Environment) is a useful Windows tool that is meant to be used as a last remedy to start up OS when all your bootable devices fail. But, if that’s not the case and all your disk drivers are well and running, the boot priority should be altered to start up the computer from a bootable drive.
So, if you’ve recently encountered this error and are looking to fix it, we are here to guide you through a step-by-step process to do so.
Why Am I Getting This Error?
- Misconfigured boot priority
- The Wake On LAN feature is enabled
- Secure Boot
- Mismanaged BIOS settings
- Outdated BIOS
How to Fix Start PXE Over IPv4 on MAC
Although the error message sounds concerning, the actual ways to fix it are pretty simple and easy. Listed below are all the methods to do so, and we recommend you to follow all of them until you no longer have to face this issue.
Check Your Boot Priority
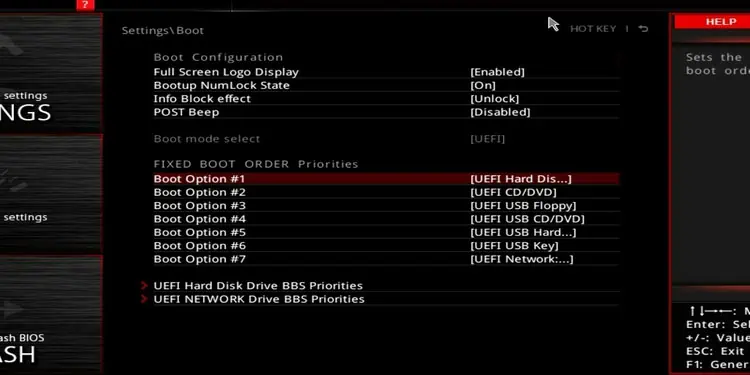
Whenever you encounter this PXE error, the first thing you have to do is to set a correct boot priority. That is, you have to request your computer to start up from a bootable drive (E.g., your hard disk).
So, to do this,
- Restart your computer.
- Enter BIOS settings.
- Go to the Boot tab.
Here, you’ll see your devices listed in order of their boot priority. Your computer first chooses to start up using the first device on the list, that is, the one with the highest priority. - Move your disk drives (HDD, SSD, etc.) to the top of this list.
The appropriate key combination to do so is shown in a column to the right of the screen.
- Press F10 to save your changes and exit the BIOS.
Disable Wake On LAN
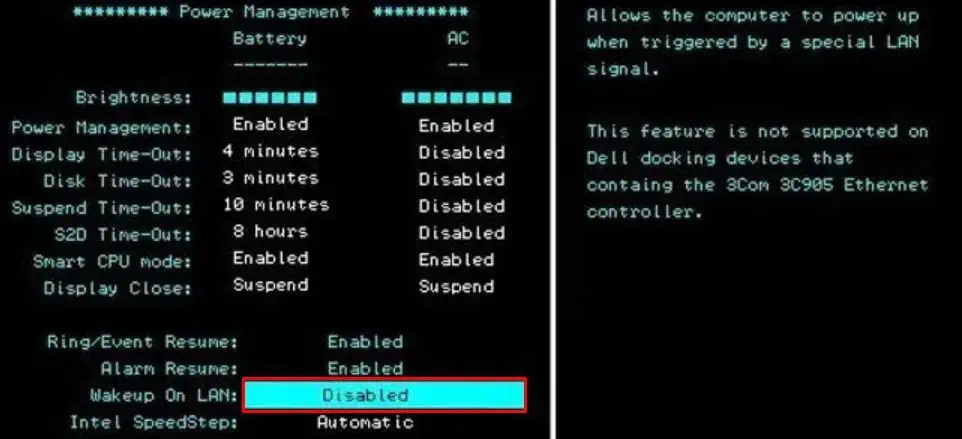
The Windows Wake On LAN option is another network and power-related feature. Using this, you can wake your computer remotely through the network. However, this feature is also known to cause certain power issues, such as the one you’re facing right now.
So, to disable it,
- Restart your computer.
- Enter BIOS settings.
- Now, depending on your motherboard’s manufacturer, the Wake On LAN option can be accessed from various sections of the BIOS setup.
However, for most motherboards, it’s usually under Power or Advanced. - Once you reach the designated place, click on Wake On LAN or Boot to LAN and set it to be Disabled.

- Press F10 to save your changes and exit the BIOS.
Disable the Secure Boot Option
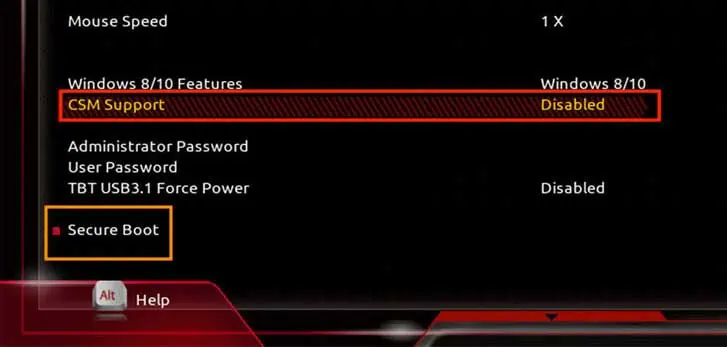
The Secure Boot option is a pretty useful security feature provided by the UWFI firmware. Although it is a useful addition to your system, it has been known to cause PXE errors for plenty of users on a variety of different forums. So, you could temporarily disable it and see if that fixes your problem.
To do this,
- Restart your computer.
- Enter BIOS settings.
- Go to the Boot tab.
- Click on Secure Boot and set it as Disabled.
- While you’re here, Disable the CSM Support as well.

- Press F10 to save your changes and exit the BIOS.
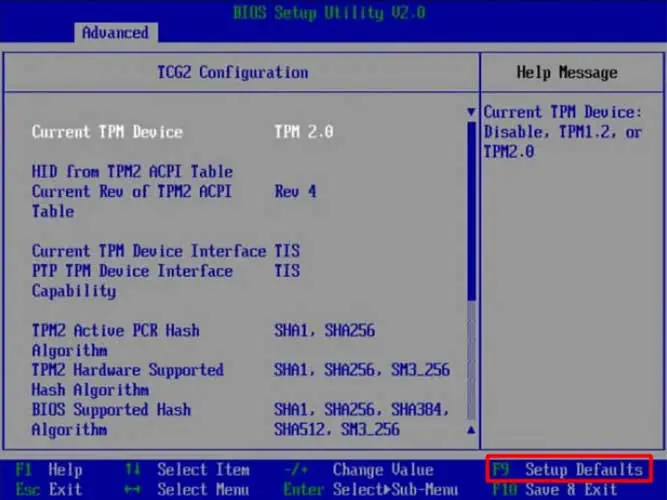
Revert BIOS to Default
If you are not able to fix misconfigurations within the BIOS, you can let the system do it for you. That is, reverting the BIOS back to defaults resets every setting within it to its original value. Any changes you previously made will now be lost, but that can ultimately end up fixing your issue.
For this,
- Restart your computer.
- Enter BIOS settings.
- Look for an option that resembles Setup Defaults or Load Defaults.

- If prompted, accept the message with a Yes.
- Press F10 to save your changes and exit the BIOS.
Update BIOS
If all the above steps still don’t fix your issue, chances are that the BIOS is outdated. Outdated BIOS can be a factor in certain compatibility issues and start-up problems. Also, any bugs and glitches that might have been affecting the previous build from operating at full potential can be patched with an update.
So, it’s recommended that you update your BIOS to the latest version. This can be easily done by downloading the appropriate file in regards to your computing system from your device manufacturer’s website. Also, it’s worth a note that updating the BIOS reverts every setting within it back to default.

