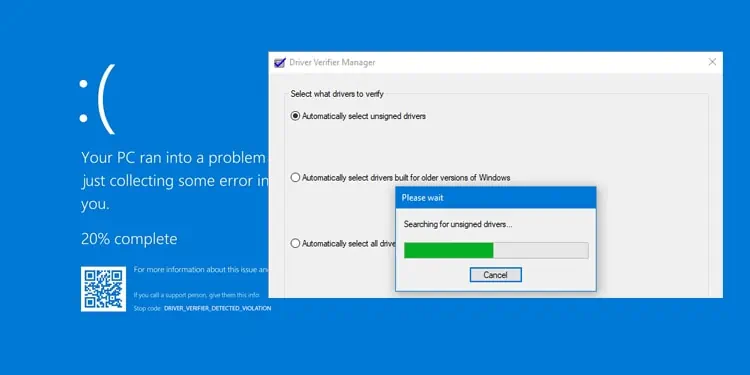
Driver Verifier is a Windows tool used to monitor and stress drivers to detect any unintended behavior. It’s a tool meant to be used on development systems by driver developers rather than on production systems by normal users. In fact, Microsoft cautions users to do the same.
However, you’ll often see users on forums being advised to use Driver Verifier to troubleshoot driver issues and BSODs. So, what’s the reality? Is Driver Verifier safe to use, and should you use it on your system? We’ve attempted to answer these and similar queries in this article.
What Is Driver Verifier? Should You Use It?
Windows NT Device Drivers use kernel mode structures called I/O request packets (IRPs) to communicate with the OS and each other. The Driver Verifier monitors these IRPs and checks for IRP assignment and completion errors.
The Driver Verifier allows you to put drivers through heavy stress loads by simulating certain conditions like low memory, pool tracking, or deadlock detection. You can recreate potential errors by forcing drivers to work with minimal resources and use the generated dumps to analyze and debug the problem.
As stated, this is generally done in test environments when developing the drivers. But sometimes, you’ll have to run the Driver Verifier on production machines. And there arises the question, is that even safe?
Well, it’s complicated. First of all, Microsoft has explicitly cautioned against trying to verify all drivers at once as this would severely degrade performance, limit the effectiveness of the verifier, and pretty much make the system unusable. And yet, this is how most users use the Driver Verifier.
But it’s also true that in rare cases, even if you use the Driver Verifier properly, you could still get stuck in a Driver Verifier bugcheck loop. Essentially, it could cause more crashes than it solves. But like we said, this is highly unlikely to happen if proper procedure is followed
Ultimately, our verdict is that you should only use this on production machines if you’ve already tried other debugging tools with no success.
How to Use Driver Verifier?
Driver Verifier is included by default on most Windows versions and can be run with the verifier command. But before you run it, there are a few things worth noting first:
- You should be in the Administrators group to use Driver Verifier.
- It’s recommended to only test non-Microsoft drivers.
- You should only test one or a few drivers at once. Running driver verifier against all drivers at once is not recommended.
- You should ensure memory dump creation is enabled.
- You should create a system restore point before running the Driver Verifier.
- When testing the drivers, it’s best to start with any recently installed or updated ones, ones with problematic history, or any others that you suspect.
Generate Bug Check
For maximal effectiveness, Microsoft recommends setting up network debugging. But this isn’t feasible for most users, and regardless of whether you set up the debugging session or not, the steps to follow on the target (crashing) computer are the same:
- Press Win + R, type
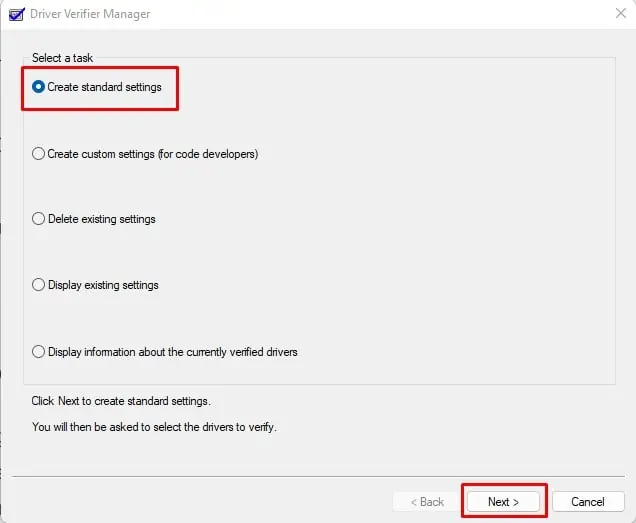
verifier, and press Enter. - You have two options with the Driver Verifier Manager.

- If you suspect there is a specific reason for your driver issues, like, let’s say, memory corruption, you could select Create Custom Settings (for code developers), and you could select particular tests like Special Pool.
- Otherwise, you could select Create standard settings for the default tests.
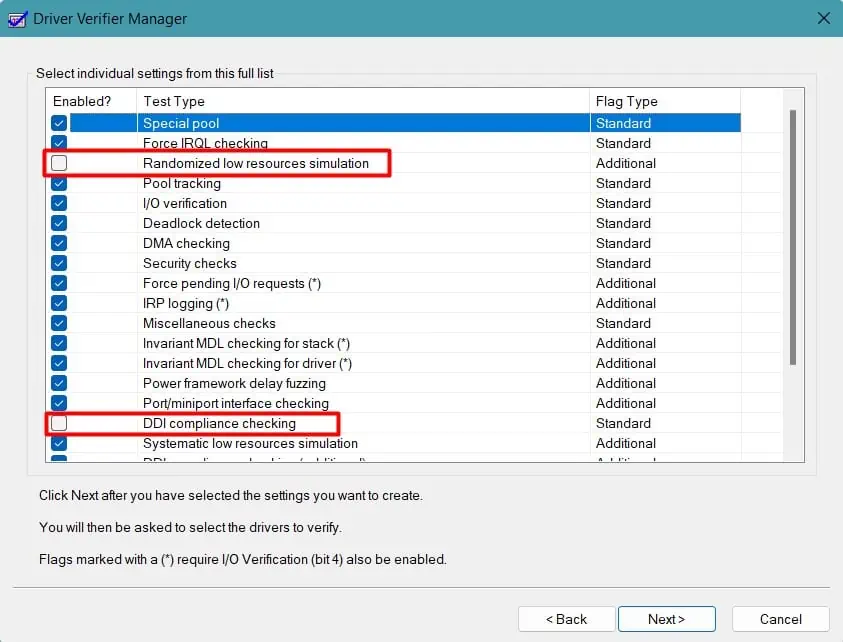
- When selecting custom settings, there are a few things worth noting. As Randomized low resources simulation has a possibility of causing unrelated crashes, this test is not included in most cases. You can instead go with Systematic low resources simulation.
- Some commonly included tests include Pool Tracking for memory leaks, I/O Verification to check for illegal I/O routines, Deadlock Detection to check for deadlock potential, Security Checks to check for security vulnerabilities, etc. We recommend referring to Microsoft’s Driver Verifier Options documentation for the full list and description of the options.

- After specifying the test, pick Select driver names from a list.
- Select the driver/s that you suspect and press Finish.

- Restart your computer and use your system as usual.
- The system performance will likely be affected during this time, but it’s intended. After Driver Verifier detects a violation, it will generate a bug check.

- Now, you should restart and analyze the dump files to determine the root of the problems and reset the Driver Verifier afterward.
verifier /standard /driver TestDriver.sysAnalyze Minidump File
You can use debugging tools like WinDbg or KD to analyze the dump files and figure out the faulty drivers. In either case, for the CLI methods, you’ll first want to append the symbol path to point to the Microsoft symbol store.
This will allow the debugger to automatically retrieve the correct symbol files without requiring information like product names, releases, or build numbers from you. You can do this with the .symfix command as such:.symfix[+] [LocalSymbolCache]

We’ve done the same and confirmed that it worked by using the .sympath command in the shown example. Do note that internet access is required for this to work.
KD
With KD, you can use the kd -y SymbolPath -i ImagePath -z DumpFileName command in CMD to open the dump file. At the KD prompt, you can use !analyze -v to analyze the dump file and !verifier to display the Driver Verifier stats.
WinDbg
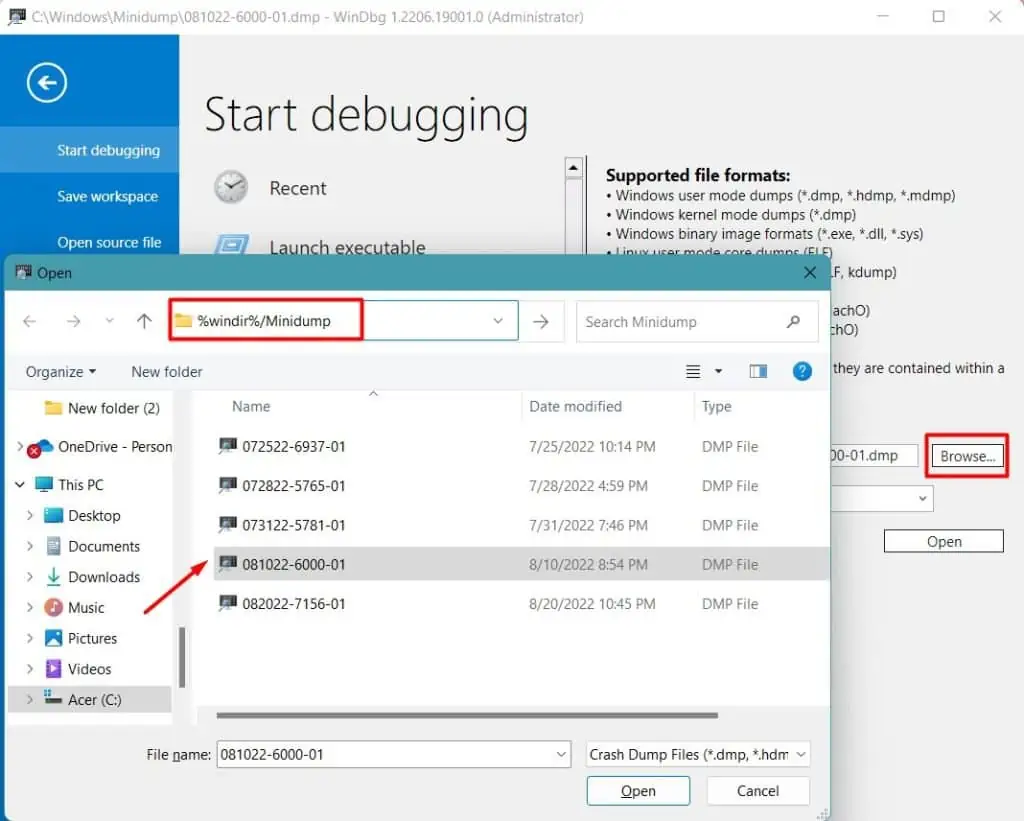
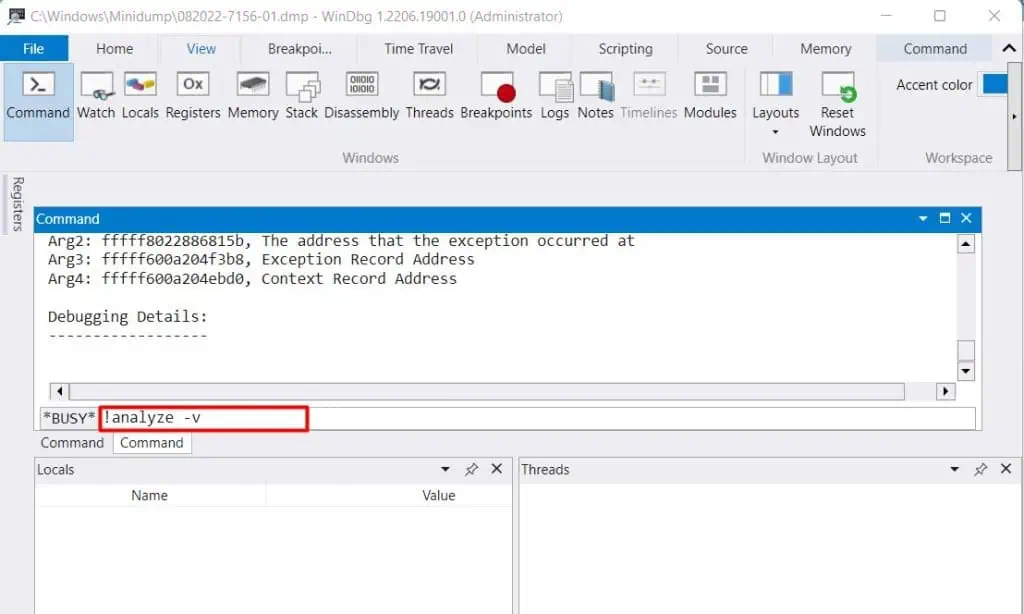
In the case of WinDbg, you can do the same with windbg -y SymbolPath -i ImagePath -z DumpFileName. Alternatively, you can also use the WinDbg Preview app via the GUI as such:
- Install and launch the WinDbg tool.
- Press CTRL + D, then browse and open the
.dmpfile.
- Select View > Command and enter
!analyze -v.
- After the analysis is done, check the MODULE_NAME and Probably caused by sections.
- As you likely have multiple dump files, analyze the rest in the same manner to determine the culprit.
Reset Driver Verifier
Driver Verifier consumes a significant amount of resources when stress-testing the drivers in the background. If you don’t reset it after using it, your system performance will stay degraded, and you’ll continue to face crashes due to the bug checks.
As such, you’ll want to reset it by launching the Driver Verifier Manager as before and selecting Delete existing settings. Alternatively, you could also use the verifier /reset command in CMD.

If you’re unable to disable it due to direct crash upon booting, you can boot into safe mode and disable it from there. Assuming you followed our recommendations, Driver Verifier should only be running against non-Microsoft drivers, which won’t be running in safe mode, meaning you should be able to boot without crashing.
In case this isn’t an option either, you can boot from a Windows Installation Media or Recovery Drive and use system restore to revert your PC to a working state.
Resolve Driver Issues
Once you’ve singled out the problematic driver, you can take the appropriate steps, whether that be updating it, rolling back, or uninstalling entirely.

