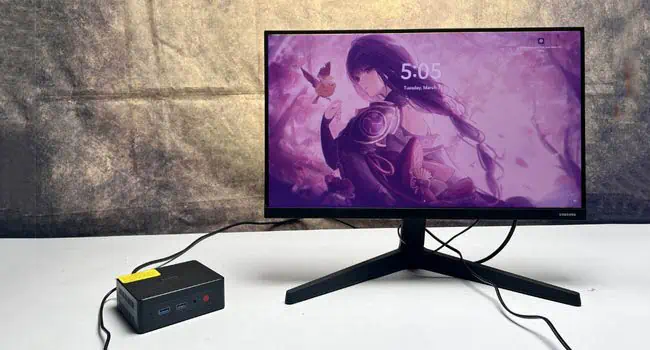
When talking about computer monitors, most might think it’s only used to display a PC’s content. But that’s not true—this output device can be connected to any gadget that provides video output signals.
These days, you may even come across smart monitors that run on specific software and can be controlled using a remote. It even offers wired and wireless connections, making tasks much easier. But when it comes to regular monitors, they lack most of the features and without a PC, you may feel as if they are worthless.
Well, you’d be surprised to know that it’s possible to make your monitor a smart TV and even connect it to different devices. Regarding the same, here’s a detailed guide on how to use a monitor even if you do not have a PC.
Use It as an External Display for Your Laptop
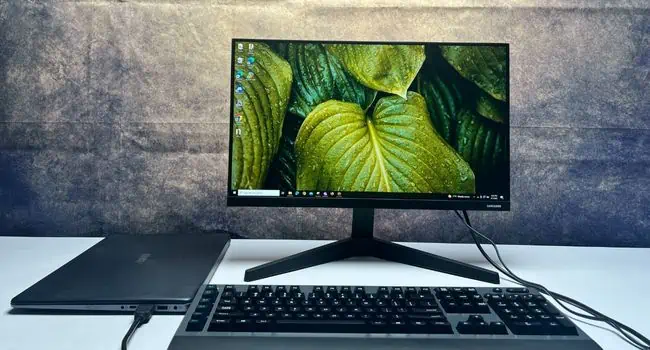
Undoubtedly, laptops have become the de facto computer of choice in this modern era. If you’re using a laptop at home, it’s better to connect to a bigger screen to increase the workspace.
In fact, using your monitor as an external display can help improve ergonomics and even bring positive effects to your workflow. All you have to do is connect one end of the video cable to your laptop’s video output port and the other to the monitor’s input port.
Almost all modern laptops and monitors come with at least one HDMI port. In such cases, all you require is an HDMI cable. However, if the video interfaces on two devices do not match, you’ll need to get an appropriate adapter.
Below is a simple step-by-step guide on how to use your monitor as an external display for a laptop:
- First, examine the video ports on both your laptop and display device.

- Start your laptop and monitor if required. Don’t forget to join the display device’s power adapter.

- Get the video cable or adapter based on the matching ports. For example, if both have an HDMI interface, you can use an HDMI cable. But if your laptop has HDMI but the monitor only supports VGA, we recommend getting an HDMI-to-VGA adapter.
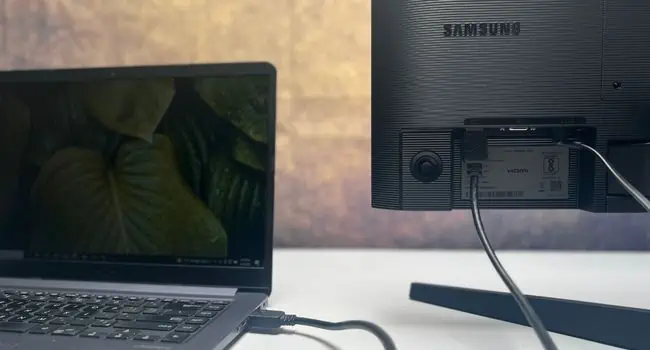
- Now, connect the first end of the HDMI cable to the laptop’s HDMI OUT.

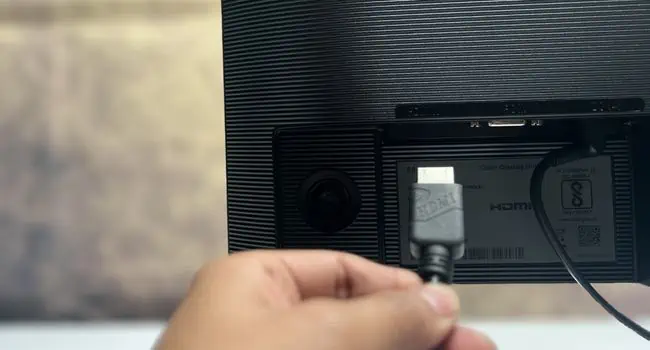
- Then, attach the other end to the monitor’s HDMI IN.

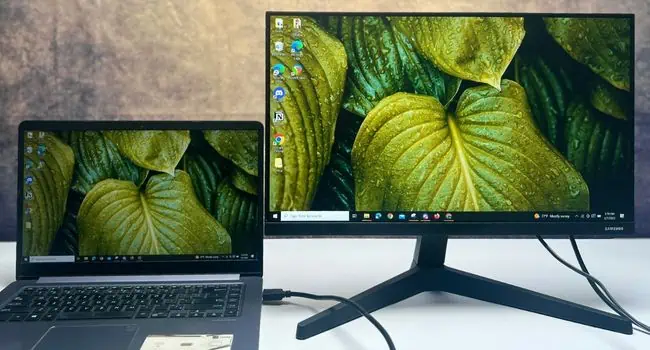
If you’re using an adapter, connect it to the female HDMI port first and then attach the VGA cable to your monitor’s VGA port. - Once all the connection is made, the laptop’s content should be projected on the screen.

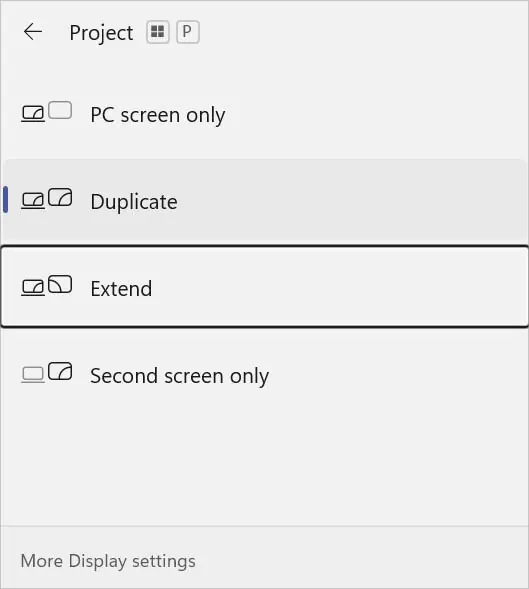
- By default, your monitor will duplicate the laptop’s video. If you want to extend your screen, press Windows + P to open the Project settings first.
- Then, pick Extend.

- If you’re seeking to close the laptop’s lid and still use the external display, here’s what you need to do:
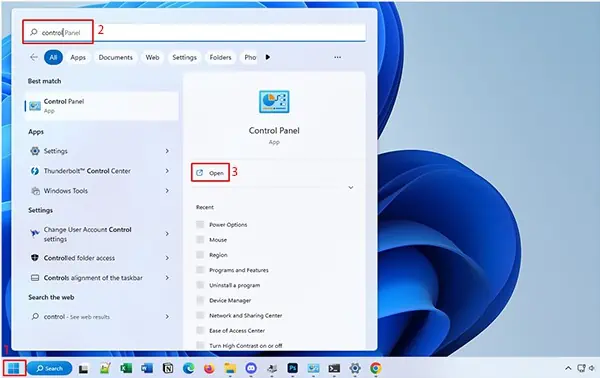
- Get to the Start Menu, search for Control Panel, and launch it.

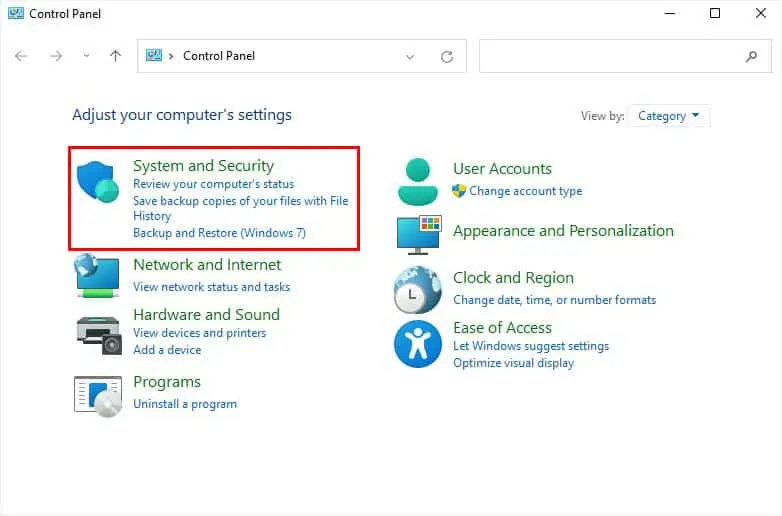
- Once the window appears, select System and Security.

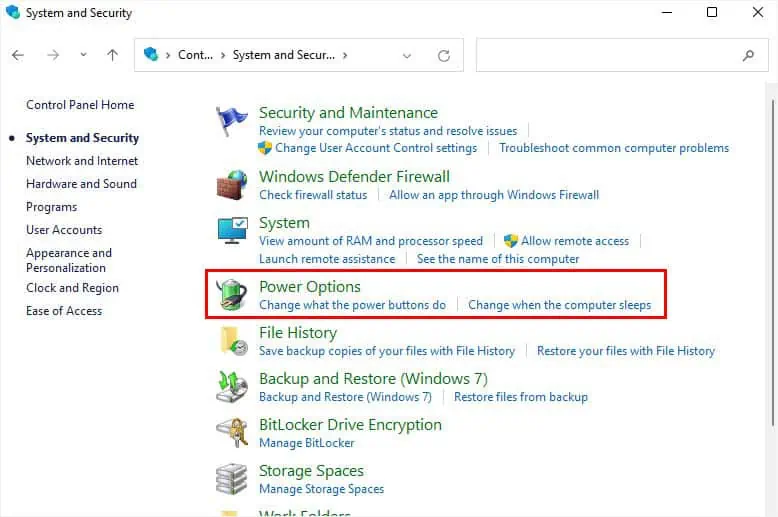
- Go to Power Options.

- From the left side of the screen, pick Choose what closing the lid does.

- Under the Power button and lid settings, expand When I close the lid option. Then, set the options for both On Battery and Plugged In to Do Nothing.

- Finally, hit the Save Changes button.
- Get to the Start Menu, search for Control Panel, and launch it.
- Connect external peripherals (keyboard, mouse, speaker, etc.), and close the lid. You can now use your laptop like a desktop computer.

Connect a Gaming Console
If you own a gaming monitor, it’s going to be icing on the cake to join a gaming console. Most of us tend to connect these devices to a TV. However, if you wish to achieve better gaming performance, you should definitely opt for the monitor.
Compared to television, your monitor offers higher refresh rates and lower latency, which perfectly blends in with high-end games. However, if you’re already using a gaming TV, its higher pixel density might just suit you. There are quite a lot of differences between the two, which we shall discuss in other articles.
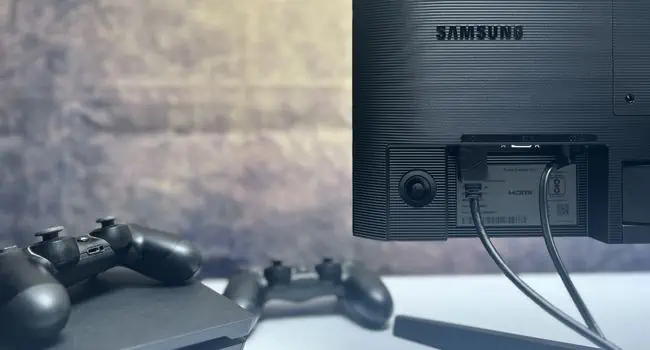
Coming back, it’s absolutely simple to connect a console to a monitor. Whether you have a PlayStation, Xbox, Switch, or any other gaming console, all you require is to attach the video cable to their respective input ports. Then, connect the other end to the monitor’s output port.
If your monitor doesn’t support an internal speaker, you’ll need to connect an external one or opt for a soundbar. You can directly connect the headphone/speaker to the monitor or the console’s port, whichever you find easy.
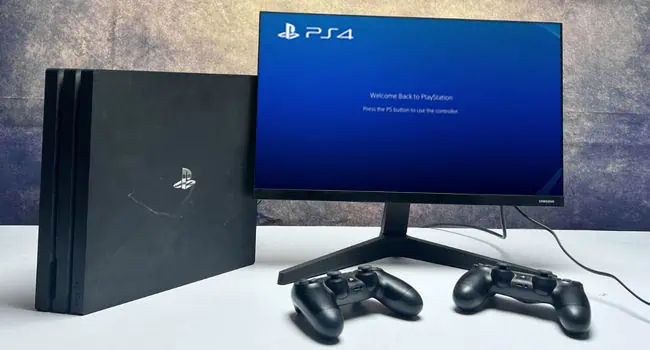
Sony Playstation
- First of all, connect the respective power adapters to both the monitor and PlayStation. Also, ensure the monitor’s power button is turned on.
- Next, use an appropriate video cable (say, HDMI) and connect it to the input port of the monitor.

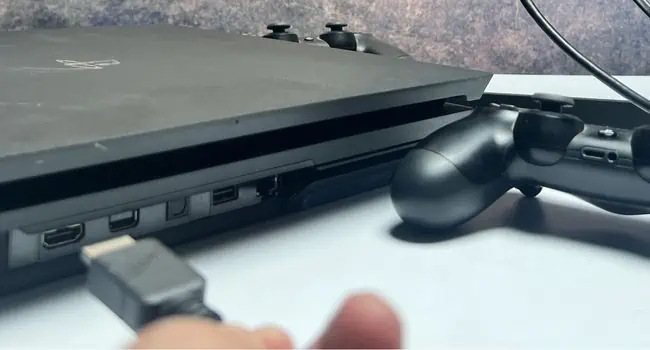
- Join the other end of the cable to your Playstation’s HDMI OUT port.

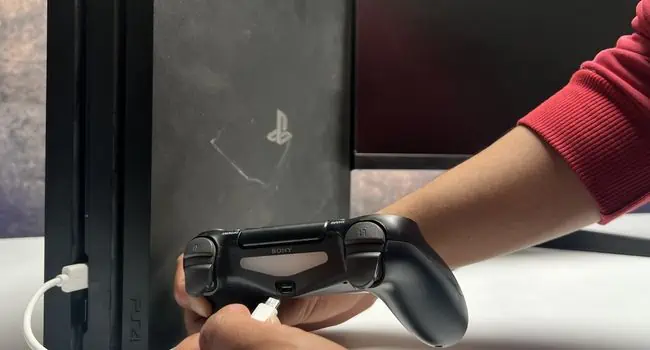
- If you’re using the PlayStation for the first time, connect the controller using a micro USB cable.

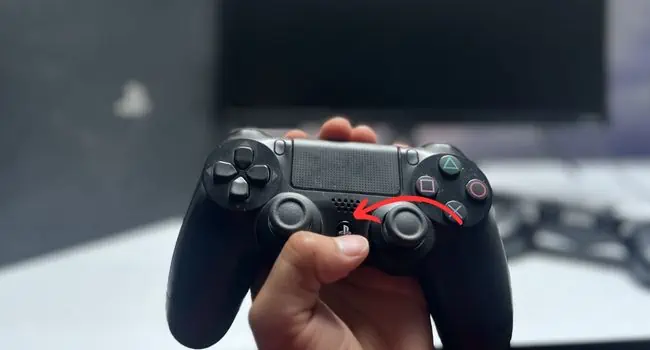
- Now, press the PS button on your controller or simply turn on your PlayStation manually.

- Wait for a few moments until the console starts. Follow the on-screen instructions, log in to your account, and enjoy your favorite game!

Microsoft Xbox
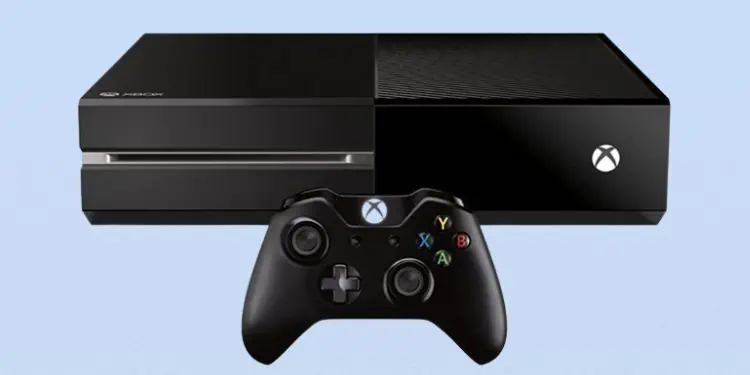
- Plug the DC power cord into the Xbox power supply. To identify the port, look for the Xbox logo.
- Now, connect one end of the HDMI cable to the output port of your Xbox.
- Then, join the other end of the input port of your monitor.
- Now, get to the front side of the console and press the power button (one with the Xbox logo).
- The LED should light up confirming that you’ve successfully set up the Xbox on a monitor. You should now be able to see the Xbox screen on your display device.
Nintendo Switch
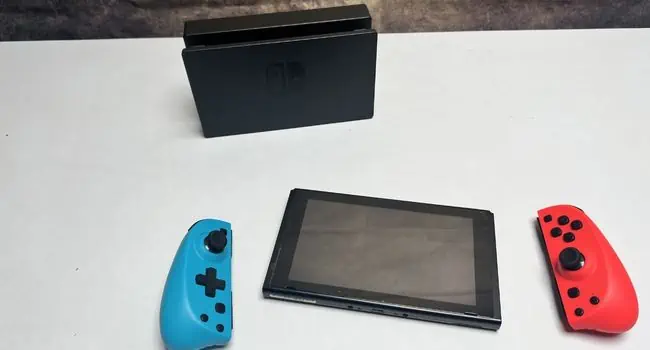
- First, detach the controllers from both sides, and connect the Pro Controller.

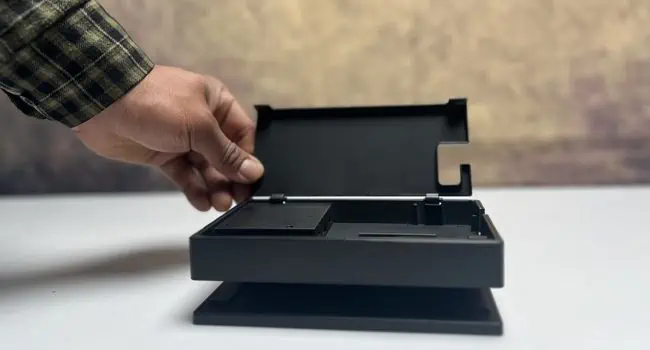
- Now, take the Switch Dock and open up its back cover to reveal the ports.

- Plug the AC adapter into the respective ports for both the monitor and Switch Dock.

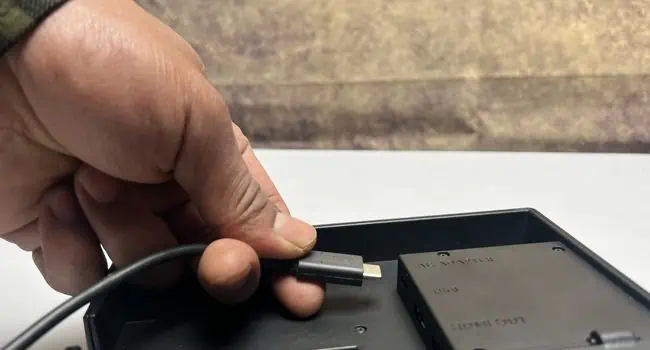
- Then, connect an HDMI cable to the dock’s HDMI OUT and the other end to the monitor’s IN port.
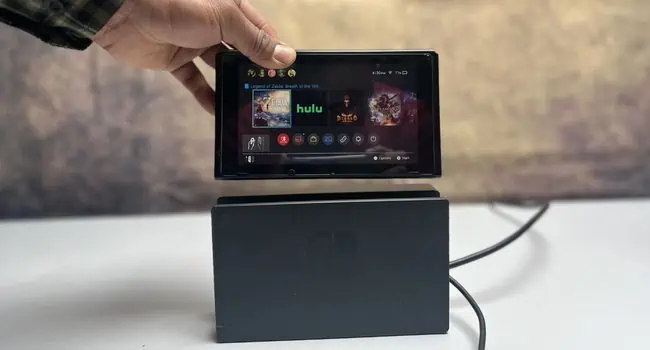
- Power on your Switch console and place it inside the dock as shown below.

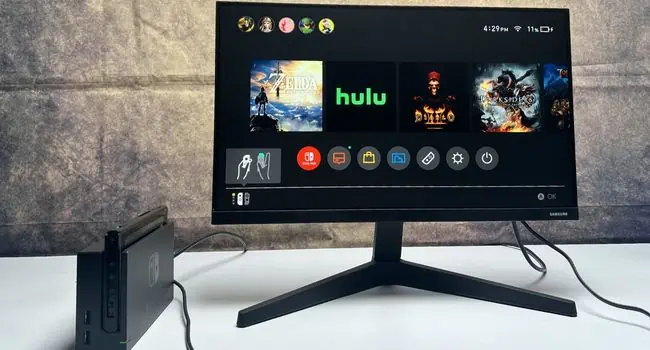
- The display should appear on the screen. You can now use the Pro Controller to play your favorite games.

Alternatives
There are several other gaming consoles you can use with your monitor. Some popular alternatives to PlayStation and Xbox include Google Stadia, Amazon Luna, etc. And the popular alternatives to Switch are Sony PlayStation Vita, Nintendo Switch Lite, NVIDIA SHIELD, etc.
Use Your Monitor as a TV
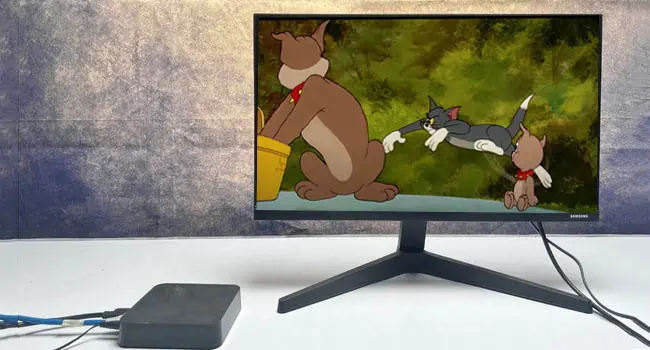
If you’re thinking to replace your television but already got a high-end monitor by your side, you do not have to spend extra bucks. Indeed, it’s feasible to use your output device as both regular and smart TV.
Once you make your monitor a television, you’re going to achieve a higher resolution, lower input lag, better response time, and higher refresh rates. These specifications even make your experience much better than using a TV.
These days, most people prefer a DTH Set Top Box to view channels via the internet provided by the ISP. On the other hand, some users even rely on other devices, like Roku, Fire TV Stick, Android TV Box, etc. Whatever gadget you’re using, the steps to connect them to a computer monitor are the same as that for television.
However, in some parts of the world, cable TV is still prevalent. If your monitor has a dedicated coaxial port, you may directly attach the coaxial cable here. But if it doesn’t, you’ll require a Coaxial-to-HDMI converter.
To connect a regular Set Top Box or any other streaming device (Roku, Firestick, Chromecast, etc.), you just need to plug in the appropriate cable (like HDMI). It’s similar to attaching a gaming console or laptop that we discussed above.
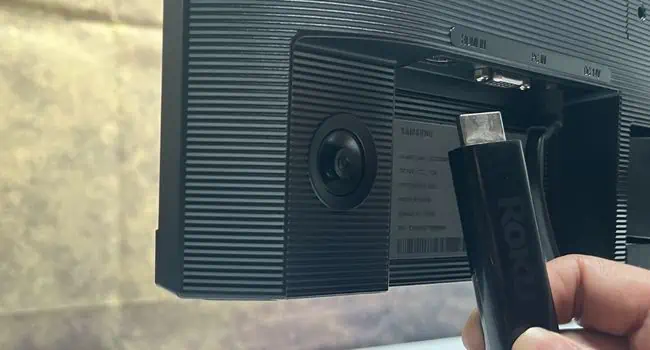
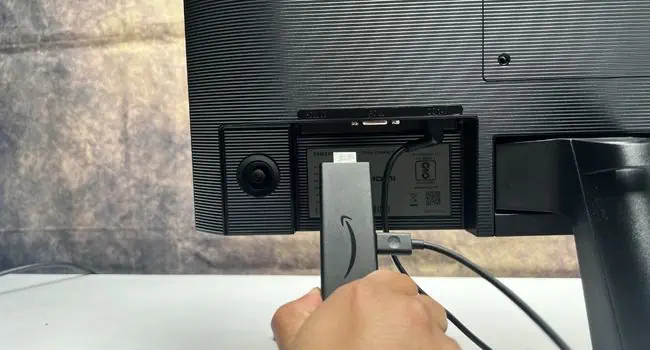
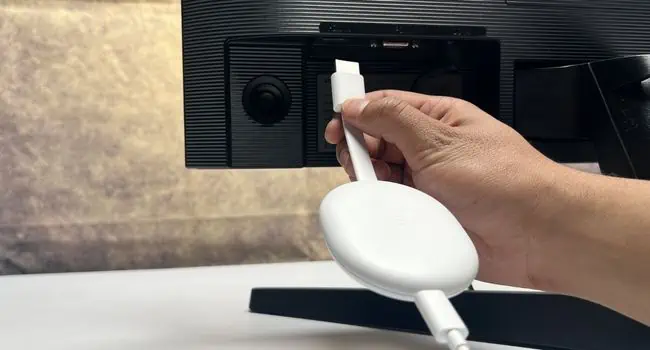
Some modern streaming sticks look and work identically to a flash drive. Instead of the USB connector plug, they have an HDMI. To connect them, all you have to do is insert them into the monitor’s HDMI IN port.
Regular Set Top Box
- Ensure you have securely connected the power adapters of both the devices (Set Top Box and monitor) to the respective power ports.

- Get a supported video cable (usually all Set Top Boxes have HDMI).
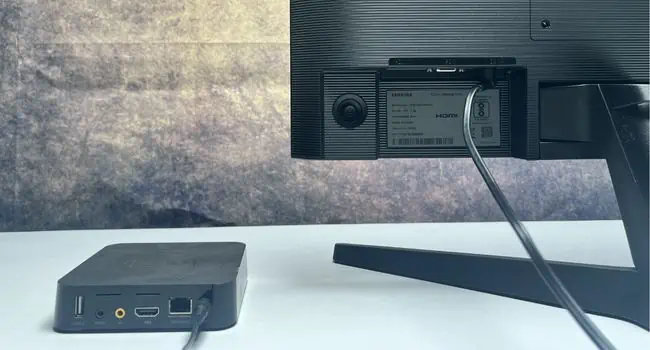
- Connect one end to your monitor and the other to the Set Top Box.

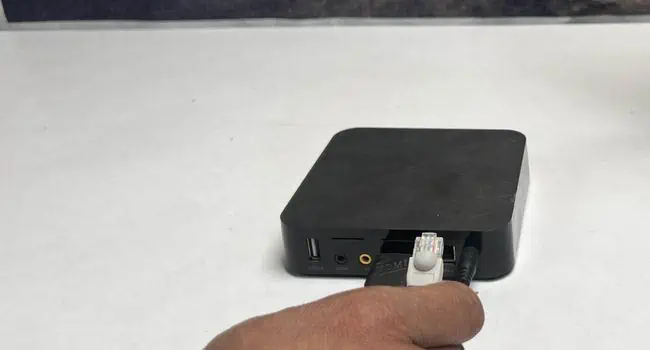
- Next, establish a router connection using an ethernet cable.

- Additionally, we recommend connecting an external speaker to your Set Top Box.
- Finally, turn on the devices and wait for the TV Dashboard to appear.
- You can now use the dedicated remote control to get to your favorite channel.

Android TV Box
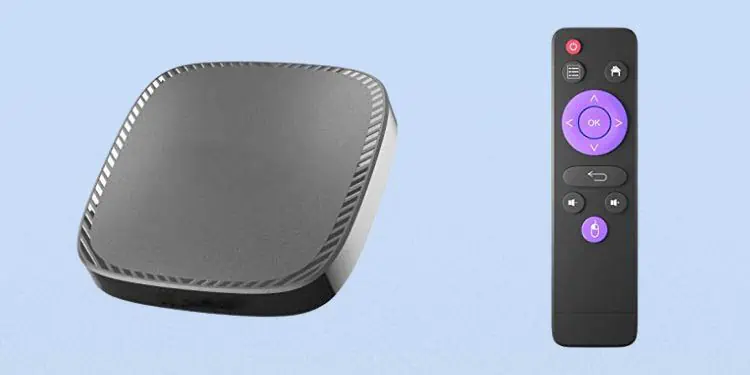
- First, connect the power adapters to both your Android Box and monitor.
- Also, consider attaching an ethernet cable and speaker to your Android TV box.
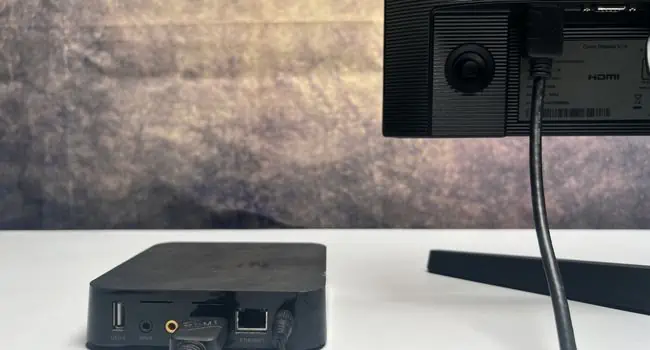
- Now, use an HDMI or a supported display cable to attach the two devices.
- Turn on both the Android TV Box and monitor. Then, use its Remote to open your desired application.
Roku Streaming Stick
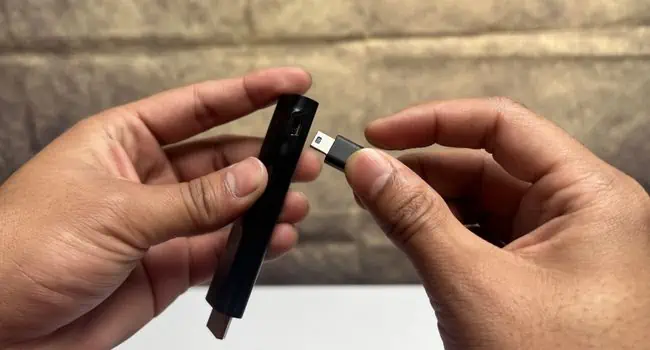
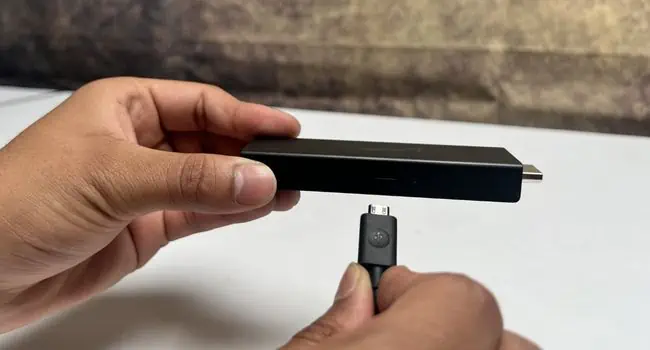
- First, connect the Mini USB B cable to the stick’s dedicated port.

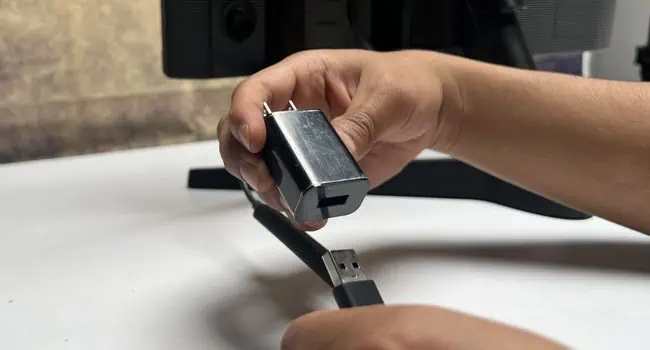
- Consider connecting the other end to a charger adapter. Then, plug it into a wall outlet.

If your monitor has a USB A port, you can plug it here as well. - Directly insert the Roku stick into the HDMI IN port of your monitor.

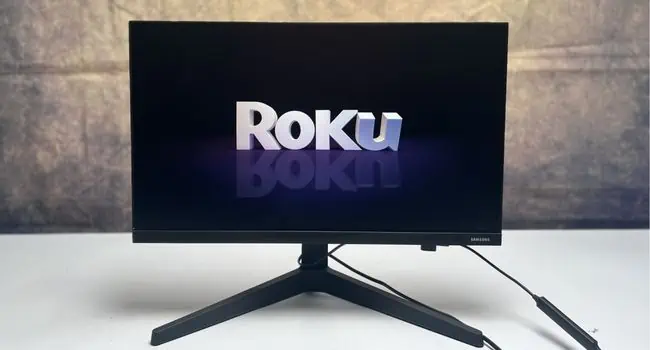
- In a few moments, the Roku screen should appear confirming that the connection has been successful.

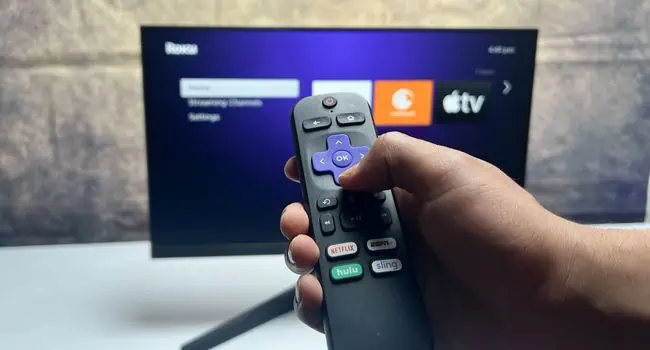
- Now, use the Roku Remote to complete the setup.

Note: Connecting Roku Express and Roku Ultra is similar to joining a Set Top Box or Android TV Box.
Fire TV Stick
- Ensure both the Fire TV Stick and monitor are powered. For the latter, you need to connect the Micro USB.

- Next, turn on your monitor.
- Plug the Fire TV Stick into the monitor’s HDMI IN port.

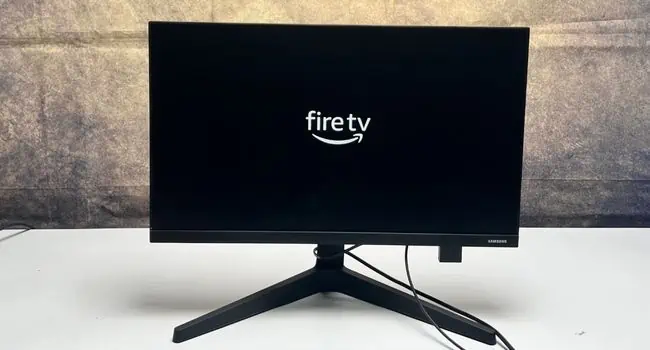
As soon as you do that, the ‘fire tv’ screen should appear.
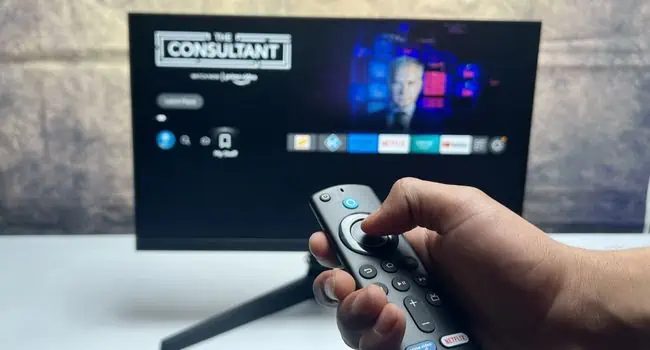
- Use the Firestick Remote to start using the streaming device.

Google Chromecast
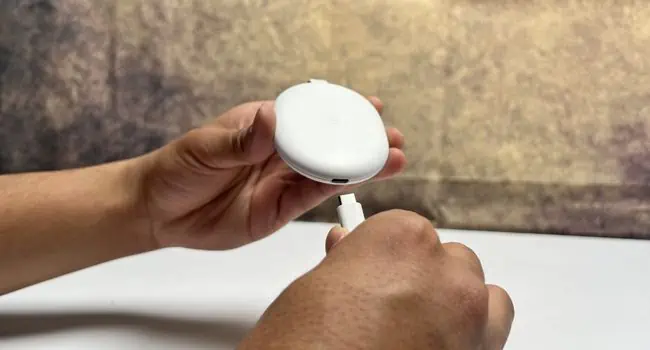
- Power your Chromecast device using a USB-C cable.

- Also, ensure that your monitor is getting enough power from the wall outlet.
- Next, insert the embedded HDMI connector into the monitor’s HDMI IN port.

- Turn on your monitor and the device should start working.
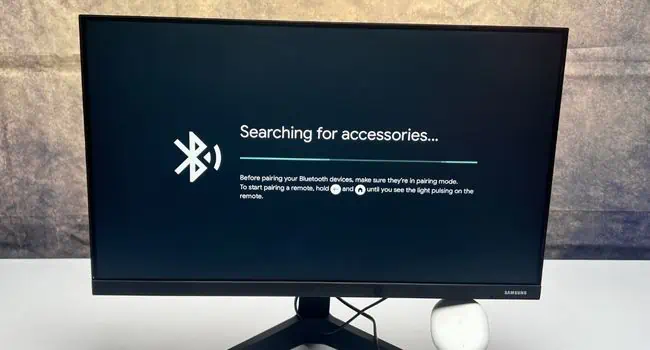
- You can proceed to add any device (laptop, smartphone, etc.) that supports Bluetooth.

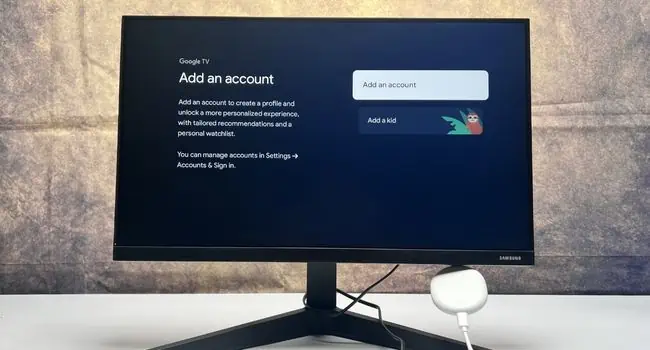
- Also, you can add your Google account.

Alternatives
Along with these great streaming devices, you can also find other similar products. Some of them include Miracast Dongle, NVIDIA Shield TV Pro, MECOOL TV Box, etc.
Connect Your Smartphone or Tablet
Not everyone has fancy gadgets to work with. However, we believe most do have a smartphone (Android or iOS) in this modern era. With the right cables and adapters, it’s possible to connect your hand-held device to a monitor and use it like a PC.
Connecting your smartphone or tablet to a monitor will simply screen mirror the content. You still have to rely on your mobile device to provide the necessary input.
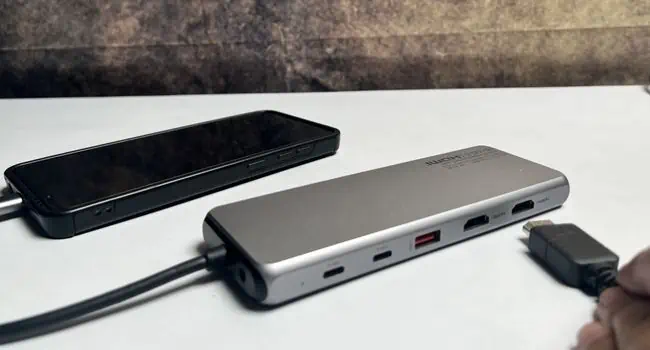
However, it’s also possible to connect input devices. In case you have a Bluetooth keyboard and mouse, you can attach them to your smartphone/tablet wirelessly. However, if they are wired, you’ll require a high-end USB Hub (with USB-C/Thunderbolt, Micro USB, Lightning, and HDMI ports).
Since the charging ports for Android and iOS devices are distinct, the process of establishing a connection also varies. Without further ado, let’s get into each of them in brief.
With Android Phone/Tablet
- First, ensure your smartphone has a USB-C 3.1 or a higher-generation port.
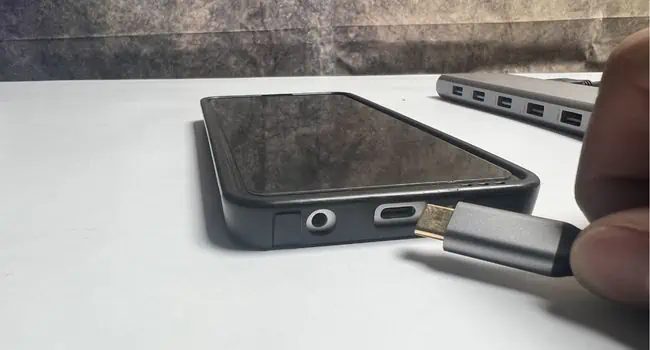
- If your monitor has a USB-C 3.1 port too, directly attach a USB 3.1 cable to both devices. Otherwise, get an appropriate adapter. For example, if your smartphone/tablet has a USB-C and the display device supports HDMI, consider getting a USB-C to HDMI adapter. You can even opt for a high-end USB Hub (with HDMI ports).
- Connect the USB-C cable to your phone’s charging port.

- Then, attach an HDMI cable to the hub or adapter.

- The other end should go to your monitor’s HDMI IN port. Now, your phone/tablet’s content should automatically display on the screen.

Note: If your Android device has a Micro USB port, consider getting a Micro USB to HDMI adapter.
With iPhone/iPad
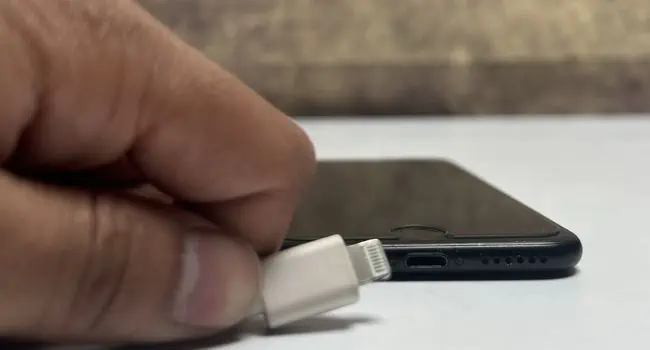
- After getting a Lightning to HDMI or VGA adapter, connect the lightning cable to your iPhone or iPad’s charging port.

- Next, attach an HDMI or VGA cable to the respective adapter.
- Then, plug the other end of the cable into your monitor’s port. This should display the iPhone or iPad’s content on your output device.

Connect a DVD Player
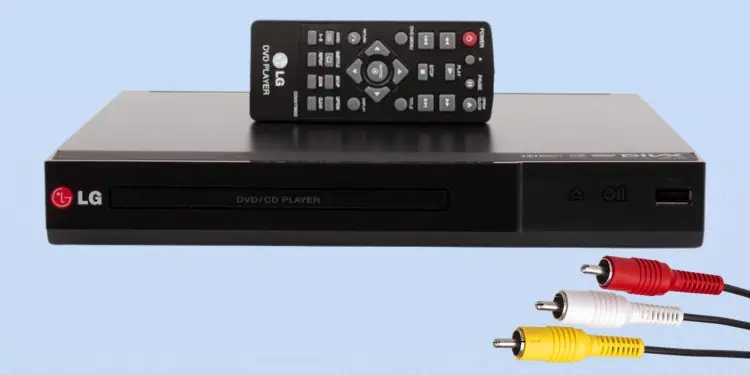
With all the recent technological advancements, many might think that DVD players have become obsolete. However, many of us still have a bunch of old movies collection, and to run them, you definitely require this device.
When we’re talking about DVD players, you’re mostly going to find the RCA connectors (one with red, yellow, and white cables). Nonetheless, some premium ones also offer an HDMI connection. In that case, all you have to do is join the HDMI cable to both devices, just like we did with a gaming console.
Since most DVDs we used in our times supported RCA, you’ll need to first check whether your monitor supports this connection. If you’re using a modern monitor, we doubt you can find them. Therefore, it’s best to get an RCA-to-HDMI converter, and follow the below steps to use a DVD player on your monitor:
- First, connect the power adapters for both your monitor and DVD player.
- Plug the first end of the red, white, and yellow cables into the respective output ports of your DVD player.
- Connect the other end of the cables to the input port of the RCA-to-HDMI converter.
- Then, attach an HDMI cable to the converter’s output port.
- Next, join the other end of the HDMI cable to your monitor’s input port.
- Now, your display device should recognize the DVD player. Insert a DVD and enjoy your movie!
Connect Your Digital Camera
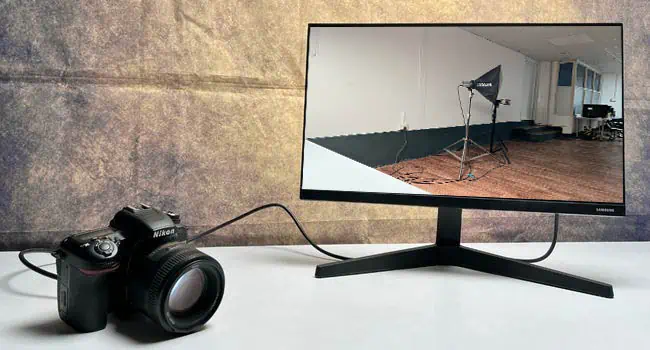
If you’re into videography, you definitely know the importance of an external monitor for your cameras. Since the built-in screen is small, your entire crew might not get the vision of what you’re trying to shoot. But once you add an external monitor to your digital camera, you get to know the precise details of your shots and this can even improve your directorial skills.
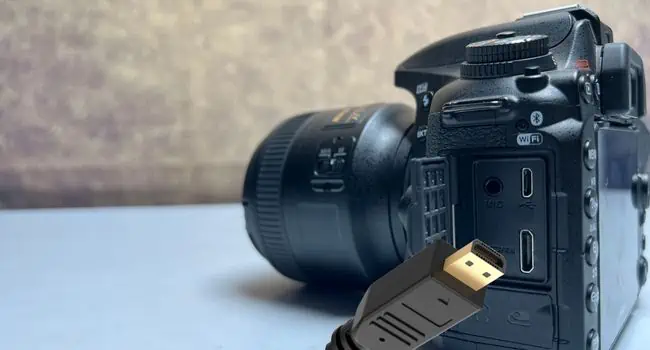
Connecting your digital camera to your monitor is not a tedious task. The steps are identical to attaching any other devices. But since most DSLR cameras have a mini HDMI port, you need to first get a MicroHDMI-to-HDMI adapter.
- Connect a Micro-HDMI cable to the Micro-HDMI OUT port of the DSLR camera.

- Next, connect the other end of the cable to the adapter’s input port.
- Then, plug the HDMI cable into the output port of the MicroHDMI-to-HDMI adapter.
- Take the other end of the cable and insert it into the monitor’s input HDMI port.

- Now, turn on your camera and also ensure that the monitor is powered on. You should automatically see the content on your screen.

- Finally, start the recording and you can enjoy the live performance on your monitor.
Use a Single-board Computer
If you do not have a PC, there’s no problem. Single-board computers or often abbreviated as mini PCs integrate all the components that are required to run a normal computer. For example, the Raspberry Pi consists of a System-on-Chip (SoC), video ports, a camera port, an ethernet port, RAM, Bluetooth, WiFi, and more.
Utilizing such a device lets you explore the features of both streaming devices and gaming consoles. Therefore, if you’re prepared to spend some extra bucks, a single-board computer should be your ideal choice. In this section, we will solely focus on Raspberry Pi and Intel NUC.
Raspberry Pi
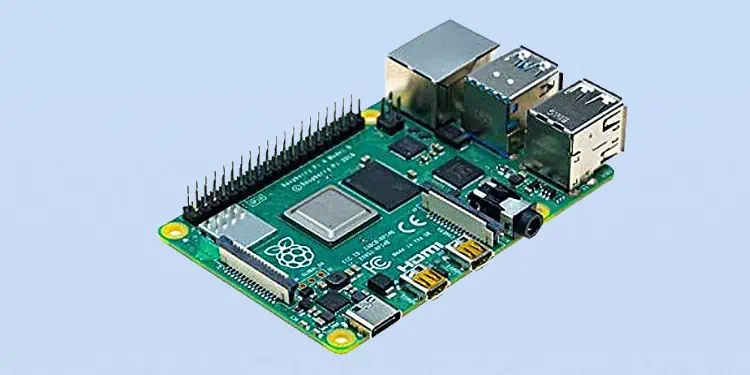
- Before you begin, ensure you have formatted an 8 GB or higher mini-SD card and transferred all the NOOBS installation files here. You can navigate to this link to download the zip folder.
- Now, insert the mini-SD card into the Raspberry Pi slot.
- The latest Raspberry Pi 4 uses USB-C for power. If you have the same model, connect a USB-C cable to your device.
- Then, connect a keyboard and a mouse to the respective ports.
- Now, plug the micro HDMI cable into the Raspberry Pi’s output port.
- Next, insert the HDMI end of the adapter into the monitor’s input port.
- Ensure your display device is turned on and it should start the installation process.
- Complete the setup and start using the mini PC.
Next Unit of Computing (Intel NUC)
- First, use a screwdriver to untighten the screws and take off the NUC’s back panel.
- Insert compatible RAM and SSD sticks into the appropriate motherboard location referring to the user manual.
- Once that’s done, close the casing and tighten back the screws.
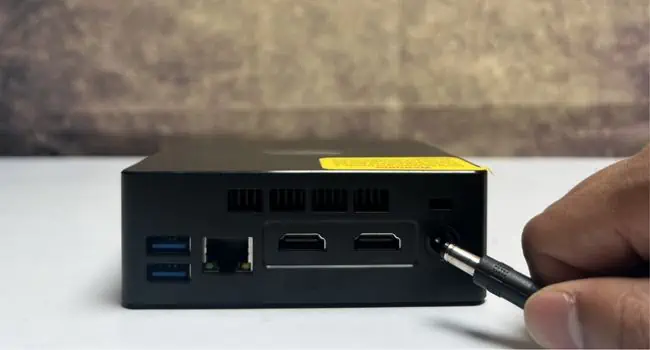
- Plug the respective power adapters into both the NUC and your computer monitor.

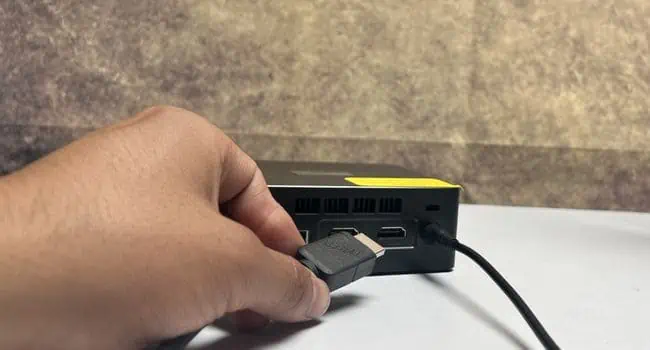
- Now, connect the NUC to your monitor using an HDMI cable.

- Also, connect other peripherals (mouse and keyboard).
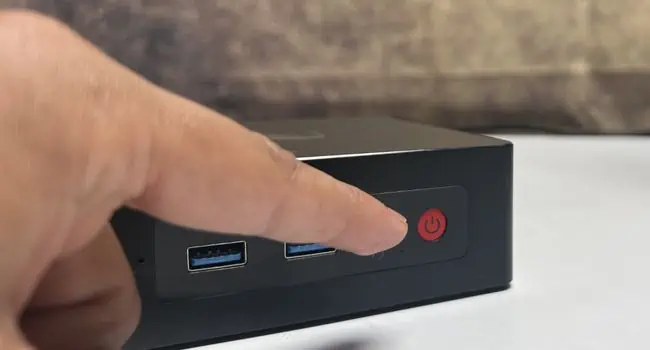
- Then, insert a bootable flash drive and start your mini PC.

- Complete the Windows installation and now you have your mini PC setup ready!
But if you had already set up Windows in the Intel NUC, you’ll be directly booted into Windows as shown below.
Additional Tip: You can even mount the NUC at the back of your monitor with the help of a VESA adapter.
Alternative Mini PCs
Apart from Raspberry Pi and Intel NUC, you may even opt for some other products, like AMD Ryzen Embedded SBC, NanoPi, ASUS Tinker Board, Beelink MiniPC, etc. The connection should be similar to the ones we mentioned above. But if you want to learn in-depth, you may refer to the respective user manual or YouTube videos.

