Ventoy is a free and open-source tool for creating multiboot USBs. It’s one of the best alternatives to Rufus thanks to its excellent compatibility and ease of use.
One of the main complaints users had regarding Ventoy was that Ventoy drives wouldn’t boot on secure boot-enabled systems. The devs patched this in version 1.0.07, so you can create drives that work with secure boot now.
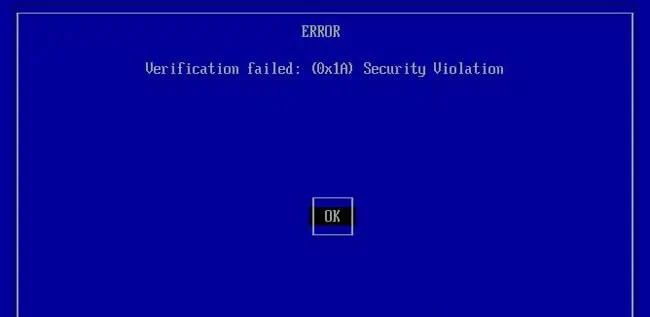
You’ll encounter a “Verification failed: (01XA) Security Violation” error when booting such drives for the first time. This is an intentional one-time error. I’ll explain how you can get past it in this article.
Enroll Key from Disk
One of the ways Ventoy can work with secure boot now is by adding Ventoy’s key as a trusted key to the Machine Owner Key (MOK) database. To add secure boot support with this method,
- Press Enter on the Verification failed screen.

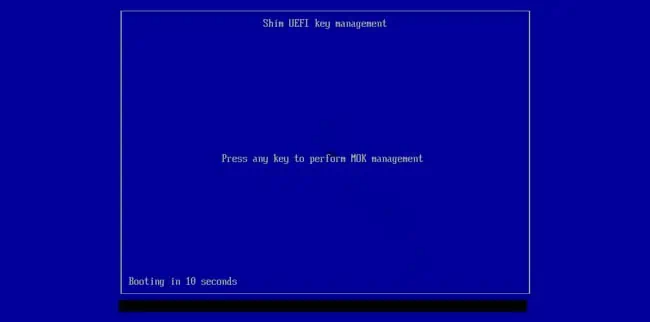
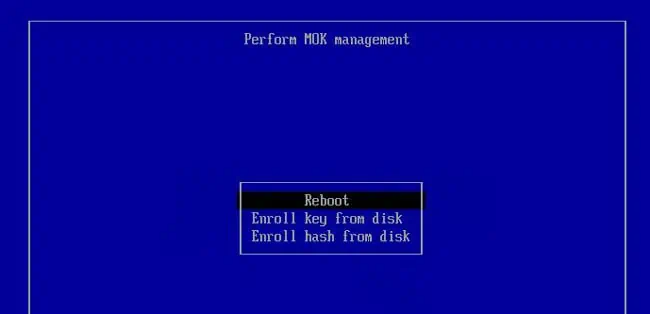
- Press any key on the Shim UEFI key management screen.

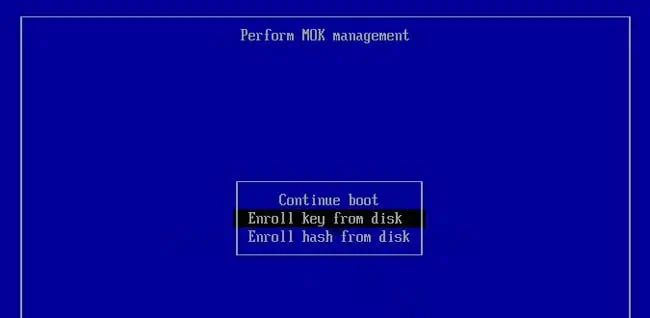
- Select Enroll key from disk and press Enter.

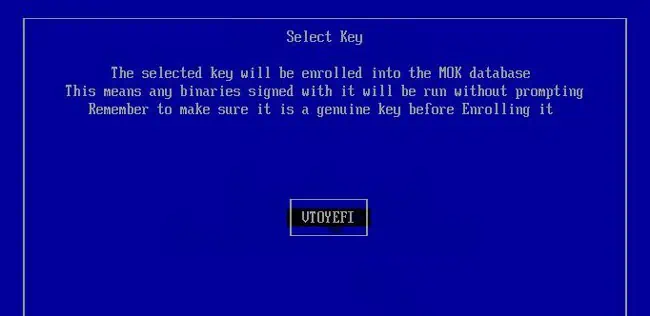
- Select VTOYEFI and press Enter.

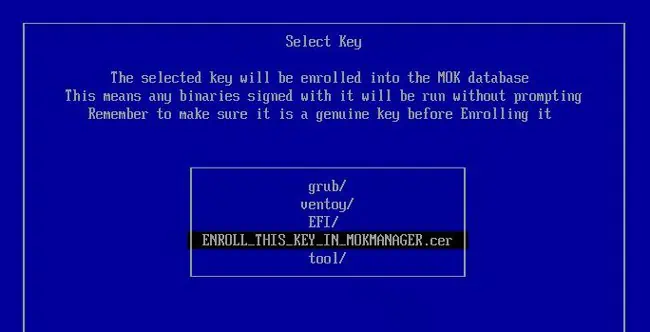
- Select
ENROLL_THIS_KEY_IN_MOKMANAGER.cerand press Enter.
- Select Continue and press Enter in the Enroll MOK screen.

- Select Yes and press Enter to enroll the keys.

- Finally, select Reboot and press Enter. You should be able to boot with the Ventoy drive now.

Enroll Hash from Disk
An alternative way to enable secure boot support for Ventoy is by trusting the current version of the bootloader (i.e., enrolling a hash). I recommend enrolling a key instead of this as you may have to perform this process again after updates to the bootloader. However, if you prefer this method, here are the necessary steps:
- Perform Steps 1 and 2 from the previous section to get to the Perform MOK management screen.
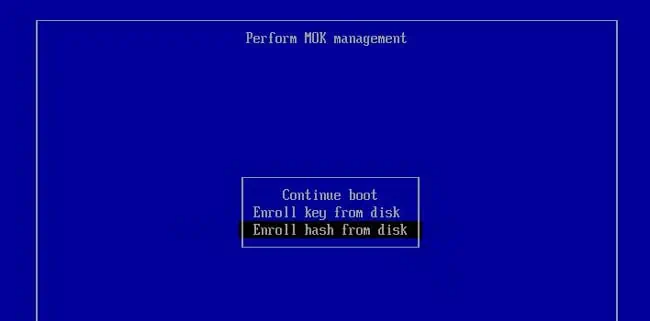
- Select Enroll hash from disk and press Enter.

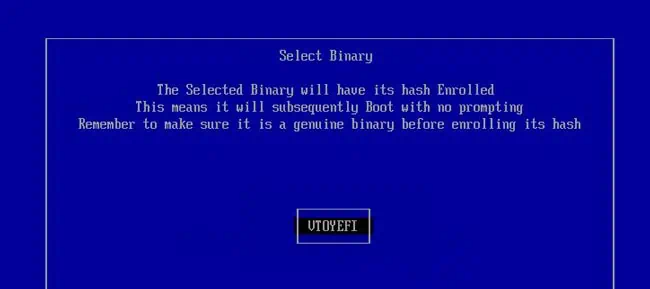
- Select VTOYEFI and press Enter on the Select Binary screen.

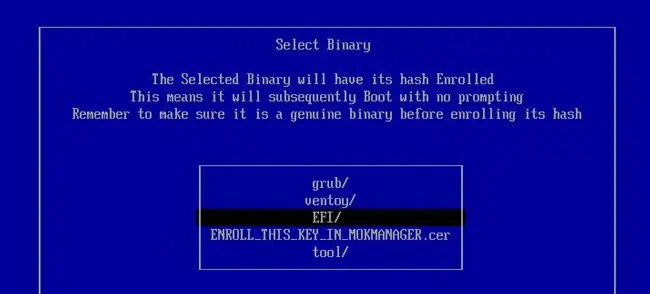
- Select EFI/ and press Enter to switch to the EFI directory.

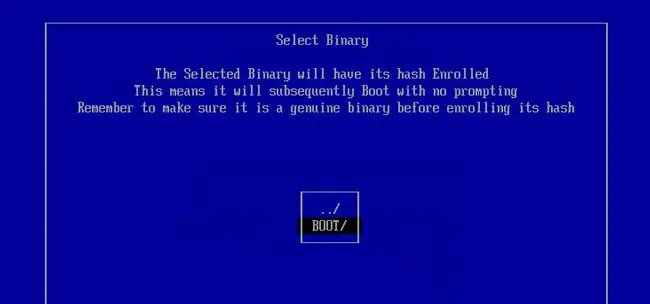
- Select BOOT/ and press Enter to get inside the BOOT directory.

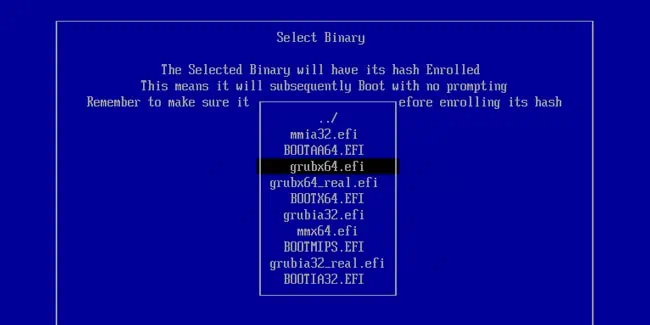
- Select
grubx64.efiand press Enter.
- Select Continue and press Enter on the Enroll MOK screen.

- Select Yes and Reboot on the next two screens. After the reboot, you should be able to boot with the Ventoy drive.

Disabling Secure Boot
Secure Boot support is enabled by default since Ventoy 1.0.76. On older versions, this option needs to be manually enabled.
If you created a drive without enabling this option, you can run Ventoy again, enable it now, then update the drive. This’ll make the drive compatible with secure boot without making any changes to the files on the drive.
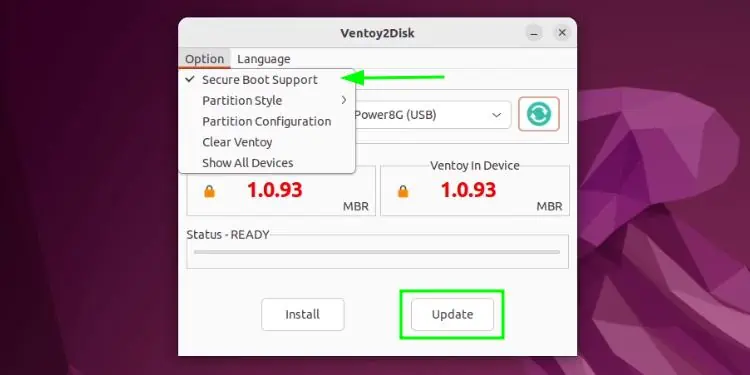
If you want to boot a Ventoy drive that doesn’t have this option enabled, the only way is to disable secure boot.
In rare cases, even drives with this option enabled may lead to a different error than the one we covered here. Once again, your only option in such cases is to disable secure boot entirely. Here’s how you can do this:
- Power up your PC and press the BIOS Setup key (Function keys or Del) to access your firmware settings.
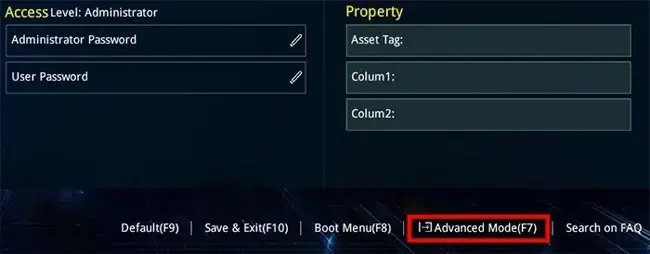
- Enter Advanced Mode (usually F7) if required.

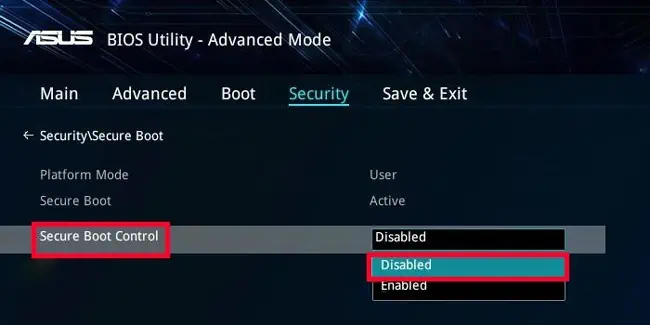
- Switch to the Security tab and set Secure Boot Control to Disabled.

- Press the key shown on the screen to save the changes and exit (usually F10).
After rebooting, you should be able to boot with the Ventoy drive as secure boot is disabled now.

