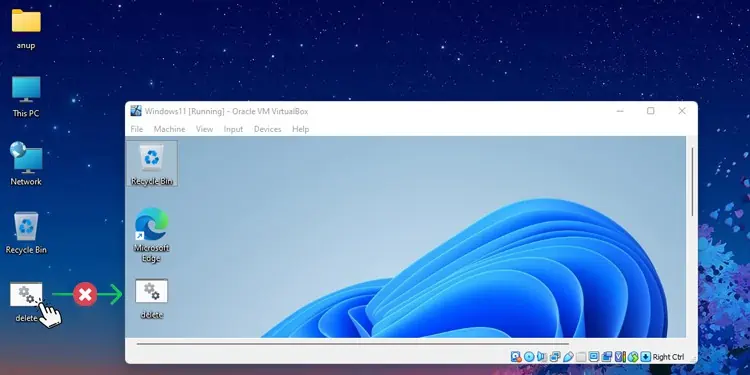
VirtualBox’s Drag and Drop (DnD) is a very popular and convenient feature, but it also has several requirements for working properly that most users aren’t aware of.
First off, drag and drop is only properly supported on VirtualBox 5.0 and newer versions. Only experimental support for Linux guest operating systems was included in older versions.
VirtualBox Guest Additions need to be installed for drag and drop to work. After the installation, you must manually enable drag and drop support as it’s disabled by default on new VMs.
Drag and drop only works between Host to Guest and vice versa. Additionally, it’s only supported on the official “VirtualBox Manager” frontend. You won’t have much success if you try using it with other frontends like VBoxHeadless or VBoxSDL.
Generally, fulfilling these requirements will get drag and drop working on your system. But in case it still doesn’t work, the solutions and workarounds we’ve listed in this guide will be helpful.
How to Fix VirtualBox Drag and Drop Not Working?
Before you start, if you’re using an older version of VirtualBox, we recommend switching to the latest stable build. As various DnD-related bugs have been patched in the newer versions, updating could be all that’s needed to fix the issue.
Ensure Guest Additions are Installed
With Guest Additions, just mounting the CD is not enough. You actually have to install it as well. If you want, you can first check whether Guest Additions is properly installed with the following steps:
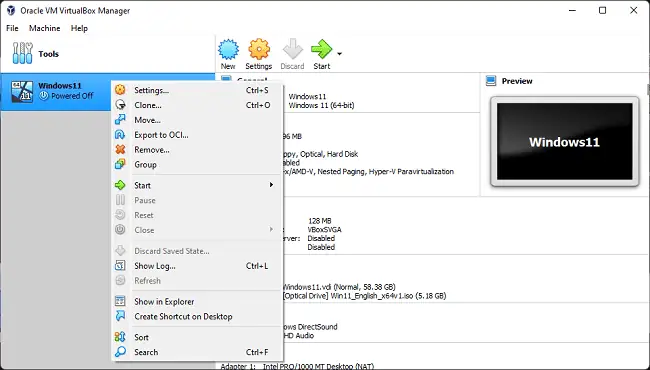
- Launch VirtualBox, right-click the VM from the left pane, and select Show Log.

- In the first tab, click on Find and enter Guest Additions information report.
If the installed Guest Additions and VirtualBox version don’t match, that means Guest Additions didn’t install properly. In such cases, you can reinstall Guest Additions with the following steps:
- Select the VM and press Start to power it on.
- Select Devices > Insert Guest Additions CD Image from the menu bar.
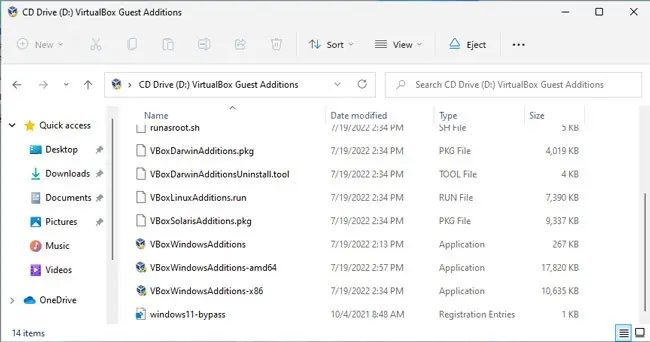
- In the VM, navigate to the mounted directory and open the
VBoxAdditions.exefile. For instance, in the case of Windows VMs, this file is namedVBoxWindowsAdditions.exe.
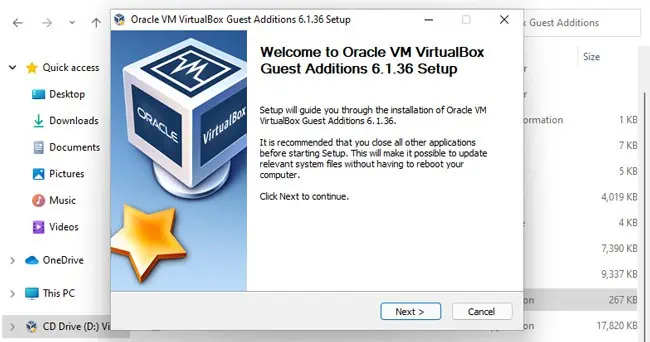
- Accept the UAC prompt and follow the on-screen instructions to complete the installation.

- Afterward, restart the guest OS.
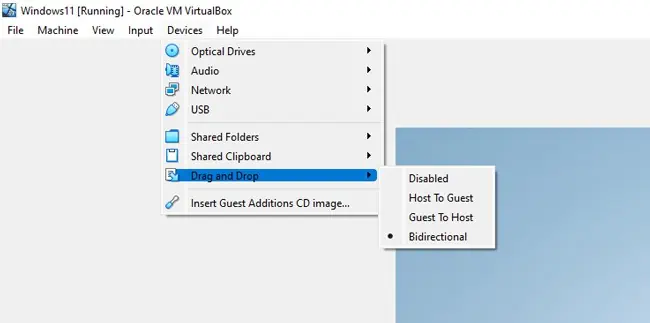
- Select Devices > Drag and Drop > Bidirectional from the menu bar.

Install Linux Headers
With Linux VMs, you must install a few packages before installing Guest Additions. Additionally, it’s also recommended to update the Linux headers. Here’s how you can do so:
- Download Qt 5.6.2 or later and SDL 1.2.7 or later.
- Locate the
.runfiles and open them. - Select Run in Terminal and follow the on-screen instructions to run the installer.
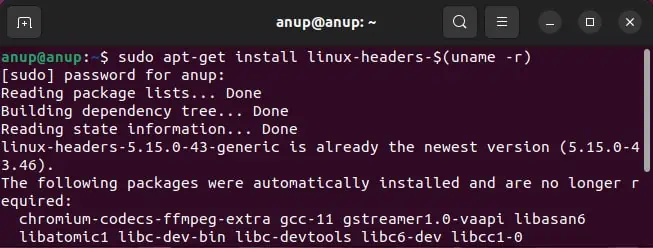
- Additionally, use the following command to update the headers:
sudo apt-get install linux-headers-$(uname -r)
- Restart the VM, install Guest Additions with the steps shown above, and check if drag and drop works now.
Drag and Drop Mechanics
Drag and drop is a work in progress. It has a history of locking up after a few uses. There are also recently patched issues where you couldn’t drop files to the recycle bin, or you couldn’t drop files in the current folder after hovering over a folder.
There are still many such undocumented problems that could be preventing you from using this feature properly. As such, it’s worth trying to drag other files or folders and drop them into different locations to try and figure out ways to get DnD working.
Resolve File Explorer Issues
In addition to the requirements we’ve already discussed, drag and drop has a few built-in limitations.
On Windows hosts, you can’t drag and drop items between UAC-elevated and non-elevated programs. For example, users often run VirtualBox as admin, but this is not the case with file explorer. In such scenarios, you’d also need to run explorer as admin for drag and drop to work.
Similarly, on Linux hosts, certain file managers like LXDE’s PCManFM tend to query for drag and drop while the process is still going on, which can prevent DnD from working. DnD is also incompatible with Xubuntu’s Thunar file manager. To work around this, you can use another file manager that is compatible with drag and drop, such as Nautilus.
Use Shared Folders
If drag and drop is still not working, you can instead use shared folders to transfer files to the VM. Here are the steps to do so:
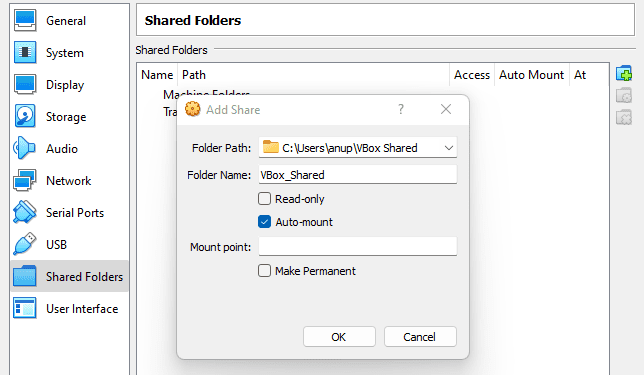
- Select Devices > Shared Folders > Shared Folder Settings.
- Click on the Add new shared folders button from the right.
- In the Folder Path section, select Other and browse the folder you’re trying to share.
- Enable the Auto-mount option and press Ok.

If you want, you could also network share the folders on the host OS and access them via the guest OS.

