A computer with an active internet connection constantly exchanges data to and from the internet. This will result in high internet usage. Higher the data any device exchanges over the internet, the more the cost. This is where a metered connection comes in.
Metered connection lets you limit the data that the PC uses. It does this by warning users when the PC reaches certain amount of data usage. Furthermore, it also restricts background application and process from using internet data.
So, if you have internet subscription where you only have limited amount of data per day/month/year, or maybe you need to limit computer’s bandwidth usage, it is best that you enable metered connection.
This article further explains about metered connections and when to enable/disable them. So, without further ado, let us get right into it.
What is Metered Connection on Windows?
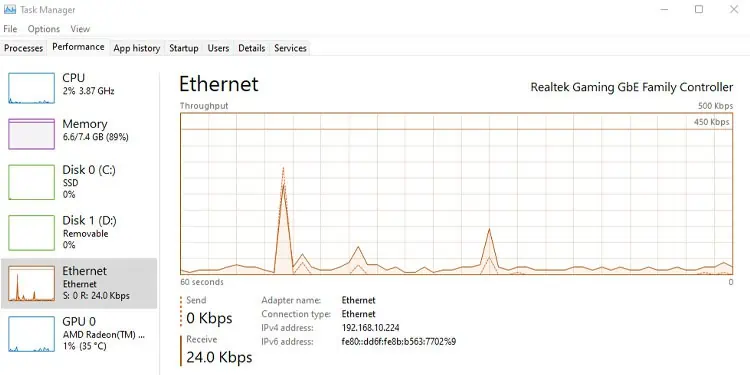
Users around the globe are shifting to work remotely. Due to this users are also facing extreme internet data usage. Even if you are not performing any task, but leave the PC on idle, its background process may constantly use a certain about of internet data.
This is not really an issue, if your subscription from the ISP (Internet Service Provider) is unlimited. However, if you have a subscription where data you use is limited, you would want to limit the PCs data usage. This is where a metered connection comes in.
Windows offers a special feature, especially for users who want to limit their PC internet data usage. Whether you have limited internet subscription, or using internet over a Hotspot network, or may be you just want PC to use lower bandwidth resources, enabling metered connection is going to be your choice.
A limited internet plan is where you have a certain amount of data (GB) per day/month/year. If you use data exceeding this limit, you may have to pay additional fee depending on the amount of data you use.
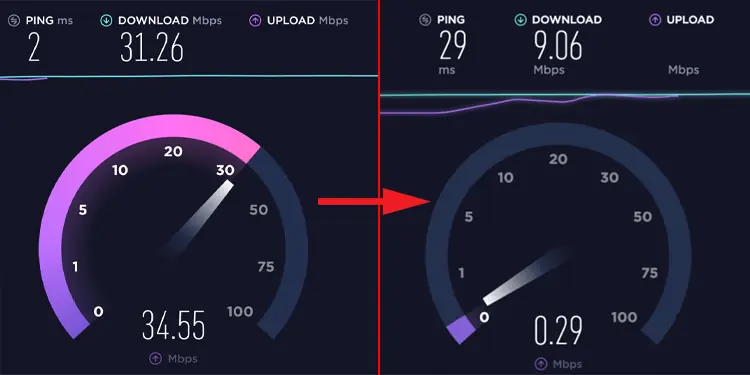
The metered connection allows your PC to use a set amount of data when connected to a certain network via ethernet or Wi-Fi. Enabling metered connections prevents the OS from using too much bandwidth. This, in turn, will affect your download and upload speed.
Windows tracks the amount of data transferred over a network. Once the amount of data reaches close to the maximum limit set by the metered connection, Windows will notify the users and/or block data transfers if it hits the limit.
Enabling this setting also restricts certain process such as automatic updates from Windows or other applications and also download and installation of apps over network. It may also stop browser from loading certain websites. However, users in multiple Q/A forums have also reported that disabling metered connections in applications reduced their latency.
Talking about disabling metered connection, there are couple of advantages to it as well. One of the obvious one being the internet working smoothly without any restriction.

Once the PC stops limiting bandwidth, application that depends heavily on internet usage will also have reduced latency. Application installed from Microsoft Store and Windows will also update automatically.
How to Enable/Disable Metered connection?
Before we jump to the process of enabling/disabling metered connection, we recommend checking your internet plan. If you have an unlimited data plan, it is best that you set metered connections to Disable.
By default, Windows sets metered connection to disabled. This lets the computer use required amount of bandwidth and data according to its usage. Setting metered connection to enabled is only ideal if you have a limited data plan.
To enable or disable the metered connection,
- Press the Windows + I key to Open Settings.
- On the left panel, click on Network & internet.
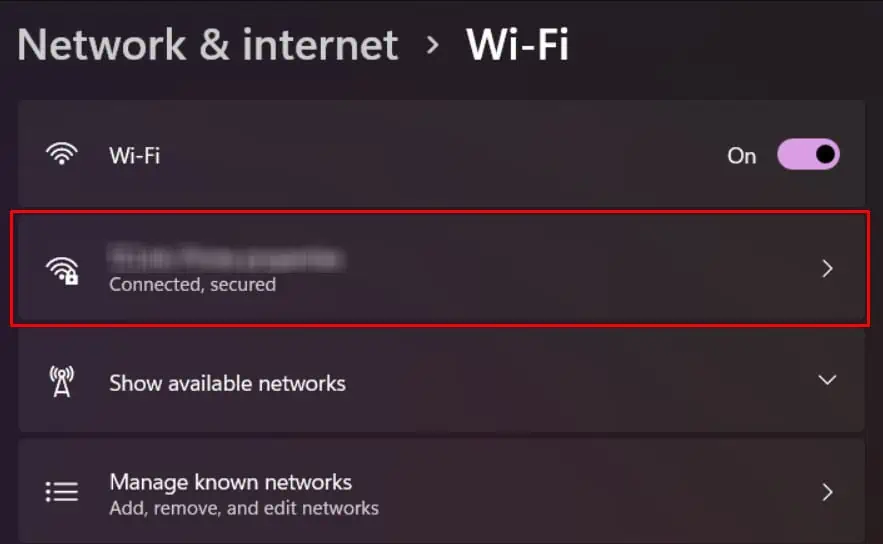
- Click on the network you are connected to. For Wi-Fi, click on the connected network.

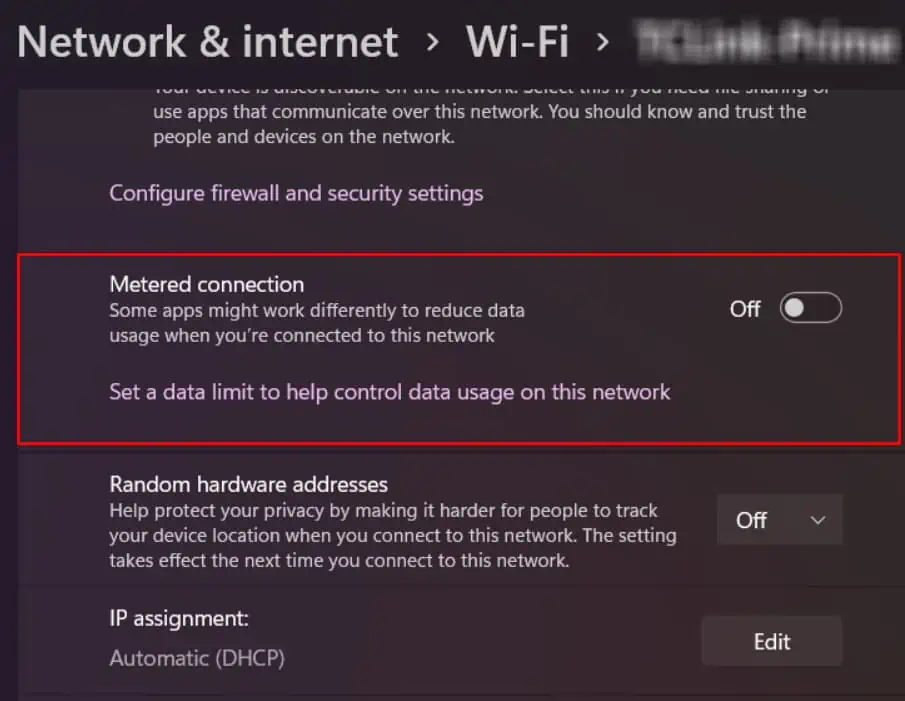
- Now, select Metered Connection.

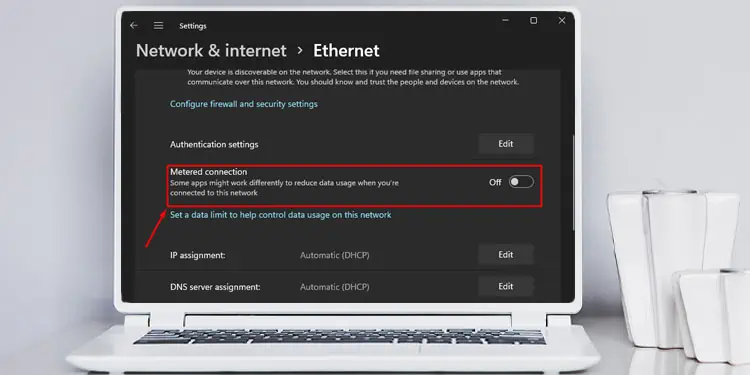
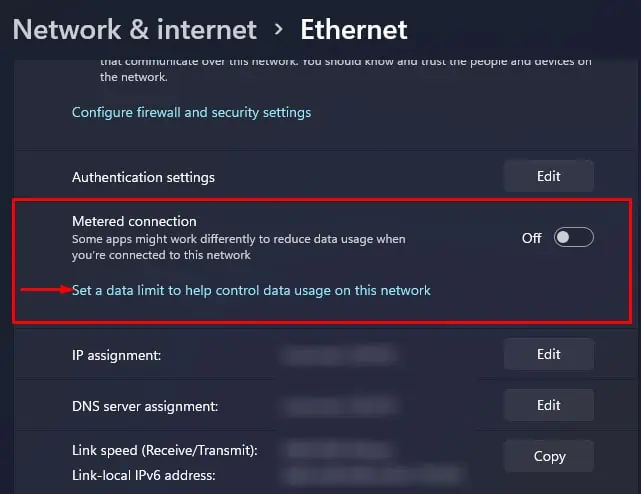
- For ethernet, simply click on Ethernet and click on Metered Connection.
- Here, you can enable or disable Metered Connection.

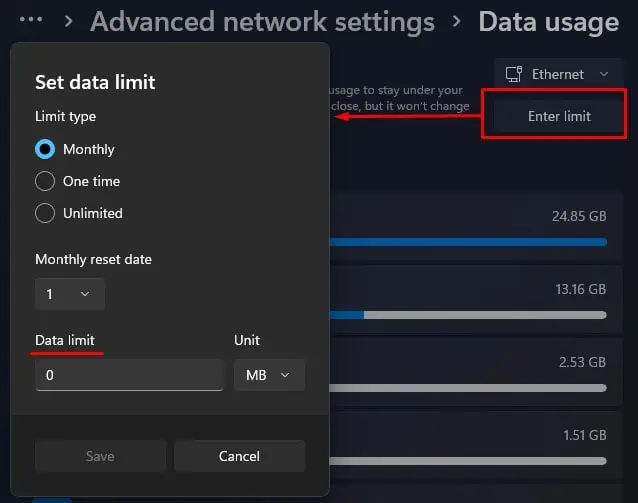
- Click on Set a data limit to help control data usage on this network if you want to set a limit to data usage.
- Here, you can see all the applications and the amount of data it uses. Click on Enter limit to set a limit.

- You can set the data limit type. Monthly lets you reset data limits every month. One time lets you limit data once.
- Set data limit and select Unit in MB or GB.
- Click on Save.
Now, Windows will limit background data usage and warn users once the PC is close to the data limit. Simply set the metered connection to disabled if you don’t want any bandwidth and data restrictions.
What Happens If I Enable Metered Connection?
Even when idle, your computer will repeatedly send and receive data from the internet if it is connected to a network. Applications and processes running in the background may use more internet data than you can imagine.
Therefore, disabling metered connections may result in Windows behaving differently than it is supposed to. Here are some things you might encounter when you enable the metered connection.
- Windows will not update automatically.
- Application installed from Microsoft Store will not update automatically
- If you are using Windows 10, the start menu will not display updated information in live tiles.
- Increased latency in an application that heavily needs an active internet connection

