Modern Setup Host is a key Windows process that installs updates in the background. However, it often uses high CPU and disk resources unnecessarily.
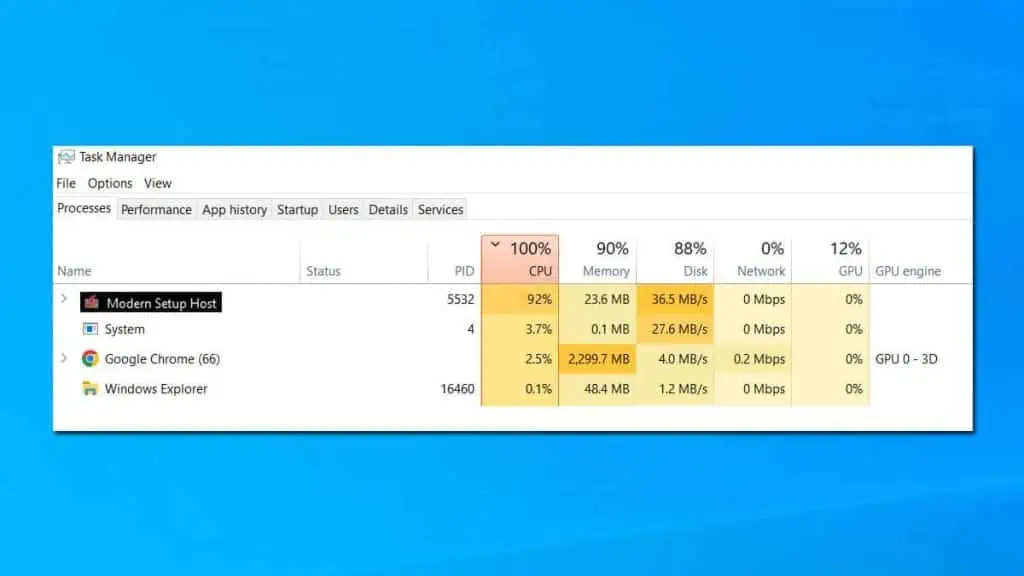
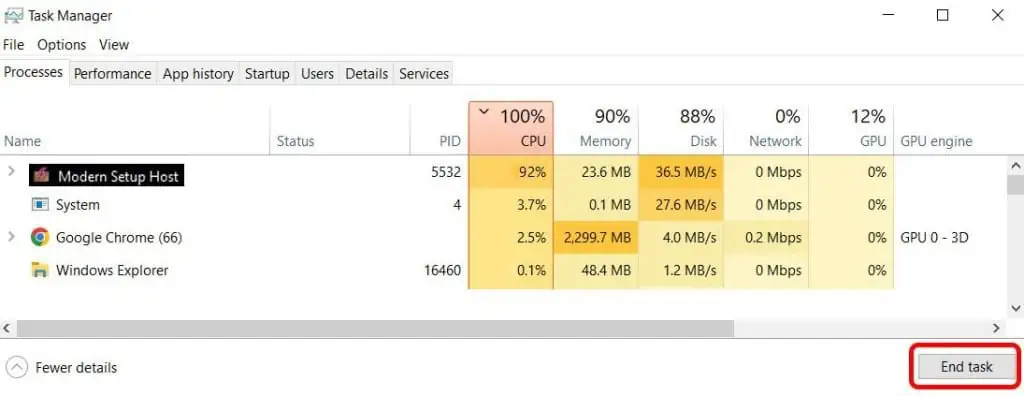
When in a midst of an update, if you check your Task Manager, you will find this process hogging a chunk of CPU resources.
Although this is perfectly normal, the problem starts when the CPU utilization simply won’t drop down—even after the update is complete.
To lower CPU usage, you can begin by terminating the Modern Setup Host process in the Task Manager. It will help you get rid of the issue temporarily.
You can try other advanced troubleshooting like repairing your system files for errors and resetting update components—in case Windows update components are corrupted.
Terminate the Process
Most of the time, the CPU usage associated with this particular process peaks up high and stays there for a long period of time. As a result, your system starts to slow down and even freeze.
In such cases, you can end the task related to the Setup Host in the Task Manager and get rid of this issue immediately.
To begin with, open up your Task Manager. Click on Modern Setup Host or setuphost.exe. Then, click End task option at the bottom-right of the window.
Run Windows Update Troubleshooter
As it turns out, this problem typically arises due to a glitch in the Windows update process.
So, I suggest you run the Windows update troubleshooter.
- Hold and Press the Windows key + I to open Windows settings.
- Select Update & Security.
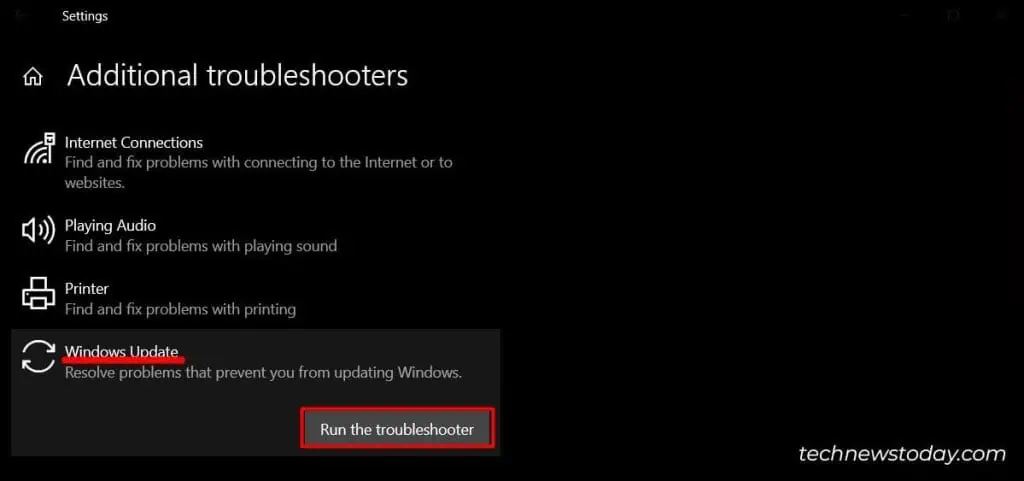
- Go to Troubleshoot > Additional Troubleshooters.
- Click on Windows Update. Then, select Run the troubleshooter.

You need to follow the on-screen instructions to finish the process.
Repair System Files
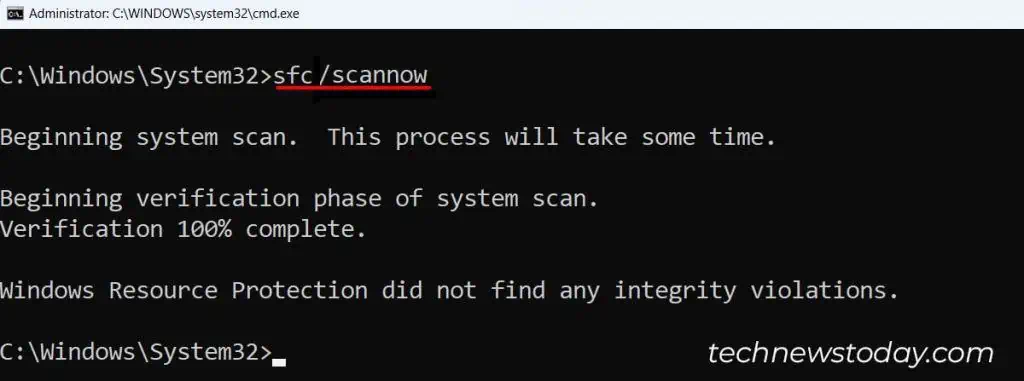
In most cases, system file corruption often leads to malfunctioning of the Windows update components. So, you can run DISM and SFC commands and check if it fixes the issue.
Open Command Prompt as an Administrator. At first, we will run the DISM command.
Dism /Online /Cleanup-Image /RestoreHealth
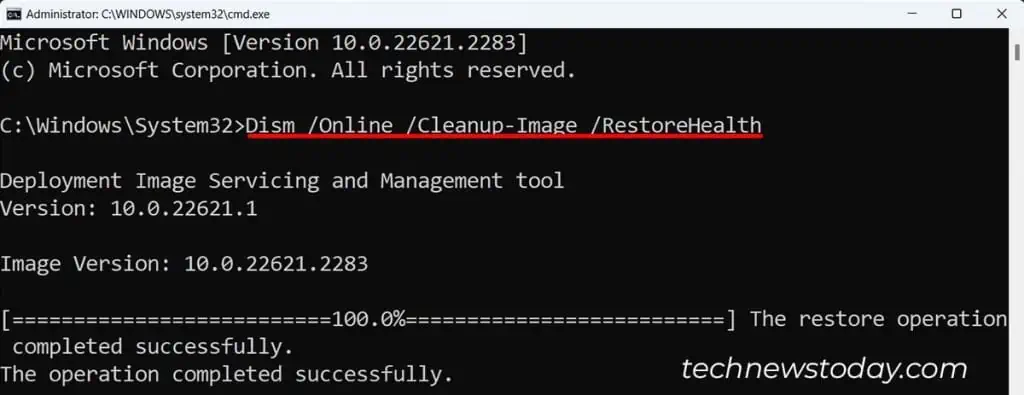
After running DISM, again run the SFC command
Sfc /Scannow
Delete SoftwareDistribution Folder
Windows operating system stores all the files related to Windows updates in a separate folder called SoftwareDistribution.
All the files stored in this folder are temporary and can be removed without posing any risks to your system.
You can try deleting this folder entirely and force Windows to download a new copy of update files.
- Open Run.
- Type
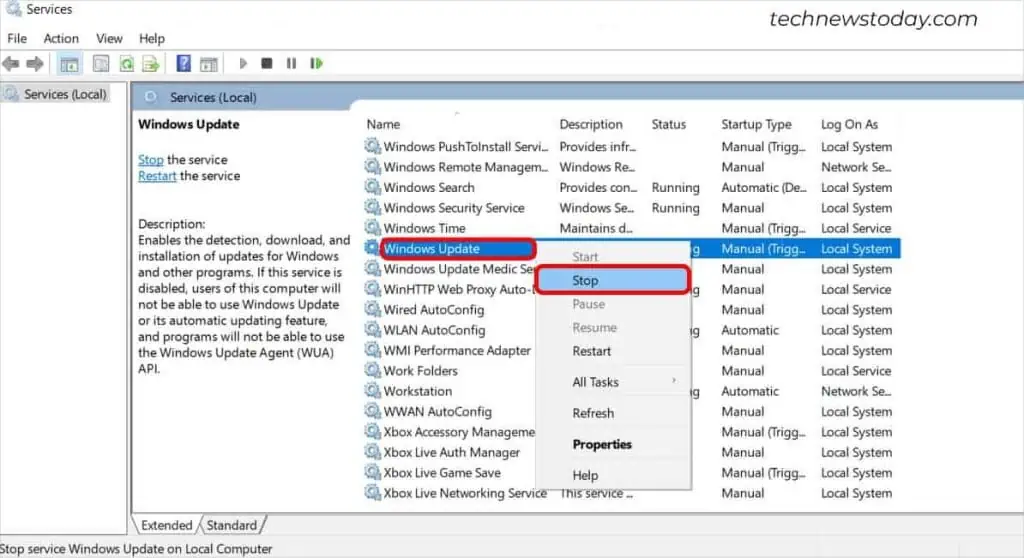
services.mscand hit Enter. - Right-click on Windows Update and select Stop.

- Now, open Run and go to
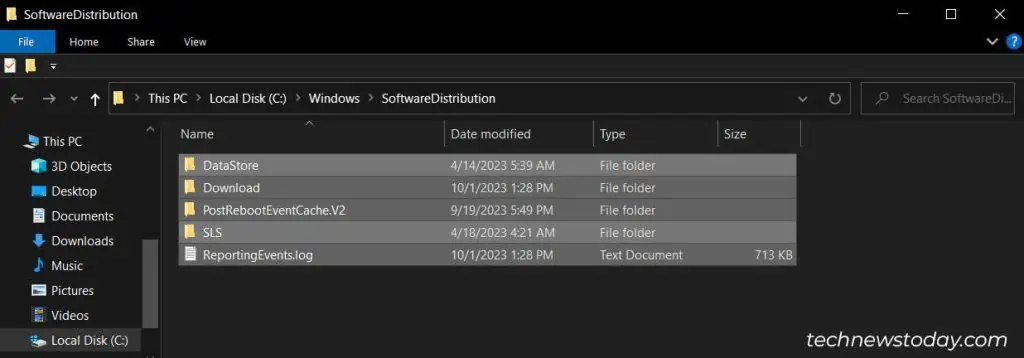
C:\Windows\SoftwareDistribution. - Select all files and press Shift + Delete to delete them permanently.

Again, go to the Services and start Windows update service. Now, closely monitor if the CPU utilization has come down.
Reset Windows Update Components
You may also experience this problem due to issues in Windows update components. In such a case, I suggest you reset them to default settings.
- To begin with, open an elevated Command prompt.
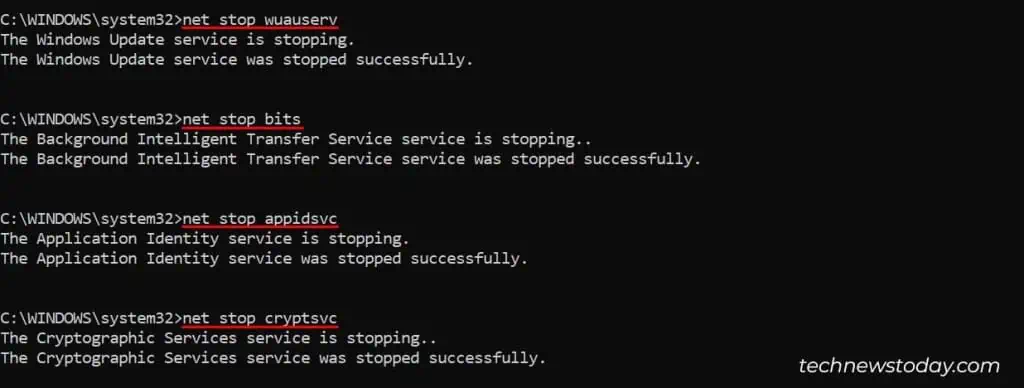
- In order to make sure Windows does not download the update files when the process is underway, we will first stop services like BITS, Windows Update service, Cryptographic service, etc.
net stop wuauservnet stop bitsnet stop appidsvcnet stop cryptsvc
- Now, execute this command,
del "%ALLUSERSPROFILE%\Application Data\Microsoft\Network\Downloader\qmgr*.dat" - Also, you should delete these folders—SoftwareDistribution and Catroot2 folder.
rmdir %systemroot%\SoftwareDistribution /S /Qrmdir %systemroot%\system32\catroot2 /S /Q
- Reset the Windows socket catalog by typing
netsh winsock resetand pressing Enter.
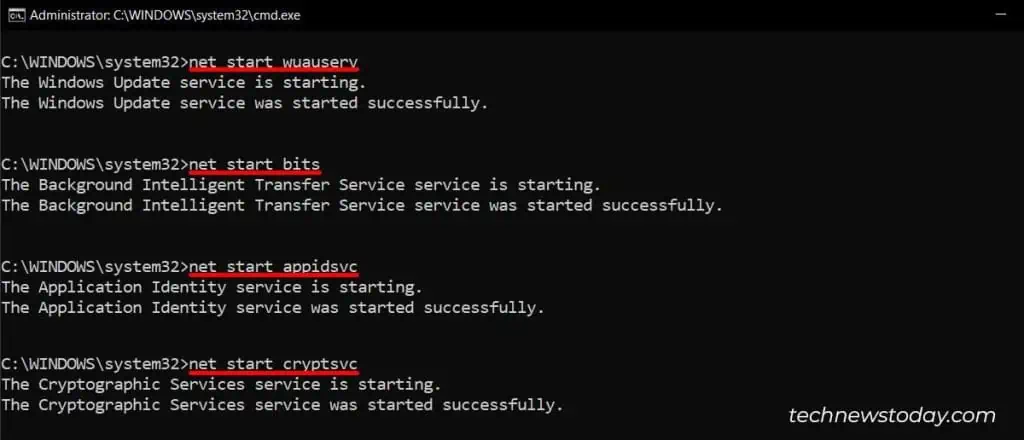
- Lastly, don’t forget to restart the services that were stopped earlier by executing these commands.
net start wuauservnet start bitsnet start appidsvcnet start cryptsvc

