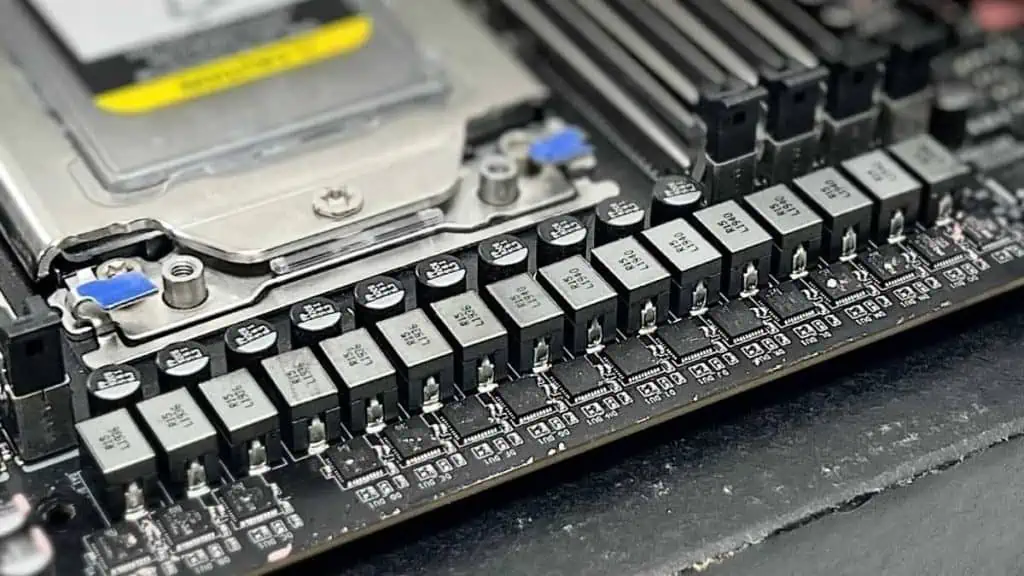
The Voltage Regulatory Module (VRM) section in the motherboard steps down the raw 12 V power supply to 1.2 to 1.45 V required by the processor, RAM, and other components.
While this isn’t the first thing that pops up in our mind when choosing a motherboard, it’s still essential, especially for overclockers.
If you’re seeking higher clock speeds, know that it requires clean and stable voltage, which is only possible with high-quality VRMs.
If your motherboard consists of a low number or poor-quality VRMs, it can significantly impact its lifespan.
It may mess up the power delivery and even lead to frequent crashing, blue screen errors, and permanent damage to your PC components.
Buckle up as I’m going to discuss everything you should know about motherboard VRMs in this in-depth guide.
Motherboard VRM Constituents
Let me clear this confusion right away – the 12 V supplied by the PSU doesn’t directly reach the processor.
It passes through diodes and resistors before landing on the VRM, where the current is stabilized and voltage is stepped down as per the CPU’s requirement.
The Voltage Regulatory Module is composed of several MOSFETs, chokes, and capacitors. Each of them has a specific function and is essential for proper/clean power delivery.
These components are well scattered around the processor socket. Without them, your CPU would fry out. That said, here are some basic things you should know.
MOSFETs
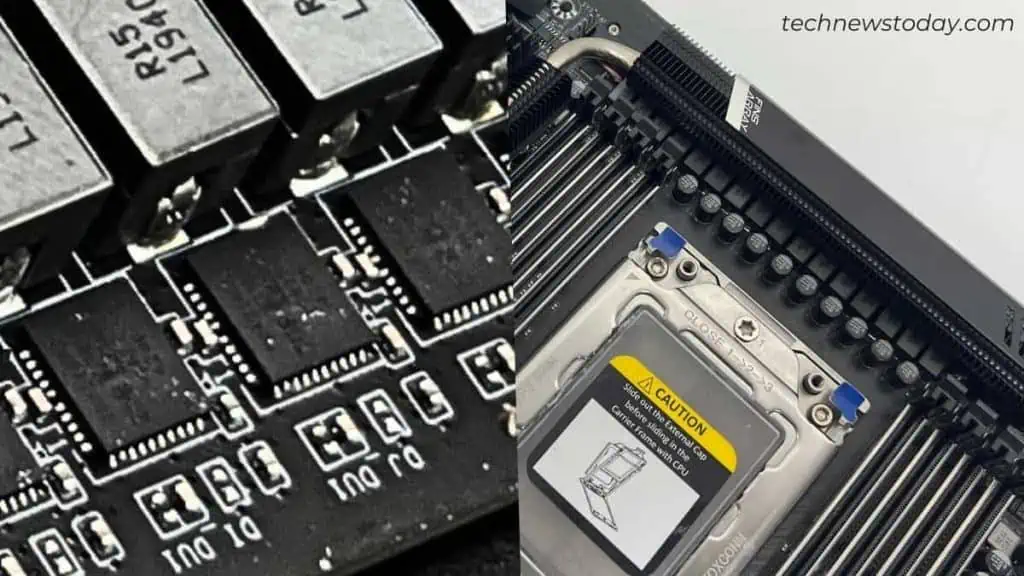
As the name suggests, the metal-oxide-semiconductor field-effect transistors are responsible for opening and closing the electronic gates. This means the inductors/chokes are charged only when the switch is closed.
These transistors sit underneath the VRM heatsink. So, it’s pretty easy to guess that these components are the ones that produce the most heat. That’s simply because a MOSFET has to open and close thousands of times per second.
While they are designed to withstand temperatures up to 150 degrees, they will eventually die if overheated. That’s the reason most boards come with a dedicated sensor so you can check the MOSFET temperature from time to time.
In the past, motherboards used to come with a set of MOSFET chips – high and low side switches. But in modern models, you’ll only find a single transistor that contains the functionality of both.
Chokes
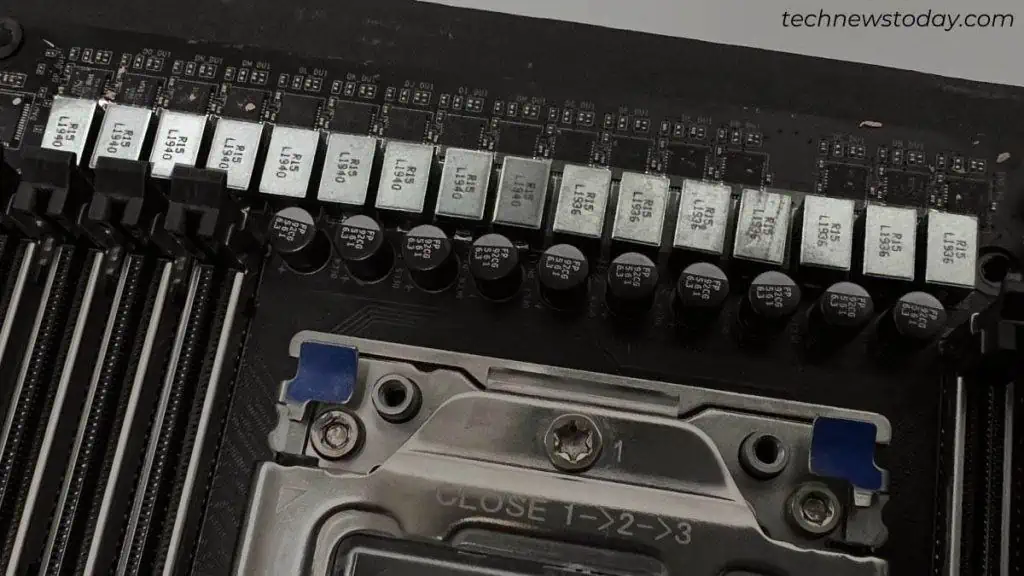
These are magnetic inductors that sit next to the MOSFETs, outside the heatsink. Chokes are much easier to spot on older systems as you can see the large coils quite clearly.
On the other hand, the motherboard that we own today has a square-shaped blocky design, and the coils are safeguarded there.
When the circuit is closed, the inductors start to get charged. At this moment, the electric energy is converted to the magnetic field and your CPU gets sufficient power. More on this later.
Capacitors
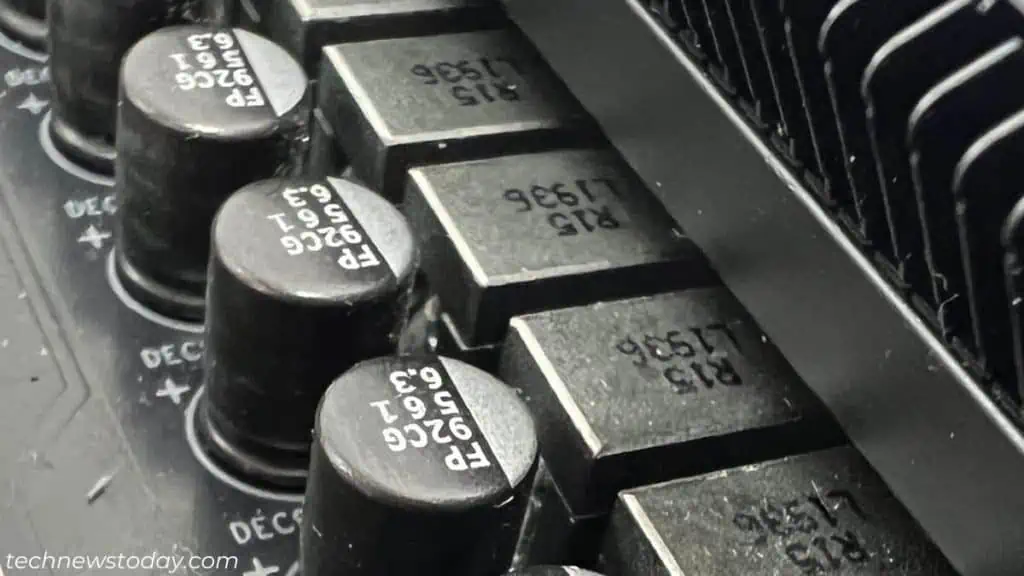
As with any other electronic device, even motherboards are equipped with a large amount of capacitors. These cylindrical-shaped bodies have an operating limit and life expectancy.
For example, in some motherboards, capacitors are rated to operate at the maximum temperature of 105 °C.
So, if the motherboard temperature goes beyond the limit (especially due to voltage spikes), they may bulge or even pop.
Usually, motherboards designed for better overclocking contain high-quality solid-state capacitors.
Avoid the cheap ones that have conducting liquids and have a higher chance of rupturing, thus rendering the motherboard useless.
Capacitors are meant to correct the voltage ripple and spikes. They act as batteries that store the additional electricity (usually, in a small amount), and convert it into stable and consistent voltage.
PWM Controller
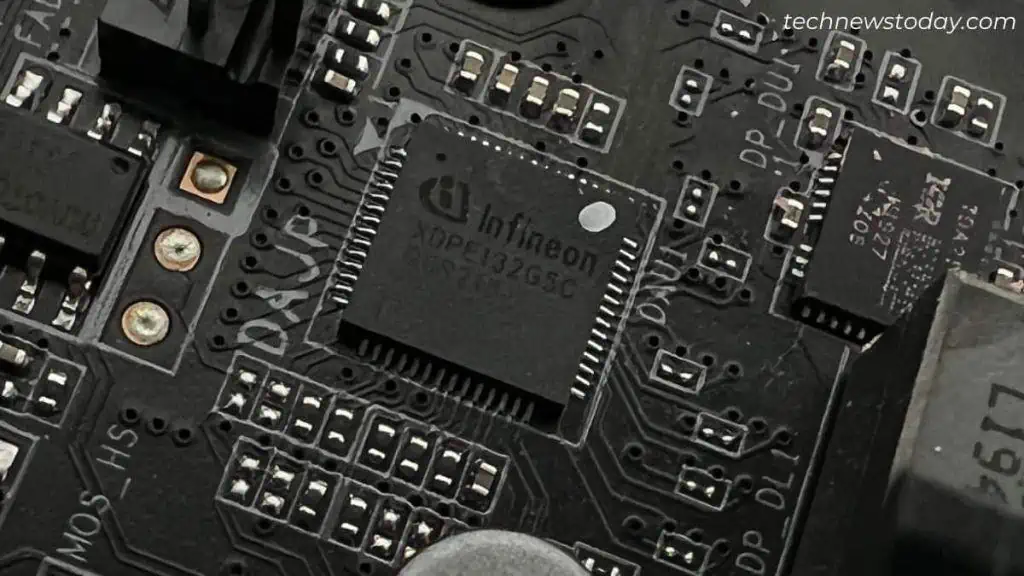
This is the master control chip of the VRM as it instructs all the core components (MOSFETs, chokes, and capacitors) for the proper functioning through pulse signals.
In the past, the PWM controller on a majority of motherboards used analog signals. The newer boards now utilize digital PWMs, but that doesn’t mean the analog ones are completely superseded.
This component is also responsible for monitoring and regulating voltage, taking the VREF (Voltage Reference) available in the BIOS settings.
There might not always be a PWM indication on the dedicated chip. For instance, my TRX40 AORUS MASTER labels it as DAU1.
Likewise, some boards come with a Dr MOS chip, which works using external pulse-width modulation.
Working of the Voltage Regulatory Module
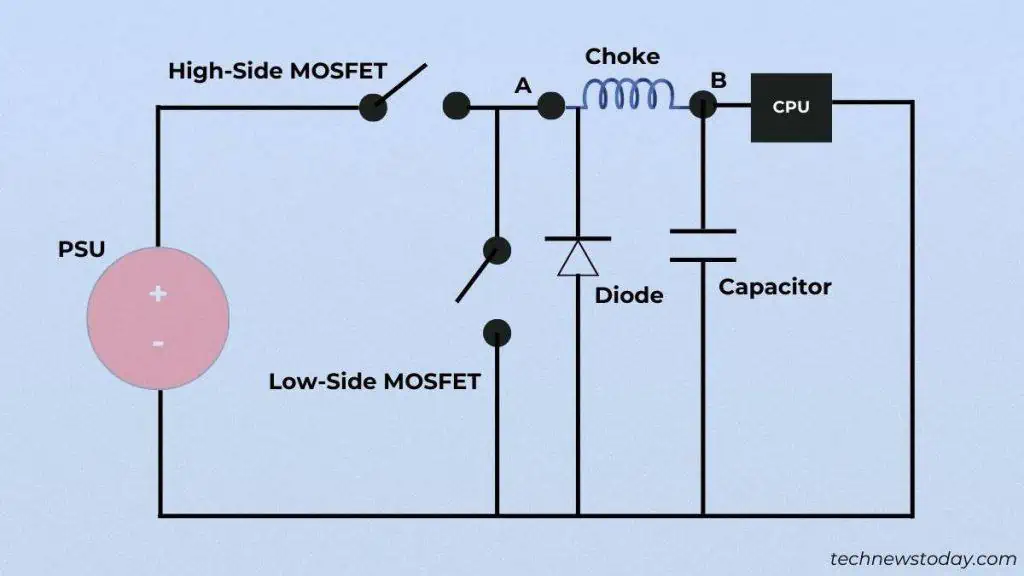
Now that you have the general concept of each VRM component, let’s see how the buck converter works to step down voltage and distribute power efficiently. I will use bullet points to make this easier to understand:
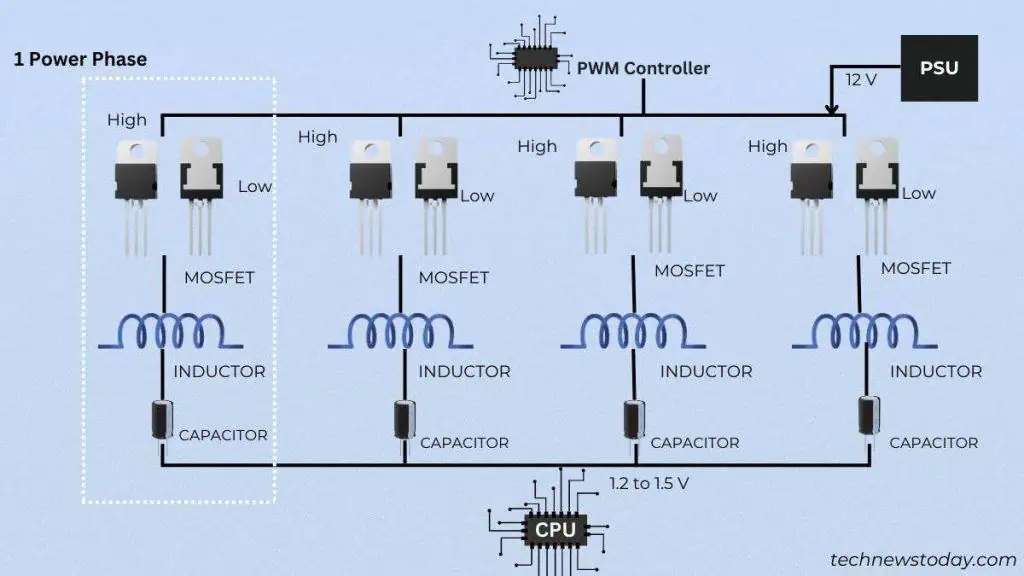
- First, the raw voltage (12 V) reaches the MOSFET.
- The primary or high-side switch closes the circuit. This means the electricity is now passed to the choke.
- Here, the supplied power is filtered, and the coils are charged. Once the inductor fully charges, its output will have the same voltage as the input. And the energy is stored in a magnetic field.
- It’s the PWM Controller that instructs the choke to discharge the right amount of voltage (1.2 to 1.5 V) to the CPU. This lasts as long as the circuit remains closed. The same goes for RAM (1.2 to 1.4 V).
- As soon as the circuit is open, the voltage starts to drop. But keep in mind that when the high-side switch is open, the low-side remains closed, and vice versa. If both open, the magnetic field may collapse, damaging the CPU’s life permanently. This completes the first round.
- Since the CPU will take a large amount of power, the choke may lack electricity for the next round. That’s when capacitors come into play, which were storing small amounts of charges in the previous steps.
- The same energy is used to charge the inductors and this is how the CPU/RAM receives clean and consistent voltage.
- To provide more stable power, several such circuits are connected. This is what we call a multiphase VRM.
What Exactly Are Power Phases?
Don’t get so confused by the term ‘power phase’. You have already mastered this if you have properly understood the previous explanation.
Just know that the combination of a MOSFET, choke, and capacitor forms one phase. Similarly, another set of the specified VRM components forms the second phase, and so on.
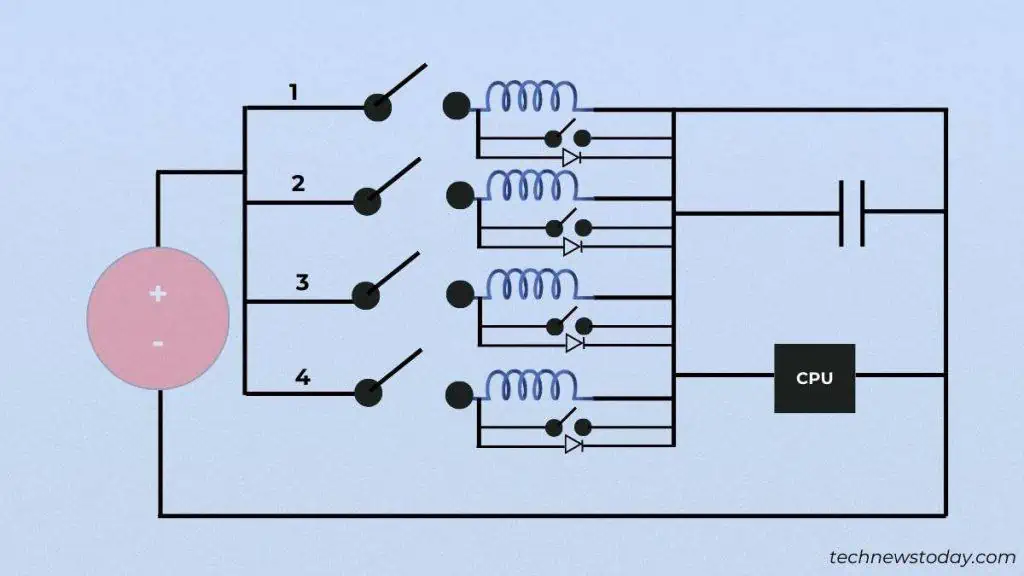
For example, if a CPU requires 80 A current to operate, all of it will pass through one circuit in single-phase VRMs. But if your motherboard has four phases, each circuit will handle 20 A current.
The more the number of phases, the better the power is split. The process even leads to a high number of ‘switching losses’, which can be controlled through multiple phases.
That also calls for a multi-phase PWM for better voltage regulation. Meaning, one PWM controller is dedicated to one VRM phase.
For better overclocking support, high-end motherboards are all equipped with more power phases. Also, they come with better cooling through top-quality heatsinks.
If you want to identify the number of power phases on your system board, this can be simply done through physical inspection. Counting the number of chokes should be enough.
Inspecting the number of capacitors and MOSFETs isn’t the right approach though. That’s because some boards adopt the phase-extend topology (where VRM doublers are used).
We will have a detailed guide on Twin and Phase-Extend VRMs soon. For now, just take a peek at the illustration below:
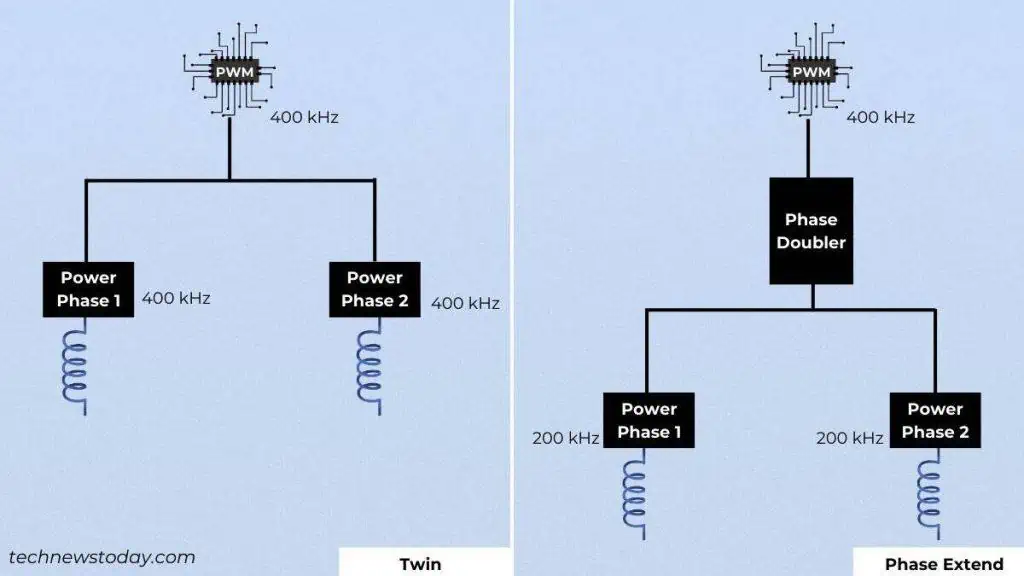
Here, the inclusion of a phase doubler splits the frequency coming from the PWM controller. But the one without a doubler will send the same signal (without any delay) to both phases.
Understanding VRM Specs When Choosing a Motherboard
When inspecting the motherboard specifications, most people overlook the importance of VRM. In fact, some boards (including my MSI B550M MORTAR) don’t include anything about such.
Gigabyte boards often designate the VRM specs in X+Y format. For example, my TRX40 AORUS MASTER has 16+3 power phases. Here, 16 is for the CPU and 3 for RAM.
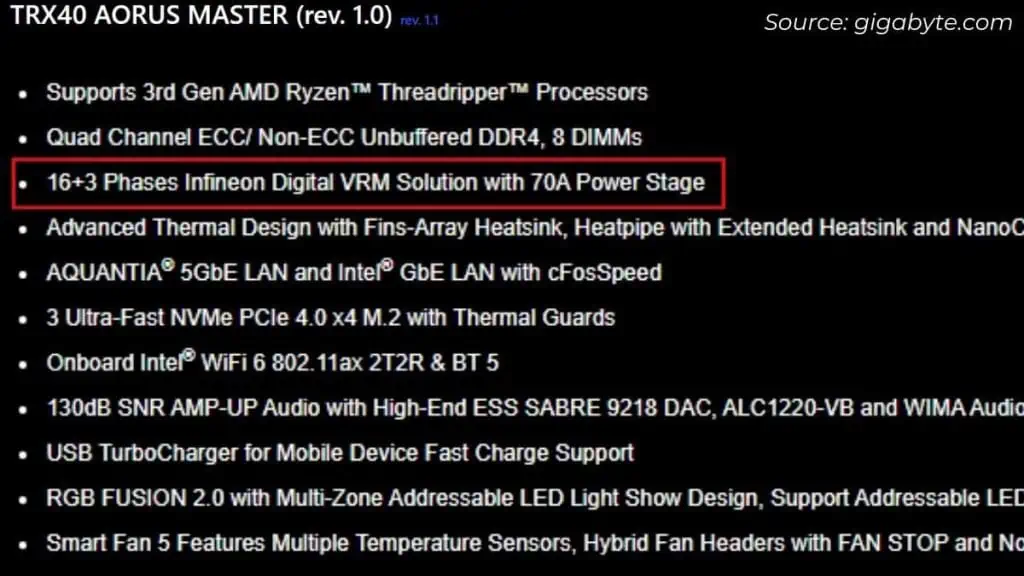
Also, it’s worth noting the ‘70 A power stage’, which simply means the motherboard can supply 70 A current to the processor. And as explained earlier, with 16 power phases for the CPU, each phase handles 4.375 A.
Some older boards might show this in the X+Y+Z format. X is usually for the processor, while Y and Z are for other components, one of which is for memory.
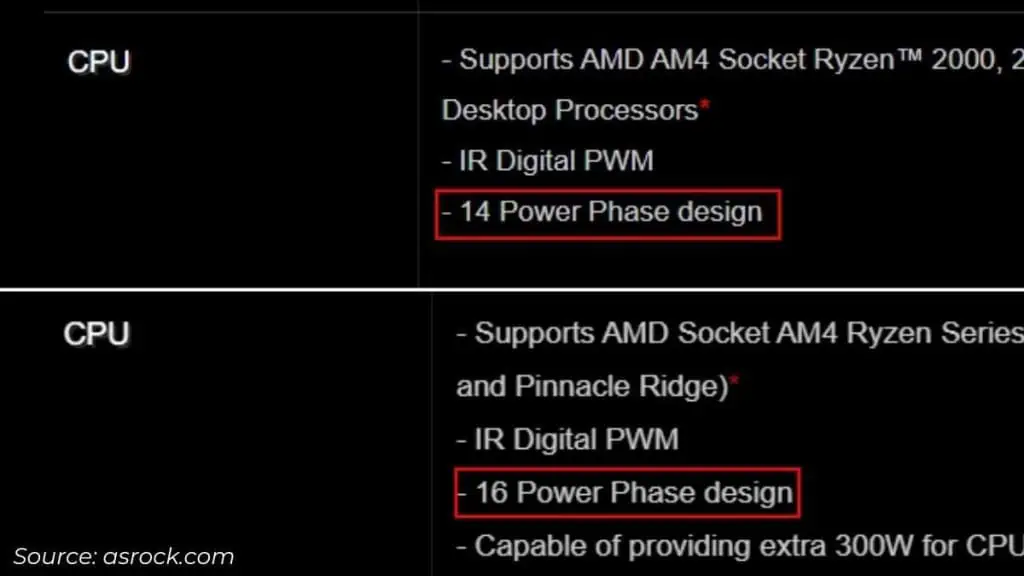
Most ASRock computers that we own only indicate the total number of power phases. For instance, X570 AQUA has a total of 14 while X370 Taichi has 16.
However, it doesn’t specify the exact number for CPU and RAM. So, I suggest counting the number of chokes to find this out yourself.
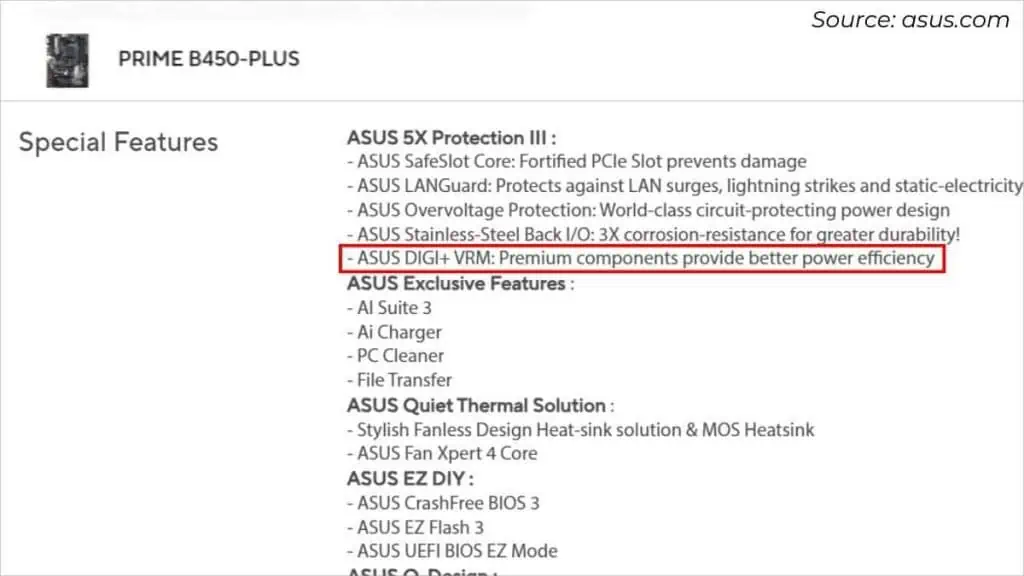
What I’ve noticed on modern ASUS boards is most come with DIGI+ VRM. Well, it simply refers to the digital voltage regulator, which is far better in terms of power stability and overclocking compared to analog.
You see, every motherboard is different, and the number of power phases along with topology is unique. But now that you’re aware of most stuff related to VRM, this shouldn’t be a factor to worry about.
Kindly note that your motherboard VRM isn’t the only thing that deals with power delivery. When building a PC, you should also choose a PSU with top-notch quality and with good efficiency.

