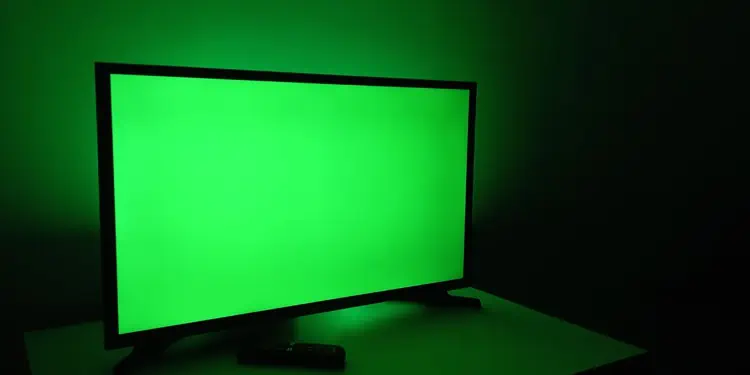
TV uses an RGB (Red, Green and Blue) color model to generate images on the screen. So, if your TV is mostly greenish, it is because the intensity level of green color is higher than the others.
It generally happens due to loose cable connections or when the color settings like Hue and Tint on your TV are misconfigured. Also, it is possible that the display components like T-Con board and LVDS cable are damaged.
If your TV screen is green, here are some scenarios that you may encounter.
So, depending upon whether you are able to access the TV settings or not, the fixes to solve this problem can vary. You can go through each fix discussed below.
Check Connections and Source Devices

A loose or faulty cable connection is the primary reason your TV can show a green screen. So, you first need to check if the source cable connections like HDMI cables are tight and secure. Unplug all the associated video cables and re-plug them. Also see if there are any frays in the cable. If any, consider using a replacement cable.
Likewise, as most of the users reported, they faced the green screen issue when trying to play 4K content on their TV. It is because the TV or the cable that you are using does not support the high resolution video. If you are sure your TV is capable of playing 4K video, we recommend you use HDMI 2.1 cables for better performance.
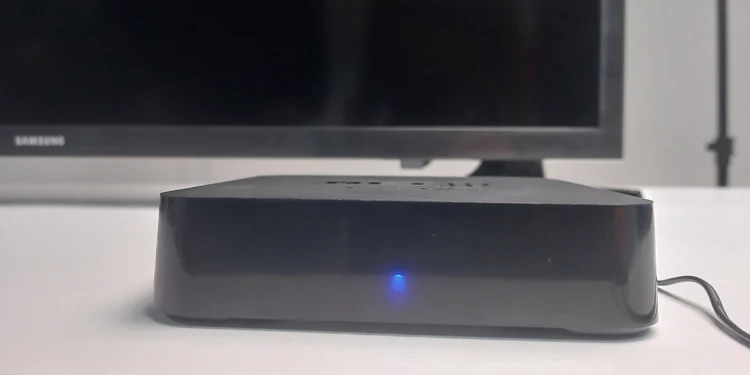
Next, make sure if the source device, like a set-top box, is working properly. There can be cases when the video processor of the source device stops working and starts showing a green screen on TV. You can try restarting the source device and see if it fixes the problem. To verify if there is a problem in the source device or the TV itself, you can take the source device to another TV and check it there.
Troubleshoot HDMI Ports
Most of the source devices today use HDMI interface to establish a connection with your TV. So, if anything goes wrong with the HDMI port or HDMI module of your TV, it can show a green screen.
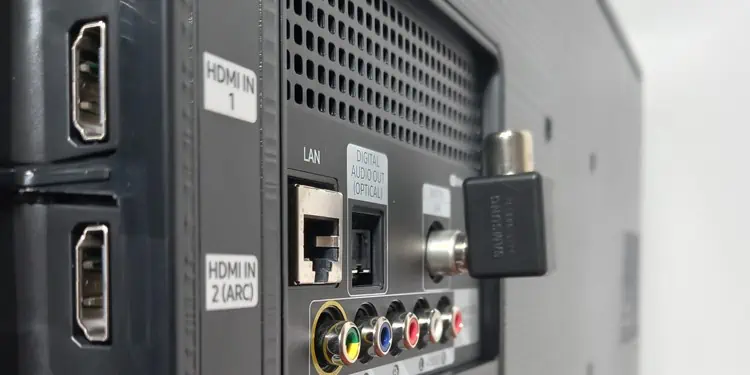
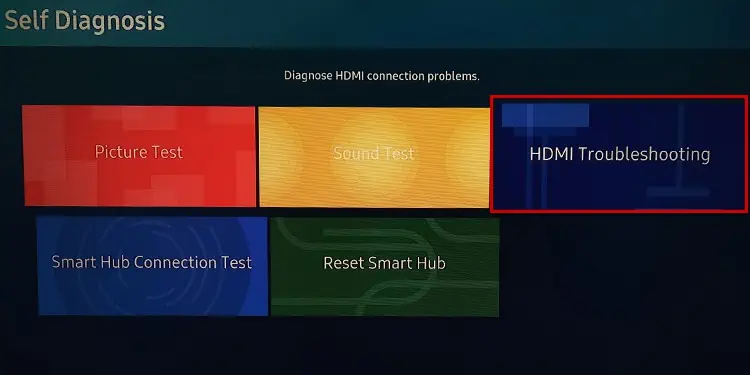
TV manufacturers like Samsung integrate a HDMI troubleshooting function that helps diagnose if there are any issues in the HDMI connection. Here’s how to run HDMI troubleshooter on a Samsung 4 Series TV.
- Open Settings from your Samsung TV home screen.

- Go down to Support and choose Device Care on the right pane.

- Tap Self Diagnosis on the Device care screen.

- Select HDMI Troubleshooting option and let the test begin.

- See the results of the troubleshooting and then act accordingly.
Note: Also, see if the HDMI port is mispositioned, loose or broken. If it is the case, you can consult this article on how to fix a broken HDMI port on your TV.
Check HDCP Compliance Issues
If you are facing green screen problems while watching only certain TV channels or contents, there is possibly an HDCP compliance issue. Most of the contents today are protected by HDCP (High-bandwidth Digital Content Protection) with the aim of reducing piracy and illegal distribution of contents.
To watch the contents that are protected by HDCP protocol, all the devices on your TV system must support it. To be more precise, the TV, the source device and the HDMI cable all must support it.
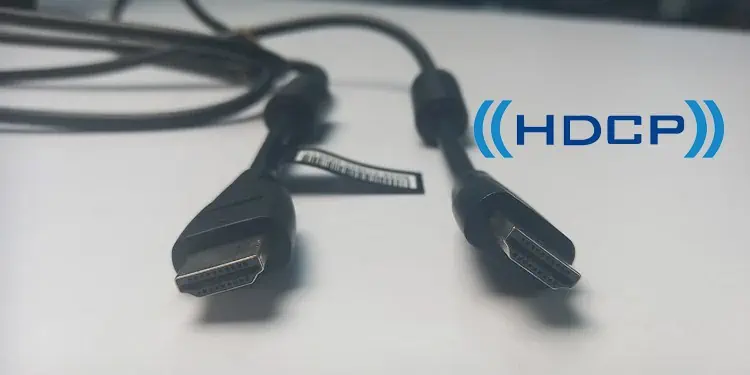
HDCP authentication uses a special encryption key called KSV (Key Selection Vector) that helps the receiver recognize the HDCP from the source device. The modern TVs and source devices do support HDCP. But, if the HDMI cables are not HDCP compliant, they can not transmit the key that can lead to an error. So, you must get a certified HDMI cable that supports HDCP to resolve the problem.
Re-configure Color Settings
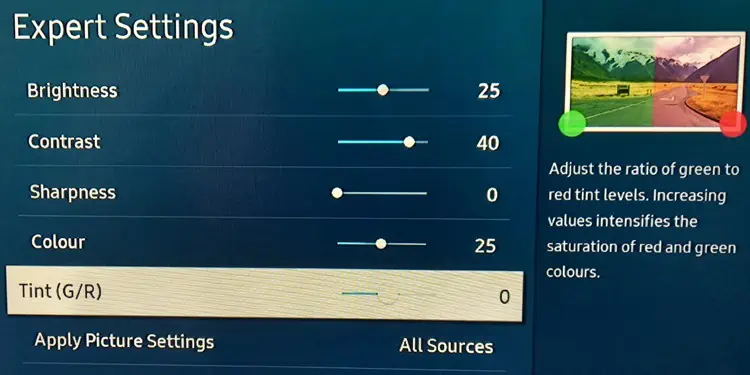
If your TV screen is displaying more green color than other colors, you have probably set the wrong color settings. The misconfigured Hue or Tint (G/R) settings are mainly responsible for making your TV screen greenish. You can check it and adjust them appropriately.
Meanwhile, if the RGB settings are adjusted such that the green pixel values are higher, you can encounter green screen problems.
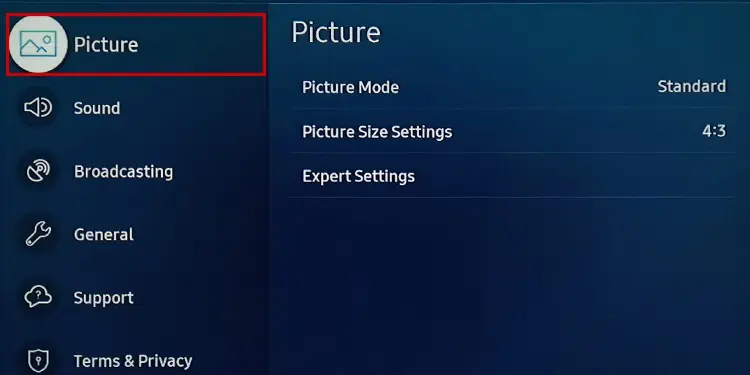
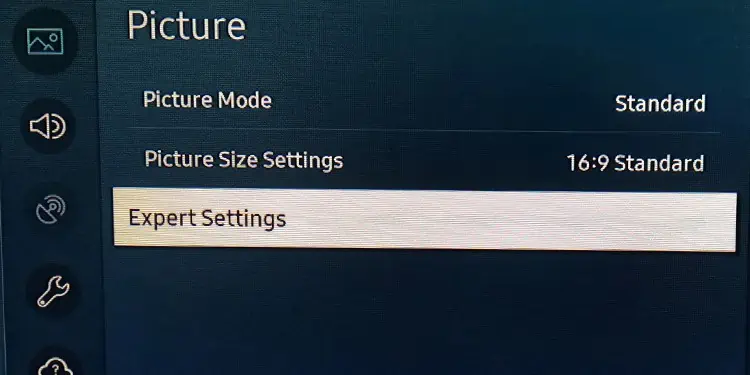
- Launch Settings on your TV and select Picture.

- Move to the right and tap Expert Settings.

- Under Expert settings, move down to Tint (G/R) and set it to zero (0).

- Next, go to White Balance and choose the white balance profile.

- Set all the RGB gain values to zero (0).

Reset the Picture Settings
You can also reset the entire TV picture settings if you think you have ended up messing up the color configurations. It will reset all the color function values to factory defaults and help solve the problem.
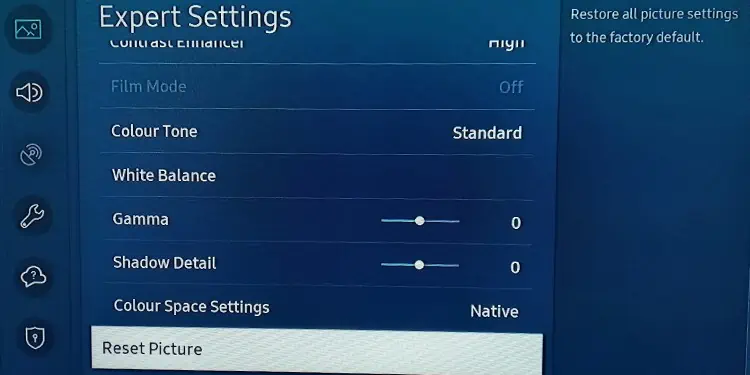
- Open Settings and tap Picture settings.

- Go to the right side, select Expert Settings.

- Move all the way down and tap Reset Picture option.

- Let the reset begin and see if it solves the issue.
You can also try resetting the TV fully. It will solve any software conflicts and glitches that are possibly causing the TV screen to appear greenish. You can access the Reset function from the advanced settings of your TV. Let’s see how to do it on a Samsung 4 Series TV.
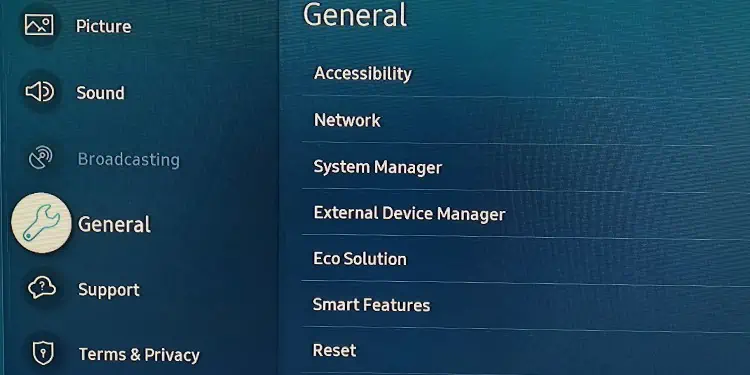
- Open Settings and move down to General.

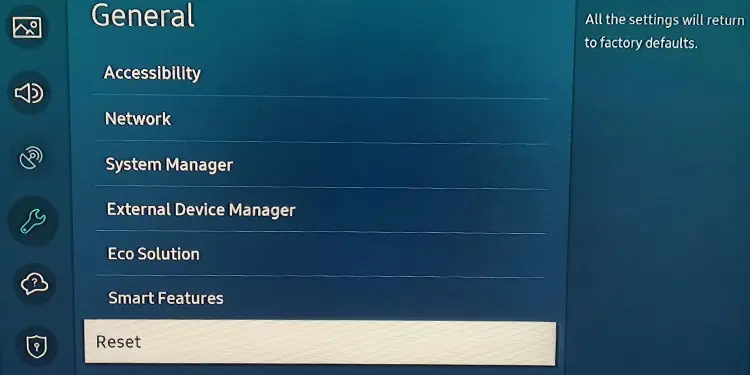
- Tap Reset option on the right section.

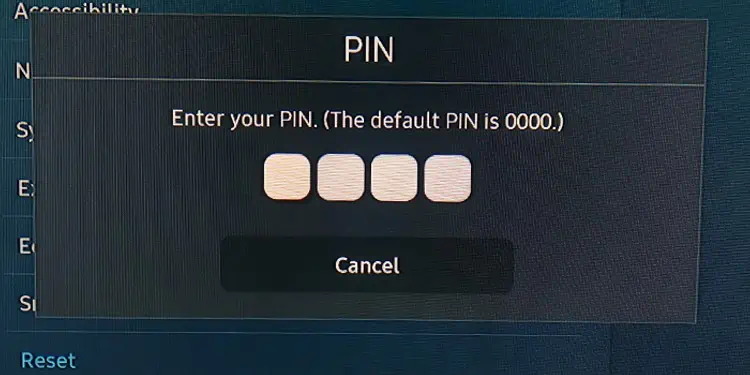
- Enter the PIN code, which is by default (0000). It will start the resetting process.

- See if the issue is solved after a restart.
Troubleshoot Display Components
TVs mainly utilize red, green and blue pixels to form images on the screen. The green screen problem can arise if the red and blue pixels are dead and only the green pixels are glowing. So, if you remember any physical damage to the TV, this is the most probable scenario. There is no option except replacing the broken screen of your TV.
However, there is also a DIY (Do It Yourself) method that may help solve the problem. You can try pressing the edges of your TV from where the green lines generate. If your entire TV screen is green, gently apply a pressure to each and every corner of your screen. You can take a soft cloth and try rubbing across the screen for a few minutes. Then, see if the green screen goes away.
Moving towards the more advanced hardware fixes, one among the T-Con board or LVDS cable might be faulty and causing the TV screen to appear greenish. Not only that, if dust gets collected over these components, it can interrupt the proper transmission of display signals and cause the issue.
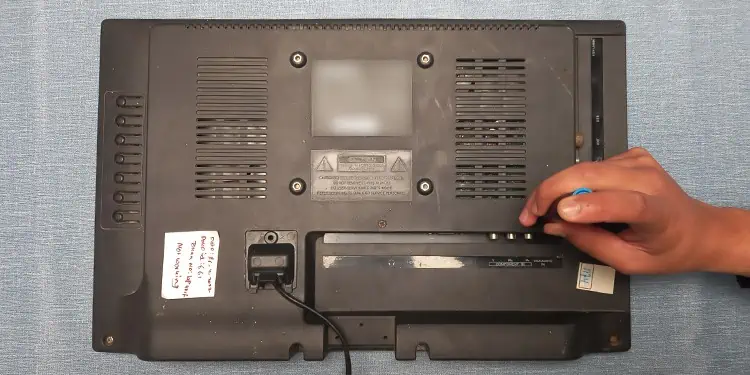
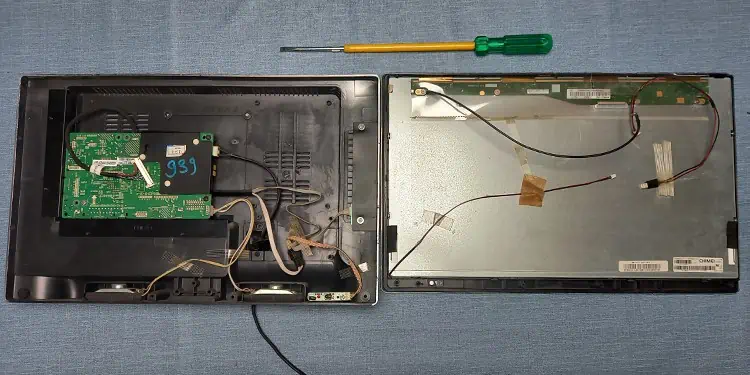
Here, we will be showing how to clean and replace the display components in Technos LE19M3 19” LED TV. You can follow the similar process on other TVs as well.
- Place your TV on a uniform surface and open up its rear panel with the help of screw drivers and pry sticks.

- You will then see the power supply board and main board of your TV.

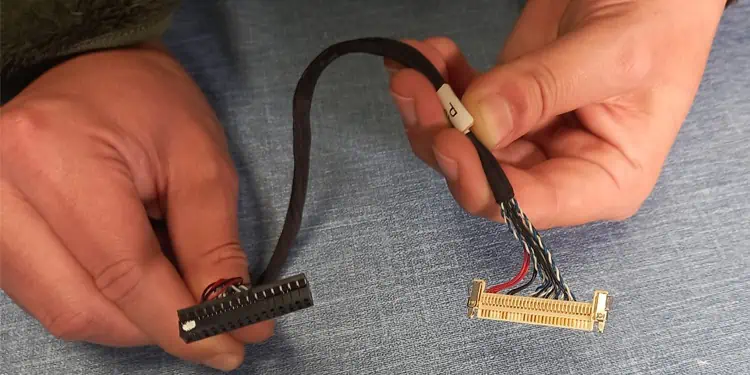
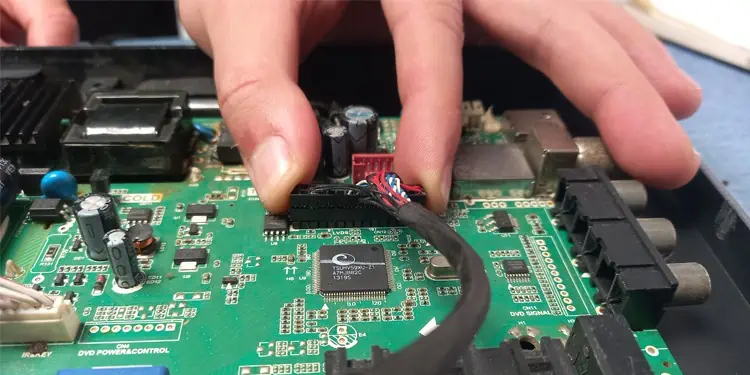
- Locate the LVDS cable. It is the cable that runs from the main board to the T-Con board of your TV.

- Unplug it from the respective ports.

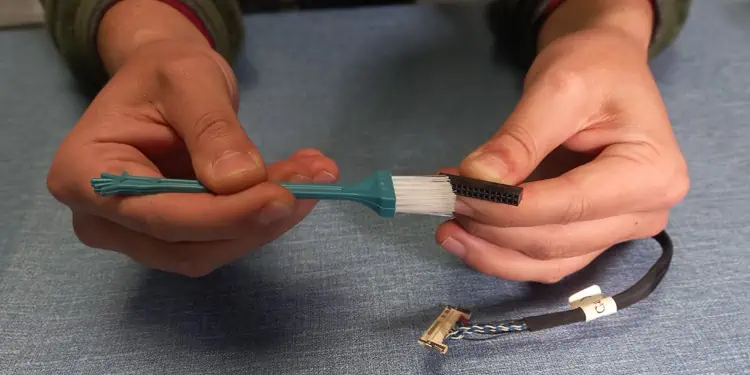
- Clean the ports as well as the connector. You can use earbuds to clean them. After that, re-plug the cable.

- If the LVDS cable is frayed out, you need to get a replacement and use it.
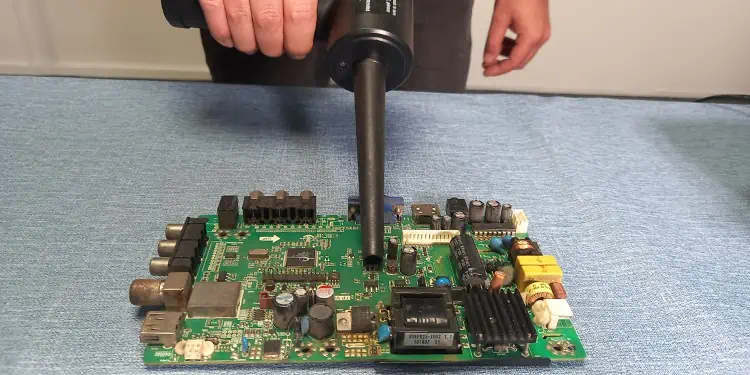
- Clean the main board with the help of a blower.

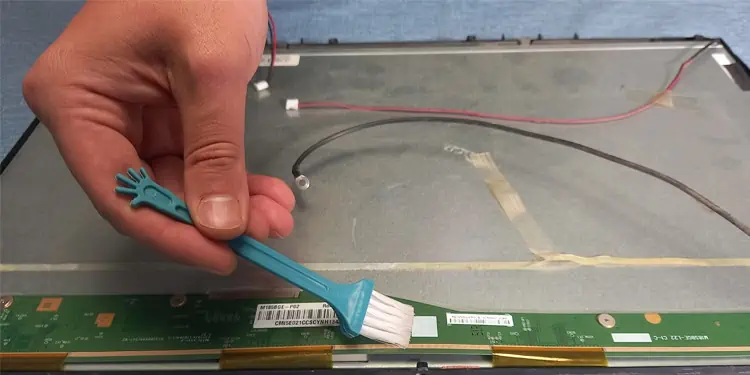
- Now take a brush or blower and clean the T-Con board.

- If you find that the T-Con is blown, you need to purchase a replacement board that exactly matches the specs of your TV and install it. You can ensure the T-Con is blown if you see any burnt mark over it.
Consult a Professional
Now that you have come to the end of the article, you must have figured out a solution. However, if you are still facing a problem, please take your TV to the authorized repair center and ask them to look into the issue.

