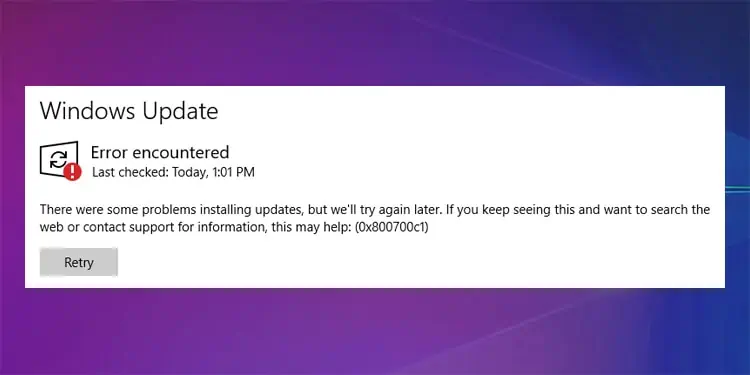
The update error 0x800700c1 occurs when your system downloads the required update files but fails to install them. There is likely corrupted data in the update files, or the Windows services that help in this installation are not running.
However, this issue is easy to manage. Troubleshooting Windows Update or resetting the Update Components will fix this issue in most cases. Worst case, you’ll have to reset your PC or make a clean install, which is still not that bad of a solution.
What Causes Error 0x800700c1
Here are some of the causes for your system failing to install update files:
- Network connection issues
- Corrupted or missing system files
- Update installation services failing to start
- Improper shutdown
- Improper installation of software or updates
- Malware infection
How to Solve Error 0x800700c1
The first thing you can do is to reboot your PC. If you have a habit of hibernating your PC instead of a proper shutdown, your system won’t apply any installed updates. It can possibly cause many update errors. So, properly restart or shut down and turn on your PC.
Also, make sure to check your internet connection as any connectivity issues may also cause this error.
Then, move on to the solutions below if the issue remains unresolved.
Windows Update Troubleshooter
Windows includes an Update Troubleshooter that checks and fixes most update errors. It is better to launch this feature before trying any advanced solutions. Here’s how you can use this Troubleshooter to fix update errors:
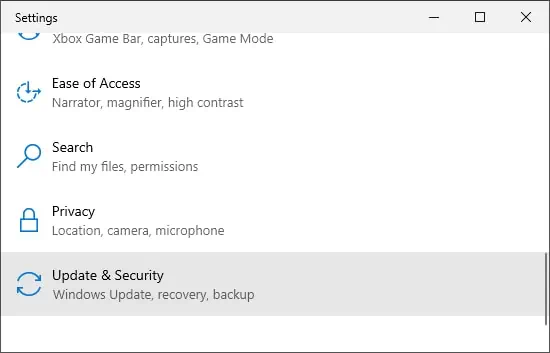
- Launch Settings (press Windows + I) and click on Update & Security.

- Select Troubleshooter from the left sidebar.
- If you see the troubleshooting options, scroll down and click on Windows Update Troubleshooter.
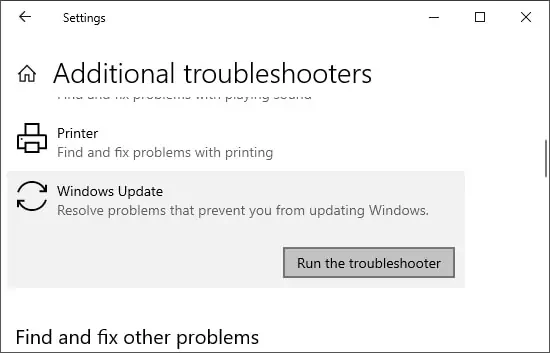
- If not, select Additional troubleshooters. Then, search for and click on Windows Update.

- Hit Run the troubleshooter.
If the Troubleshooter from your system fails to solve this issue, you can try out this Windows Update Troubleshooter for Windows 10.
Repair System File Corruption
You can solve many system issues, including update errors, by simply repairing system file corruption. Please use the System File Checker (SFC) and the Deployment Image Servicing and Management (DISM) for this task. Follow the directions below to do so:
- Search for Command Prompt in the search bar. Then, right-click on it and select Run as administrator.
- Paste the commands below and press enter after each to execute them.
dism /online /cleanup-image /restorehealth
sfc /scannow
Finally, reboot your PC and check if the error persists. If it does, try running these commands in safe mode. To boot your PC in safe mode,
- Go to Start > Power.
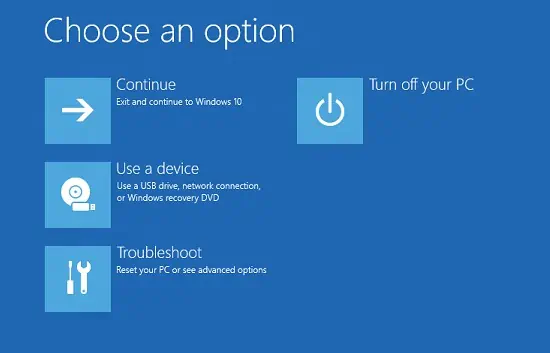
- Click Restart while pressing the Shift key. It will direct you to Windows Recovery Environment.

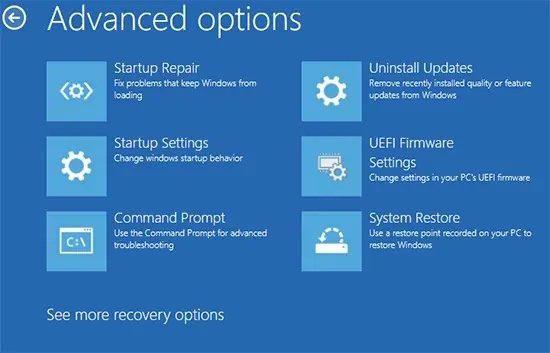
- Go to Troubleshoot > Advanced options > Startup Settings > Restart.

- Press 4 or F4 to boot in safe mode.
Then, follow the above steps to run DISM and SFC.
Reset Windows Update Components
This is the most common solution for several Windows Update errors. In this method, we perform the following processes:
- Resetting Windows Update services.
- Deleting the files downloaded for the update.
- Restoring Windows Update cache files.
- Registering some Windows Update libraries
Here’s the step-by-step method to execute these processes:
- First, click on the Wi-Fi icon on the notification bar and select Airplane Mode.
- Then, launch Command Prompt as Administrator.
- Type the following commands and press Enter after each to execute them:
net stop bits
net stop wuauserv
net stop cryptsvc
net stop msiserver
net stop appidsvc
del "%ALLUSERSPROFILE%\Application Data\Microsoft\Network\Downloader\qmgr*.dat"
ren C:\Windows\SoftwareDistribution SoftwareDistribution.bak
ren C:\Windows\System32\catroot2 catroot2.bak
regsvr32 /s wuapi.dll
regsvr32 /s wuaueng.dll
regsvr32 /s wucltui.dll
netsh winsock reset
net start bits
net start wuauserv
net start appidsvc
net start cryptsvc
net start msiserver
For more information, please browse through the Microsoft documentation for resetting Windows Update components.
Scan for Malware
A few malware programs exist that prevent the system from accessing update services. We recommend using reliable antivirus programs and enabling real-time protection to prevent such issues.
Please scan your computer if you encounter this error. The method differs between different antivirus software. It’s also best to enable cloud-based protection on your antivirus programs.
To scan your computer with the Virus & Threat Protection,
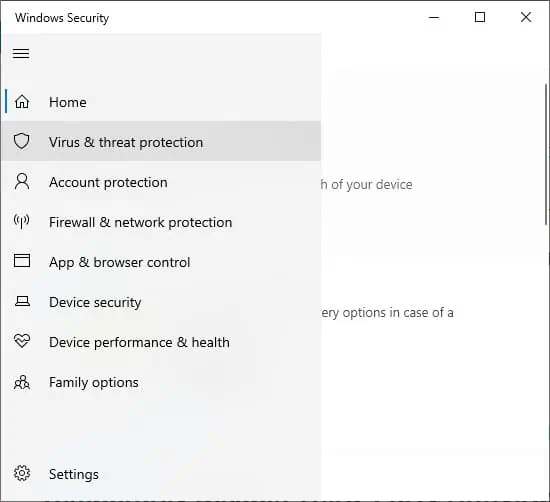
- Click on the Windows Security icon (Shield icon) from the notification tray.
- Click the triple-lines and select Virus & threat protection.

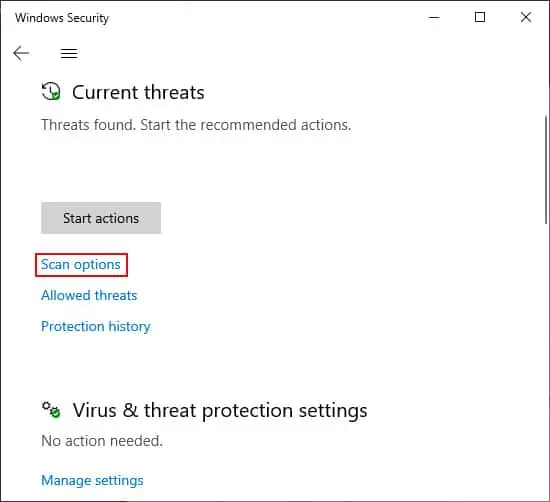
- Click on Scan options under Current threats.

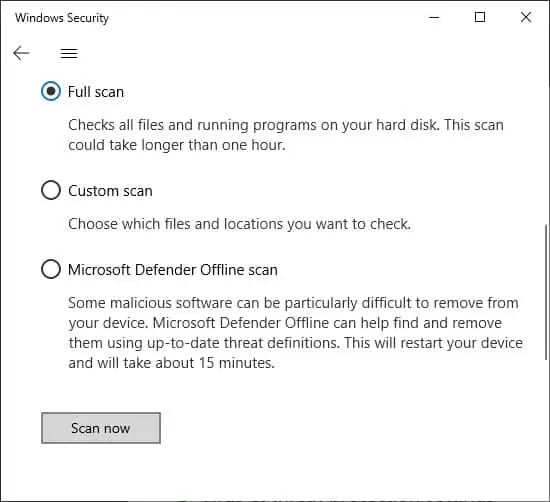
- Check on Full scan and click Scan now.

- Wait for the process to complete. It will take a while.
Temporarily Disable Third-Party Antivirus & Firewall
You can try temporarily disabling any third-party antivirus or firewall when you encounter this error. Some antivirus programs may stop installing updates if they falsely recognize them as threats to your system.
Install Update With Media Creation
Microsoft regularly updates the Windows installation media, so you can use this to install the updates on your PC manually. This method may also repair your system, thereby, fixing any precious errors.
You can also use the Windows Update Assistant as an alternative way to install updates. However, it might not fix the update error.
To install the update with media creation,
- Go to the Microsoft download website and click on your Windows version.
- Under Create Windows 10 installation media, click on Download tool now.
- Launch the installation file.
- Select Accept to agree with the License terms.
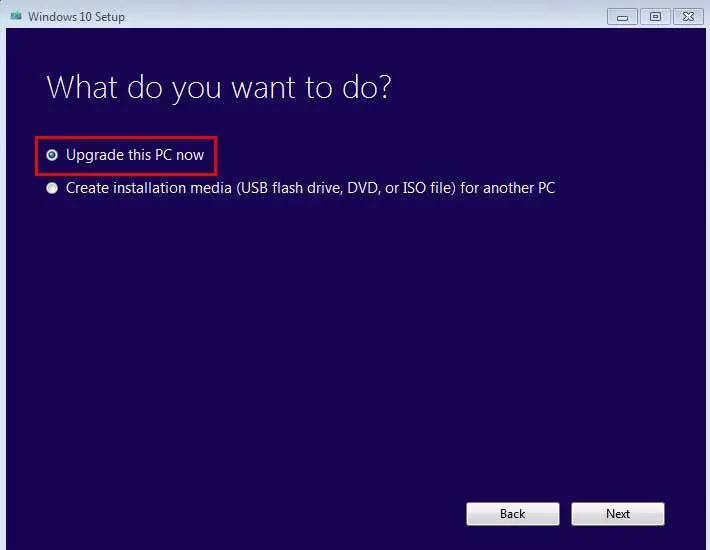
- Then, choose Upgrade this PC now and click Next.

- Follow the on-screen instructions.
Perform System Restore
System Restore allows you to revert to a previously created restore point. Any errors encountered after the restore point will likely be resolved after performing a system restore.
Follow the steps below to perform a system restore:
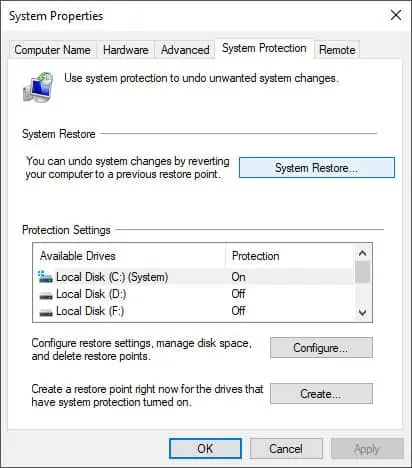
- Type
systempropertiesprotectionin the Run command and press Enter. It opens the System Protection tab in System Properties. - Click on System Restore to initiate the process.

- Follow the on-screen instructions. You can select any restore point you want.
- There is also an option to check for affected programs. You’ll need to reinstall them after executing the system restore.
Reset Your PC
If you don’t have an appropriate restore point or all previous methods prove ineffective, the last option is to reset your OS.
We recommend you backup all your necessary files before resetting your PC. Follow these instructions to perform a system reset:
- Launch Settings and go to Update and Security.
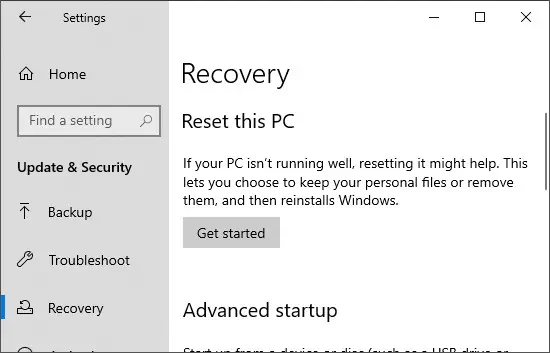
- Select Recovery from the left sidebar.
- Under Reset this PC, click on Get started.

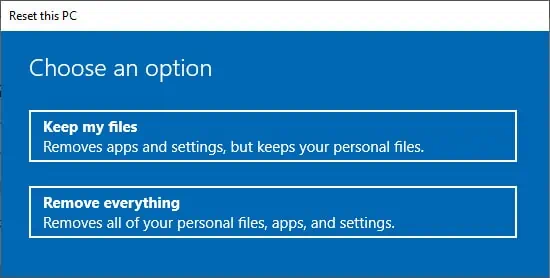
- Choose Keep my files when prompted and click Ok.

- Follow the on-screen instructions.
It’s best to delete your old partition and perform a clean install of Windows if the error still reoccurs.
Related Questions
Running SFC Displayed Windows Resource Protection Could Not Perform the Requested Operation.
This error occurs due to problems with Windows Module Installer. We have a dedicated article that tackles this issue. Please visit it to resolve the issue.
There may also be cases when Windows Resource Protection found problems with integrity of system files but couldn’t fix them. We also have a detailed article on this particular issue: Windows Resource Protection Found Corrupt Files.
